I’m not going to say there is only one kind of pie around here. I do make apple and pumpkin and have even tried my hand at strawberry-rhubarb, but the family favorite is definitely berry pie. Both Jason and I grew up on it, with our grandparents picking berries fresh off the vine for this summertime favorite. My Granny grew boysenberries, but those can be hard to find and I typically make blackberry pie which is what Jason’s Oma and Opa had in their garden. While fresh fruit is ideal I often find myself using frozen berries, which means you do not have to limit yourself to homemade berry pie only a few months out of the year.
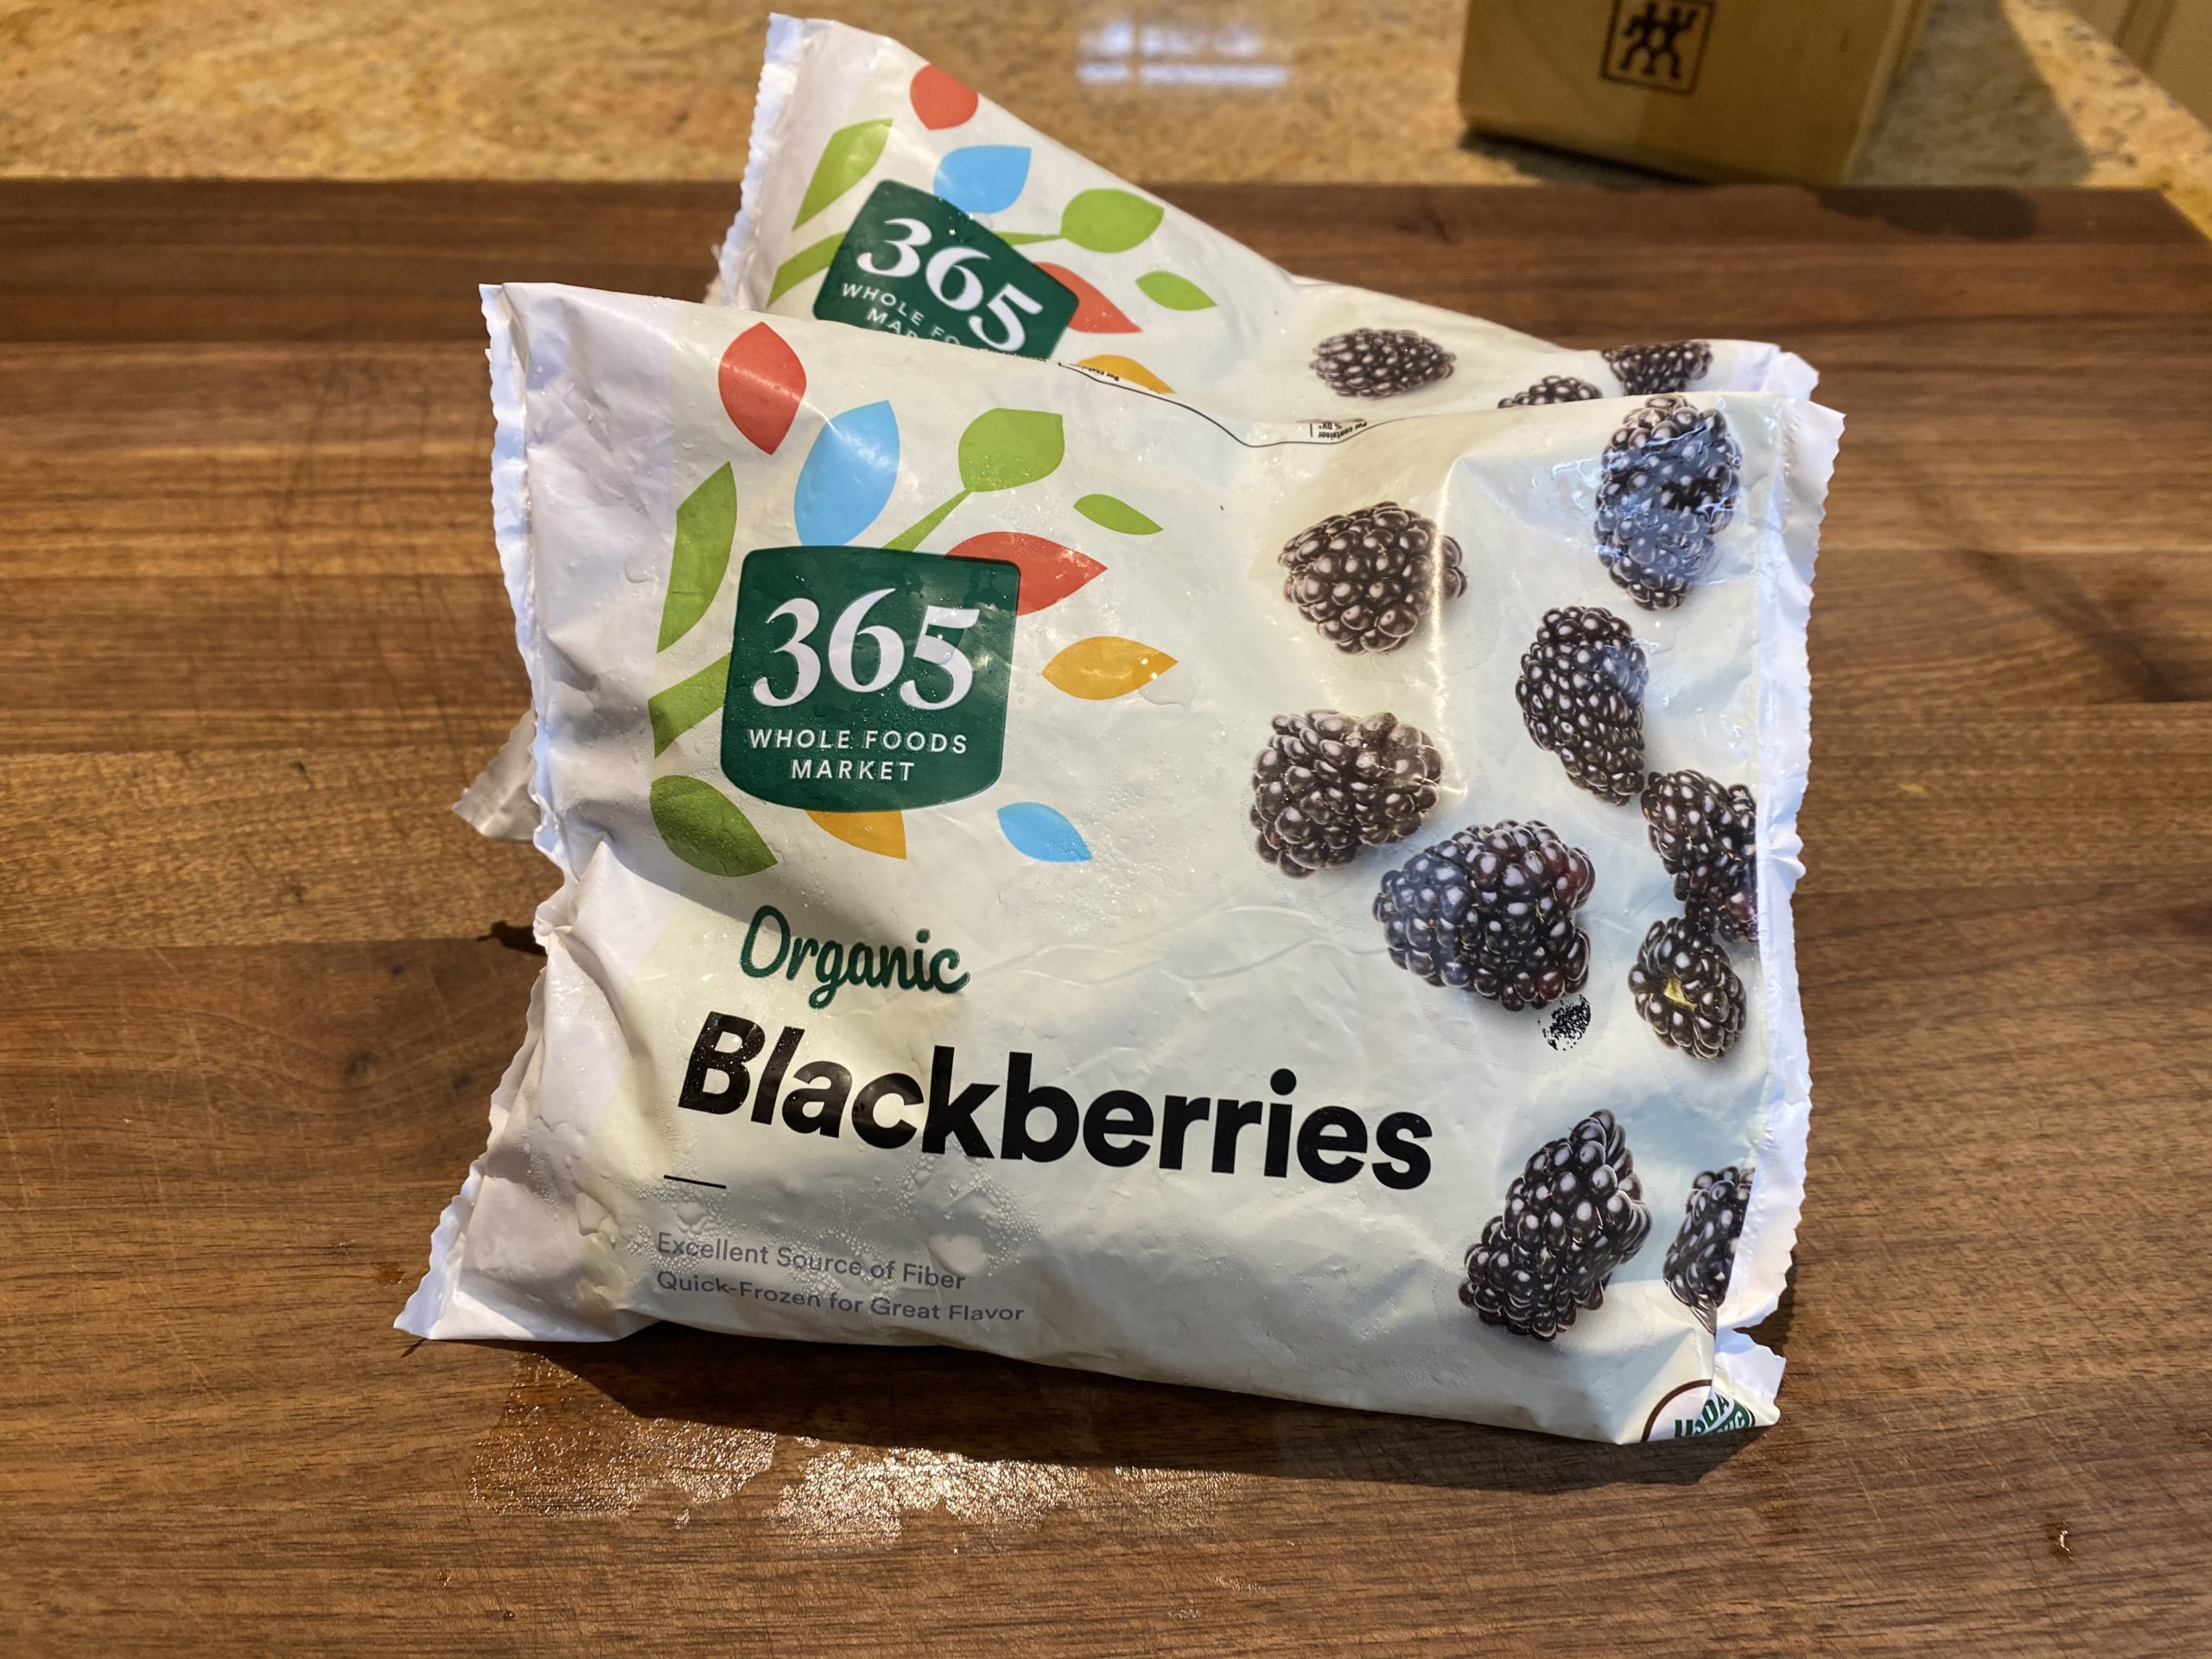
I highly encourage celebrating Pi Day with a berry pie. We are particularly in the mood this year as we just returned from Modesto, where Jason grew up and Oma and Opa grew all those blackberries. Since those won’t be ripe for many more months two bags of frozen berries will have to do the trick.
Although I am happy to make pies inspired by both our grandmothers I do not typically follow either of their recipes where crust is concerned. My own Granny did not use a recipe at all. She would just dump some flour into a bowl and use two butter knives to cut in a few spoonfuls of Crisco before adding ice water. It worked for her because she did it so many times she didn’t need to measure anything, but when I tried it we’ll just say it yielded less than perfect results. Having recently gone through some recipes that Oma wrote out for me when Jason and I got engaged I can tell you Oma did have a recipe with actual measurements, and I intend to try her crust recipe again this summer with fresh berries. But for most modern day bakers the foolproof pie crust recipe from Cooks Illustrated will be more appealing as you cut in the butter and shortening with a food processor which is so much easier than using a pastry blender, or (yikes!) two butter knives.


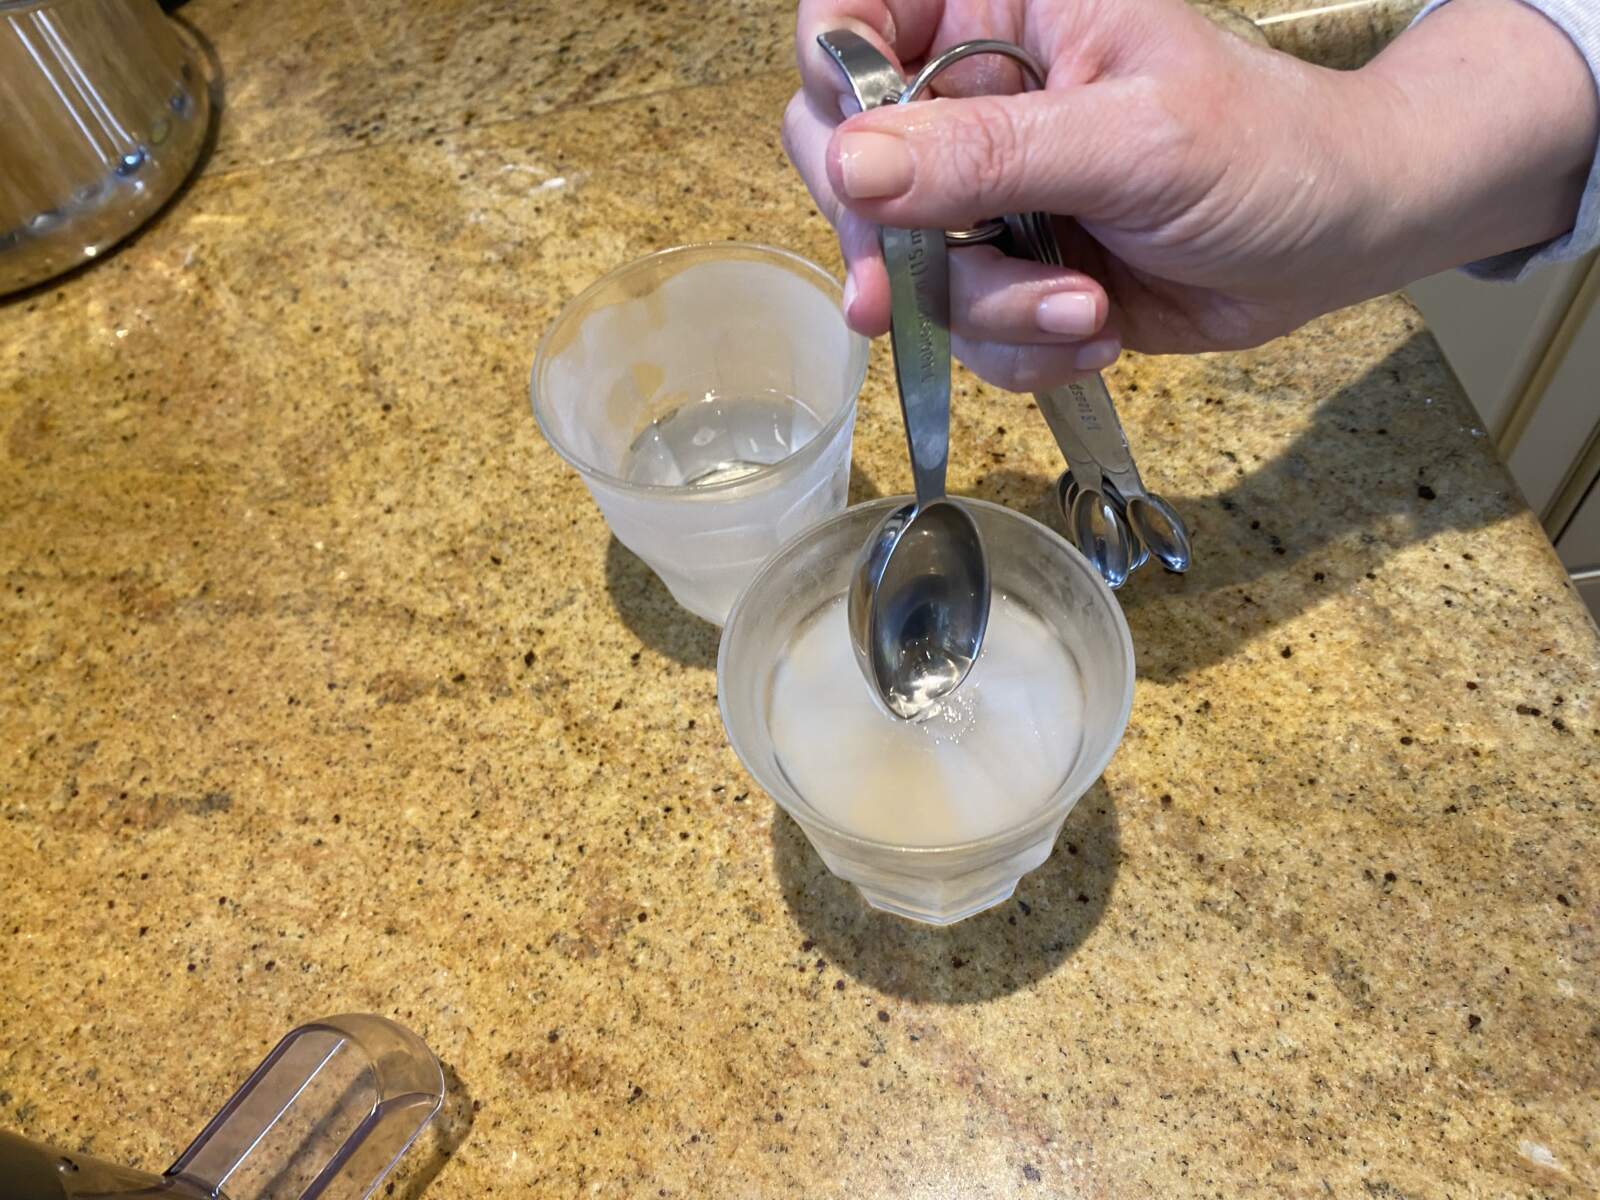
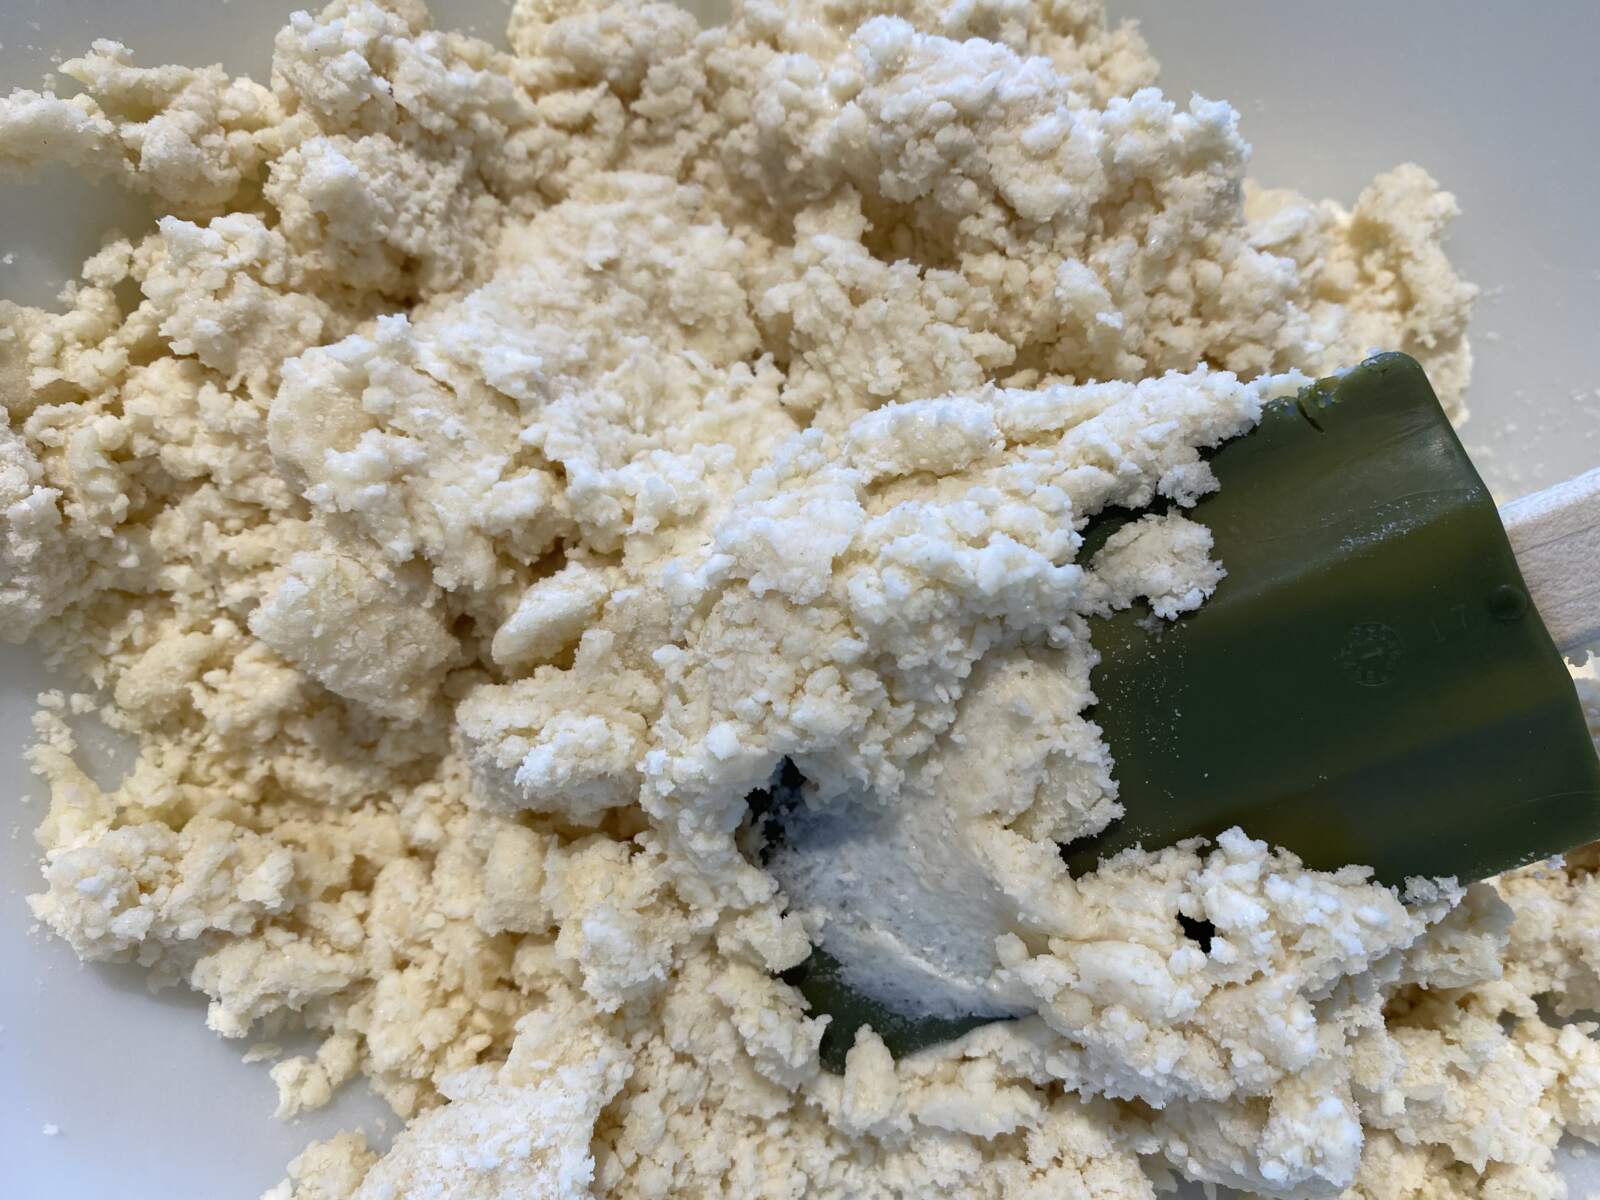
I also like this recipe as it uses a combination of butter and shortening, as well as equal parts ice water and ice cold vodka. Now, vodka may seem counterintuitive here, but the folks at Cooks Illustrated have assured me that it evaporates quicker than water while the pie is baking yielding a flakier crust. I’ll have to take their word on that part. What I have noticed is that the method of thoroughly blending the fat with some of the flour, then breaking up that homogenized dough with the remaining flour yields a more workable crust. The flakiest crust in the world is still no good if you can’t keep it together long enough to get it into the pie plate, and this one just works. And speaking of flaky, you also want to make sure that both your butter and shortening are well chilled and your vodka and water are ice cold. Notice in the picture above that I have to break through the frozen top of the ice water. Cold is key when it comes to a nice flaky crust!
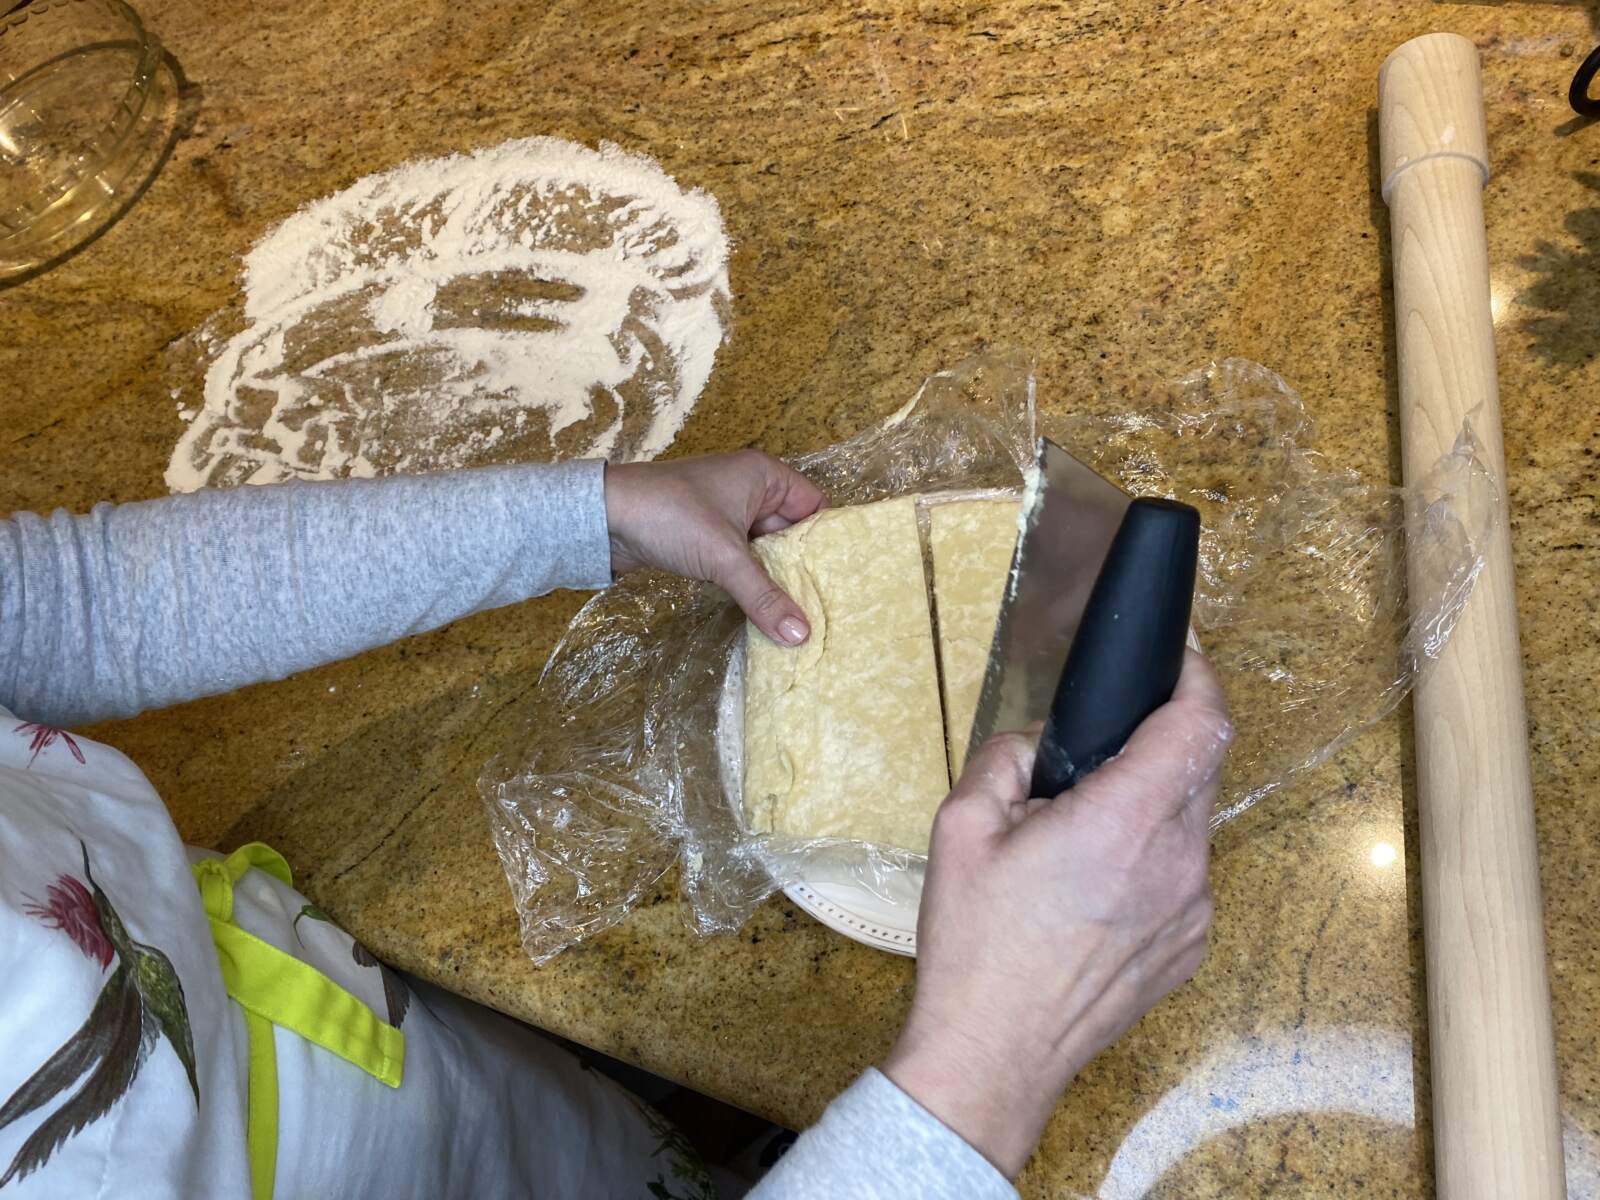
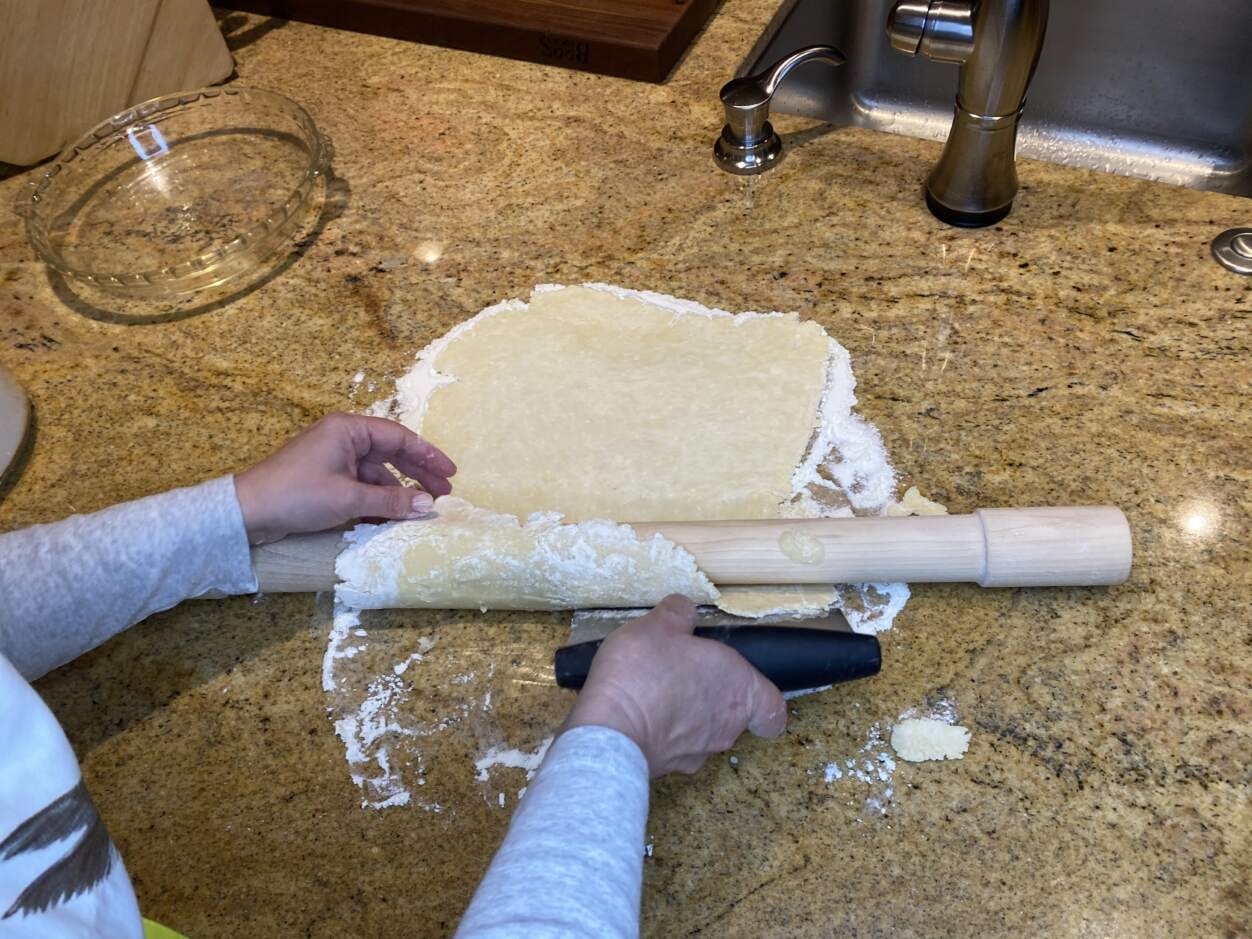

I got the crust recipe off Food52 years ago, and am including a link here. I was also lucky enough to be gifted this amazing rolling pin from Food52 which makes rolling your pie crust into a perfect thickness very easy. I use the 3/8 inch pin for pies, but if you like to bake you should get the whole set as they come in handy for lots of rolled dough (sugar cookies and shortbread to name a few!). The pins have a recessed barrel, so once you reach the desired thickness you could continue rolling forever and it would never get any thinner. If you wonder why this would come in handy think of the benefits of evenly rolled dough. No more thick in the middle, too thin at the edges, pie crusts where part of it is not cooked enough and the other part burns to a crisp. It really does make for easier rolling, especially if you have a nice big solid surface countertop to work with as the pins are quite long. Do remember whatever type of rolling pin you are using to rotate your crust a 1/4 turn with each roll which makes it much easier to end up with something resembling a circle.

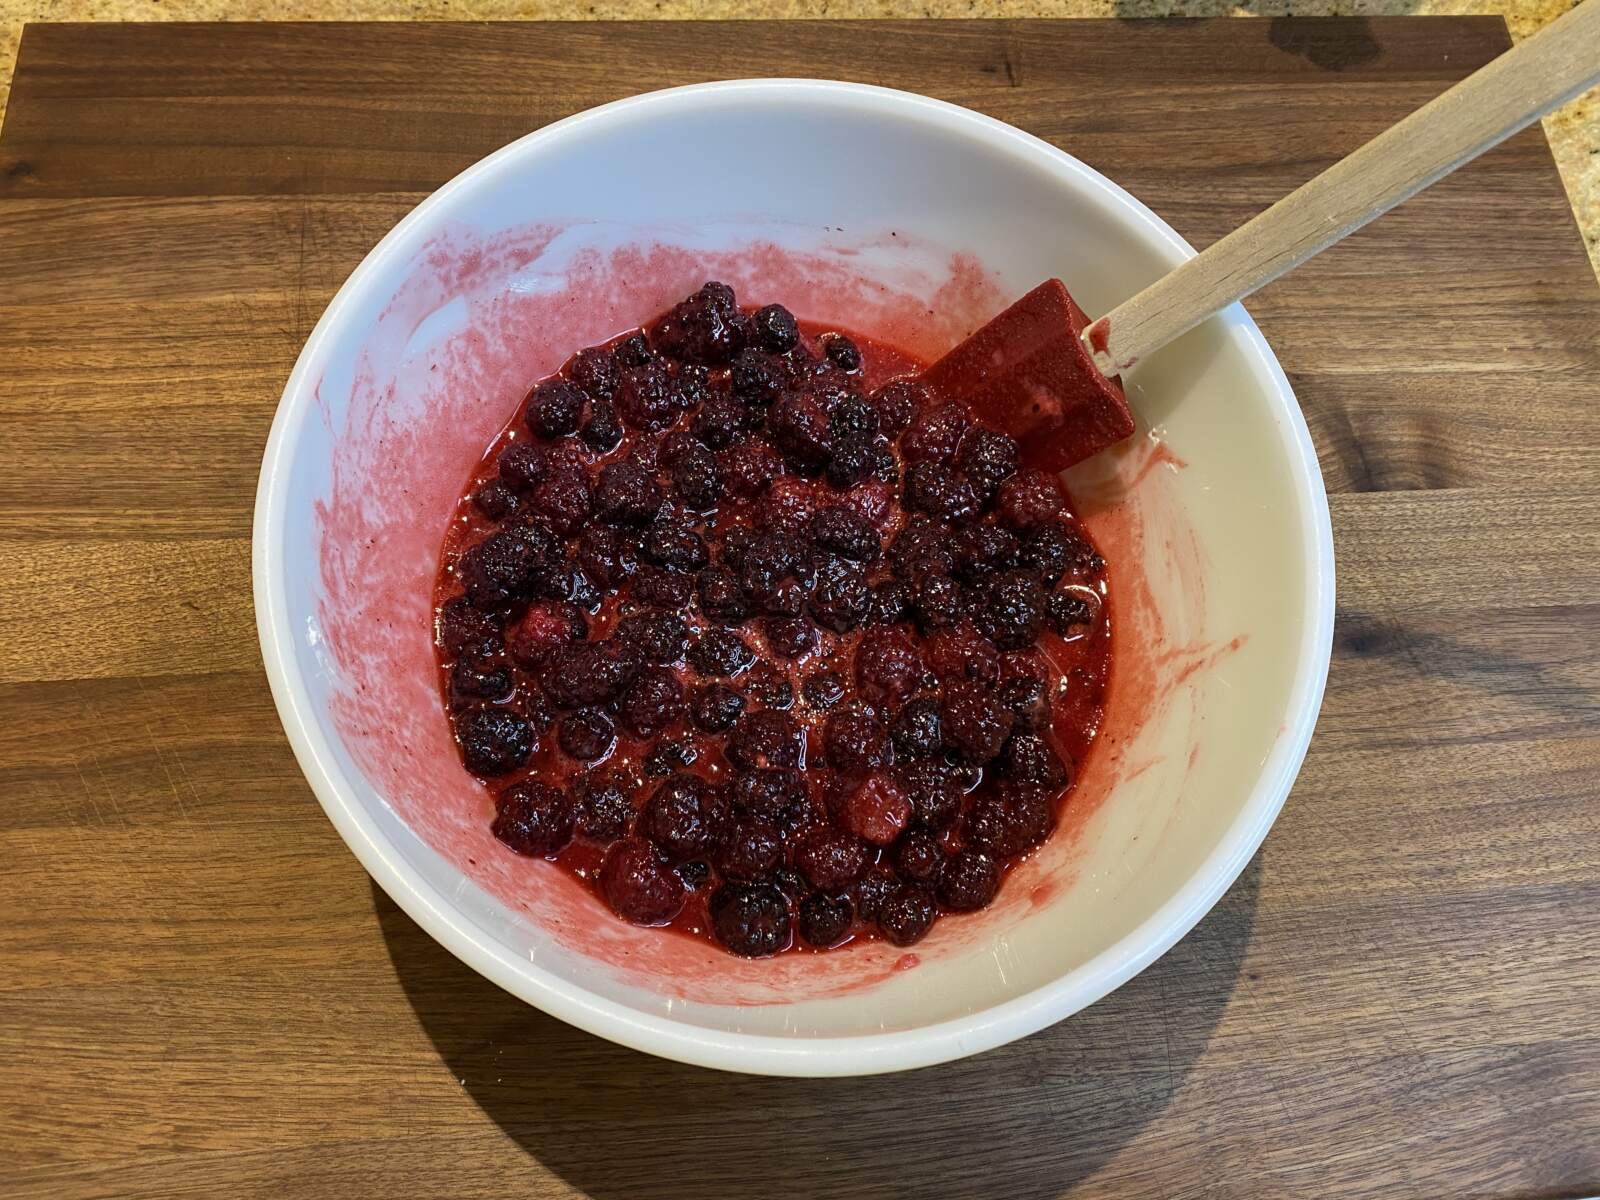


Be sure to let the berries thaw before mixing up the filling. It is always a little tricky to get the right amount of thickener in there and working with frozen fruit makes it nearly impossible. I always ere on the side of too runny as I do not like a gelatinous pie, so if you prefer something a little on the thicker side use an additional tablespoon of corn starch. It’s also worth noting that thawed frozen berries seem to have a greater water content than fresh, so you will use less corn starch if you’re working with fresh fruit. And even though berries are generally pretty tart I like a hint of lemon juice in there. I also always due a pinch of nutmeg as that is what my Granny taught me.
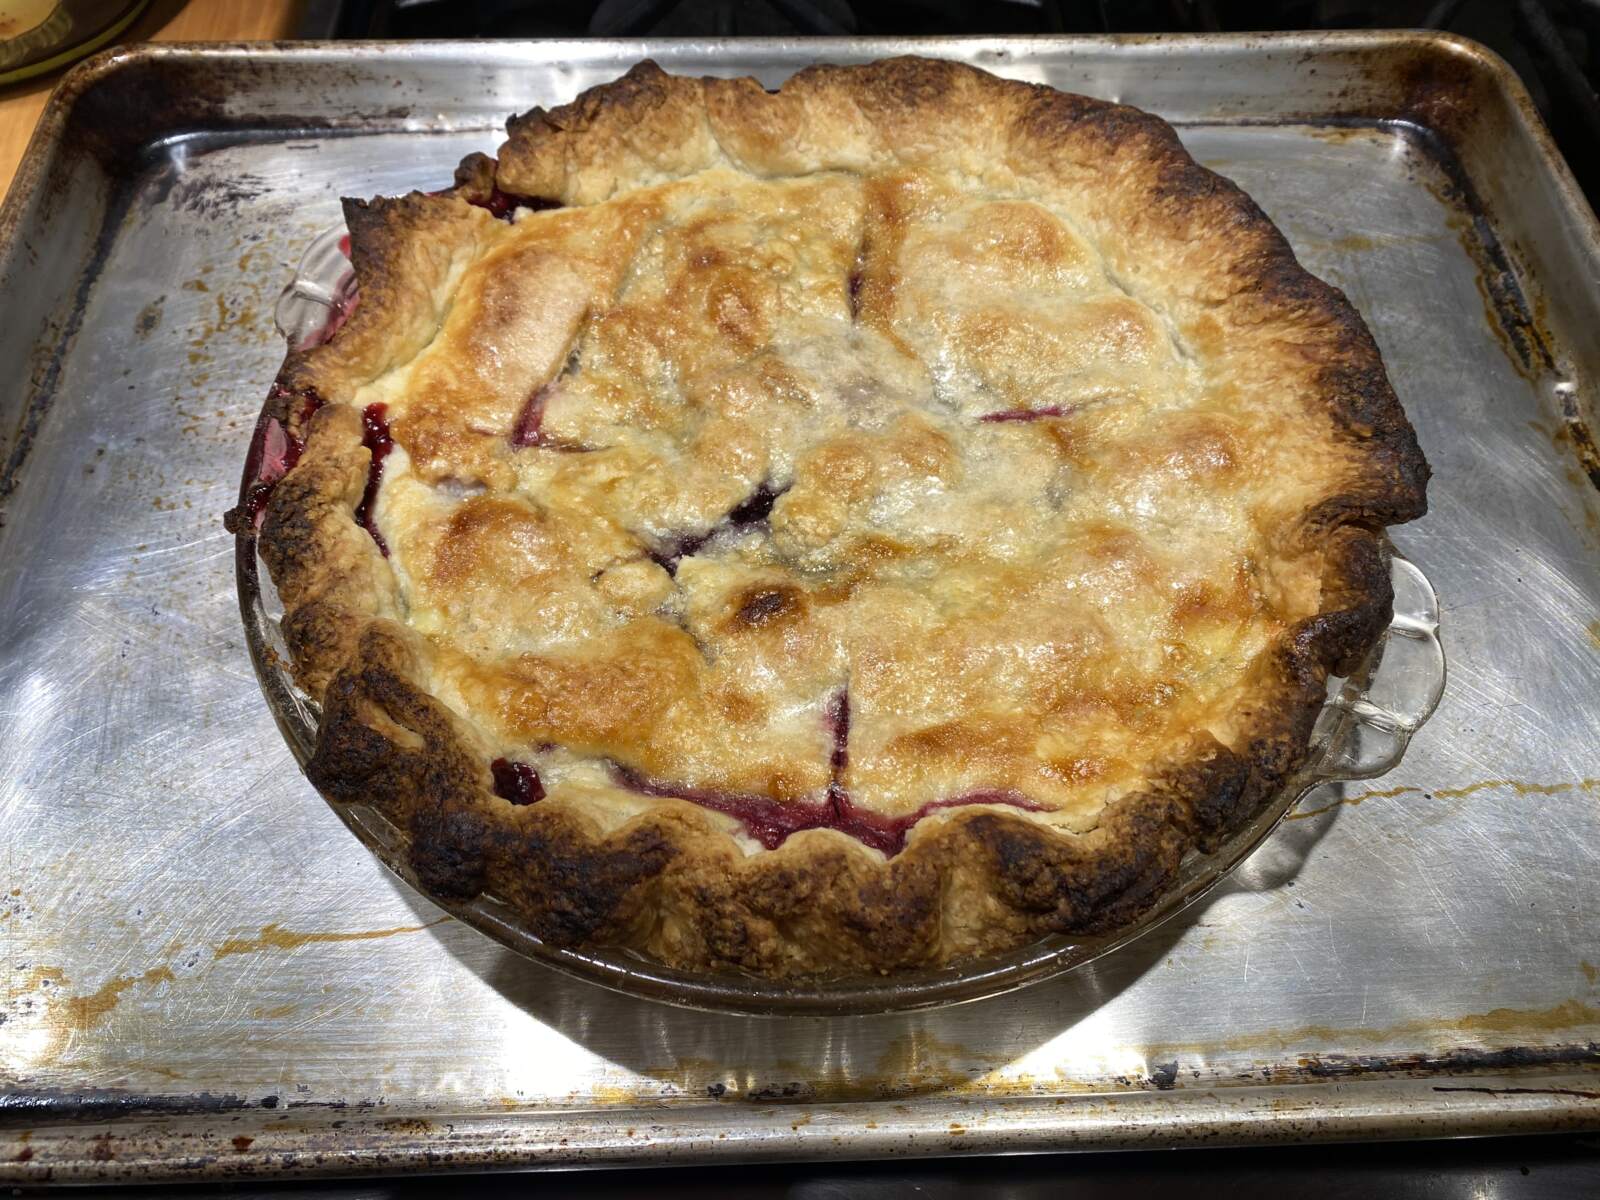
I’m going to experiment with wrapping the edges of the crust in foil next time as this one got a little burned. I always think it is going to ruin the look of the crimped edge to wrap foil around it, but this happens to me at least half the time so it’s time to see if I can figure out a way to work around it.
Are you celebrating Pi Day with a pie this year? I’d love to hear in the comments whatever you’re baking!

Blackberry Pie
Ingredients
- 2 Cooks Illustrated Foolproof Pie Crusts link in text above
- 2 10 oz bags frozen blackberries thawed
- 1 cup sugar
- 1 tbsp lemon juice
- 3 tbsp corn starch
- 1 pinch nutmeg
- 1 egg white beaten
- 1 tbsp sugar
Instructions
- This recipe assumes you will make a double batch of the crust using the link provided. Once that is well chilled set rimmed baking sheet on lower oven rack and preheat oven to 425°. Begin mixing the filling.
- Mix thawed berries, sugar, lemon juice, and nutmeg until well combined. Add corn starch 1 tablespoon at a time until desired thickness. Depending on the water content of the berries you may need an additional tablespoon. Set filling aside.
- Roll crust one half at a time, leaving remaining half in the fridge while rolling out the first one. Remember, cold is KEY when it comes to pie crust!
- Place bottom crust in pie plate and fill with berry filling. Roll our remaining dough and place top layer on pie, trim excess dough with kitchen shears and roll edges under. Using two fingers gently crimp edges.
- Brush top with lightly beaten egg white and sprinkle with sugar.
- Place pie on preheated baking sheet on bottom rack of 425° oven and bake for 25 minutes. Rotate pie and lower oven temp to 375°, bake an additional 30 minutes.
- Pie should be golden brown, adjust time +/- 5 minutes as necessary. Transfer baking sheet with pie to cooling rack. I like to let it cool completely on the hot baking sheet as this further cooks the bottom crust.
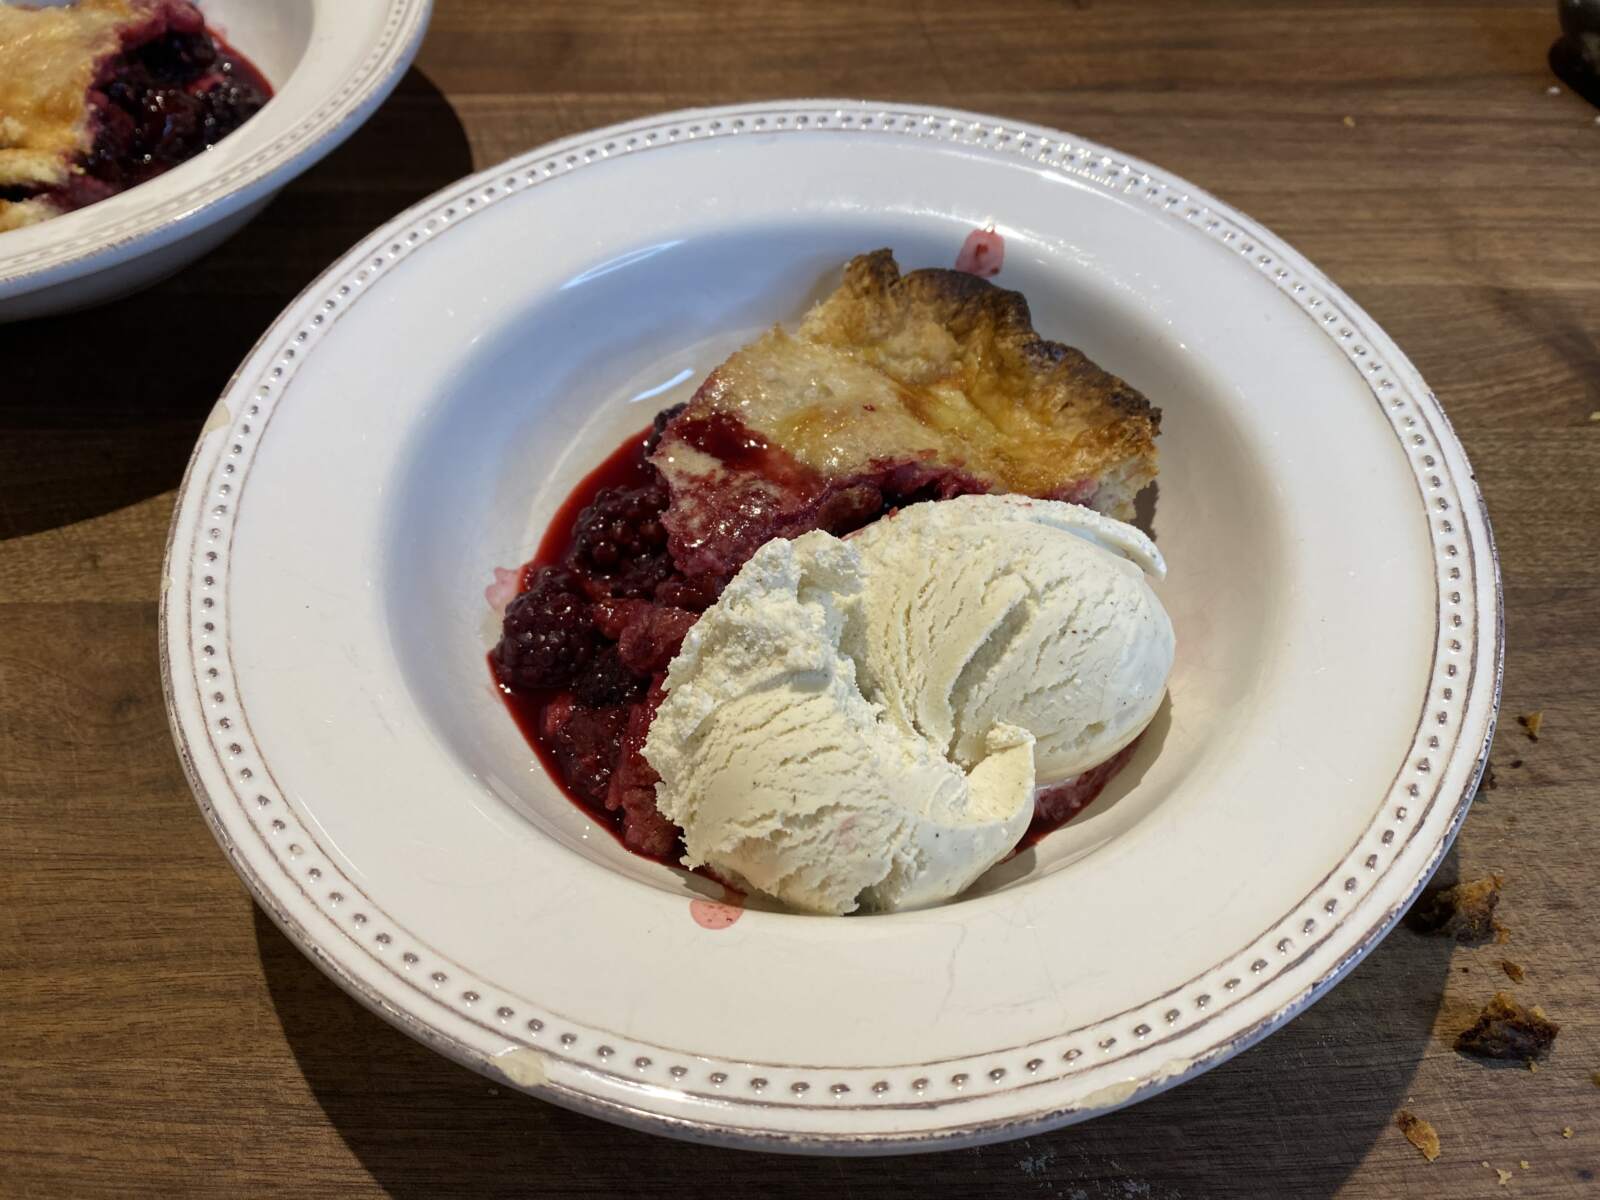
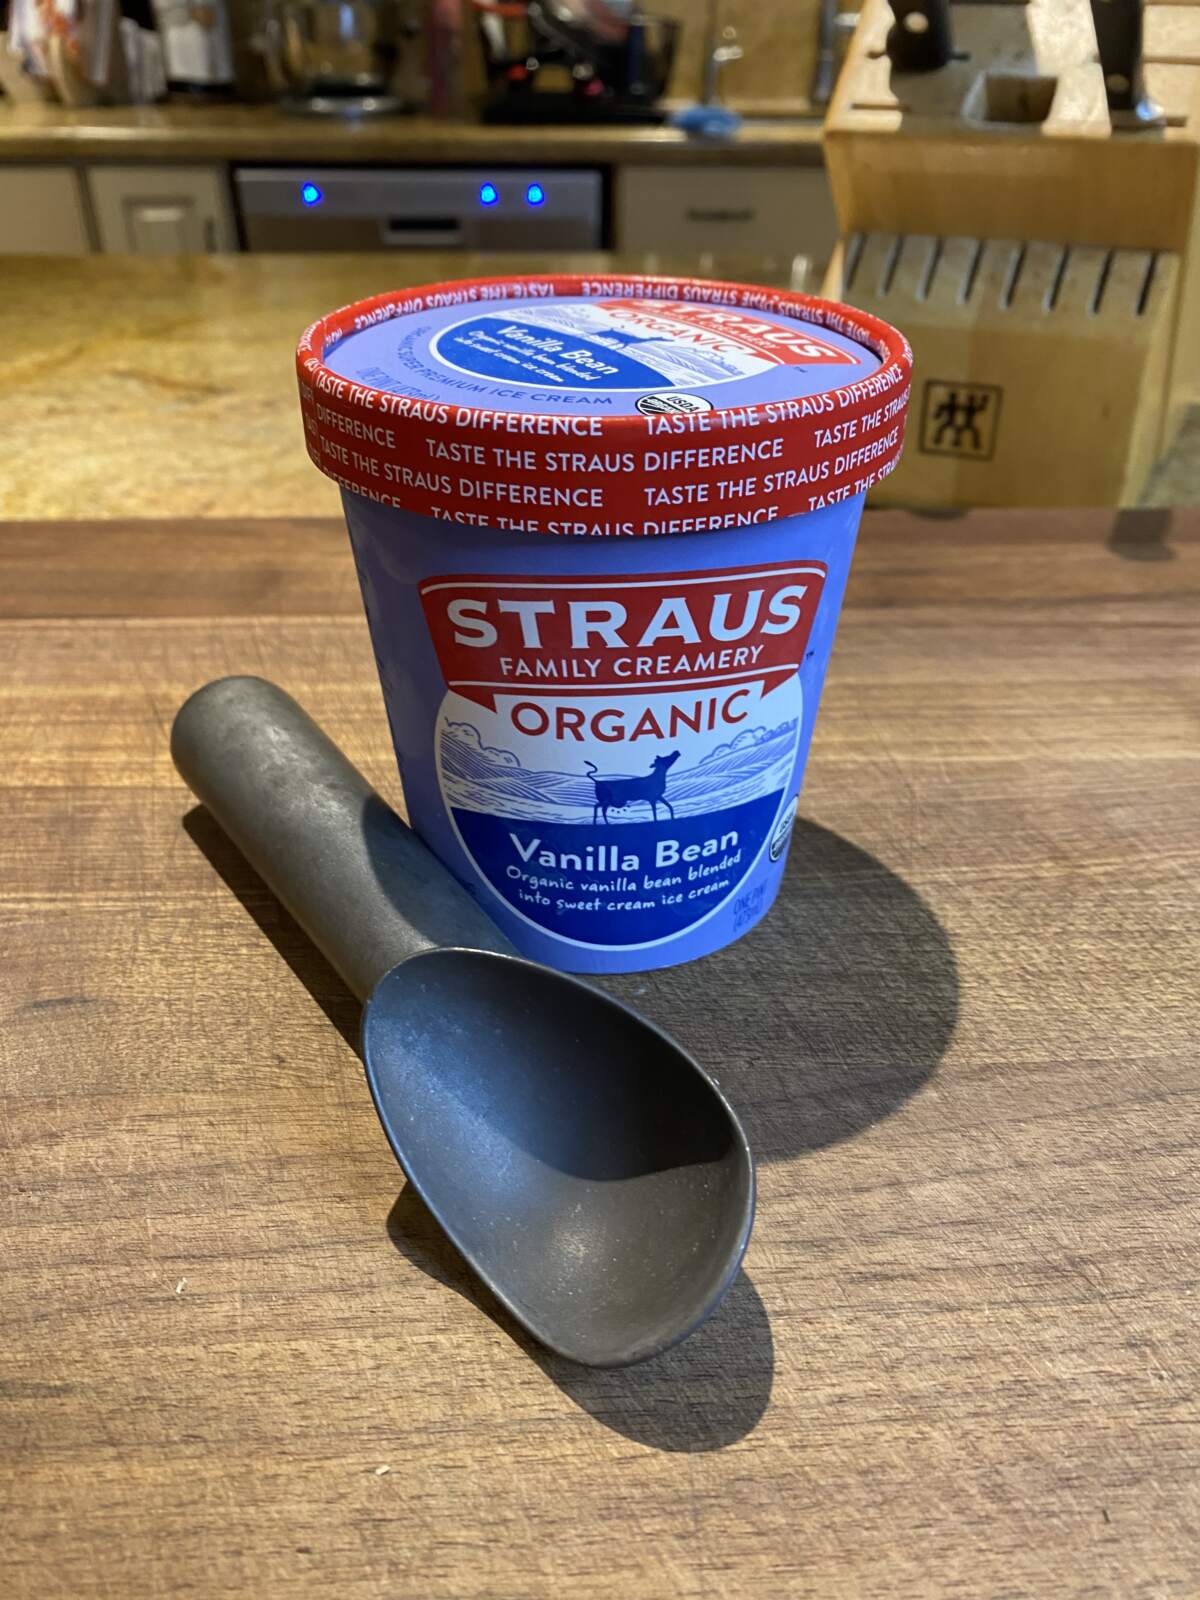
- Serve slightly warm or at room temperature with vanilla ice cream.