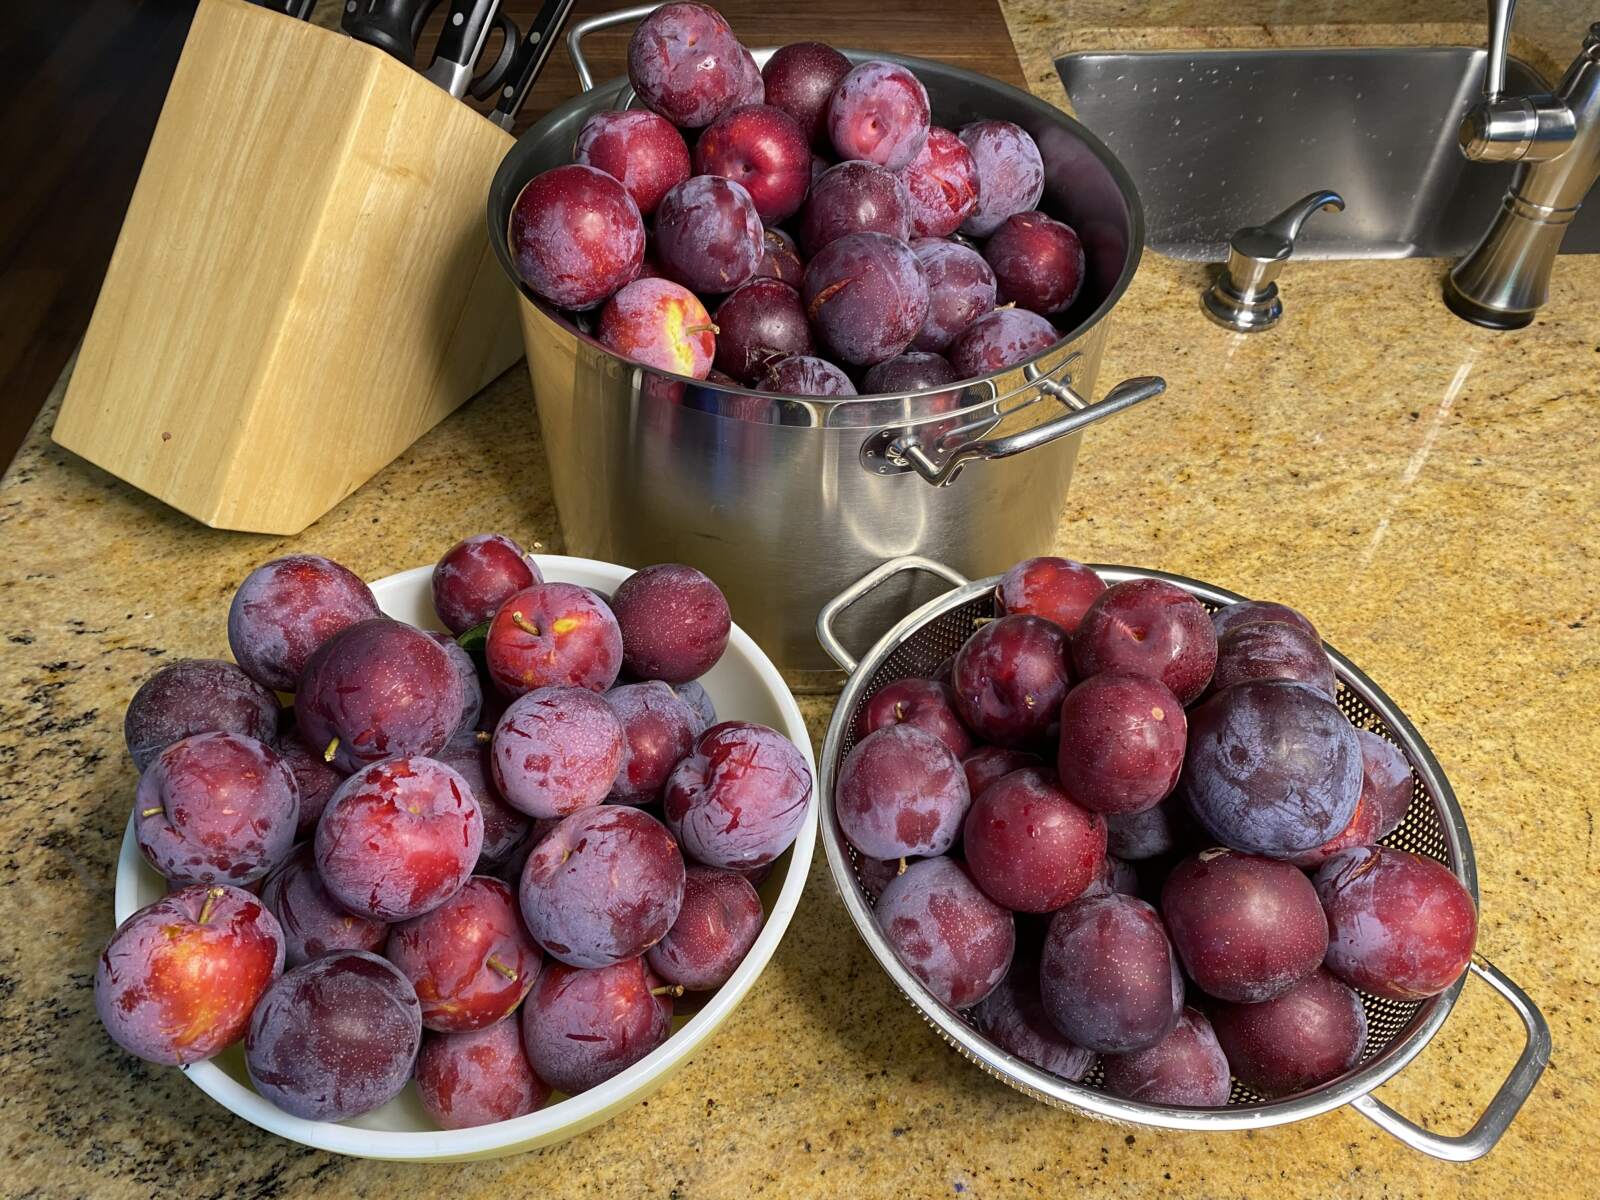
Jason and I both grew up with grandparents who loved to grow their own fruits and vegetables. And as anyone who has ever tended their own garden or had a prolific fruit tree knows, you often get too much of a good thing all at once. Which is why both or our respective grandparents were well versed in the art of canning, making their own canned peaches, apricots, pickles, jams, and jellies. So when we moved in to our current home in Petaluma and found a well producing plum tree in the backyard we were fortunate to have a family recipe to make use of the plethora of plums it usually produces. We have had a few off years, part of the cycle of fruit trees and California drought I suppose, but this year was a bumper crop with twenty five plus pounds of fruit. Which means all of our friends and family will be getting plum jelly for Christmas (again!) this year.
If you’re like me it feels way to early to start talking about Christmas, but this jelly has become a traditional gift for us, and some years we don’t actually make the jelly until October or November. How can one make plum jelly in late fall you ask? Well, one of the great things about making jelly is that it is made from juice as opposed to the pulp of the fruit, which means after you juice your fruit you can freeze it if you need a bit of time before turning it into jelly. We pretty much always need that and this year is no exception as we had just returned from a trip to Mexico when all our Santa Rosa Plums were ripening. But I vastly prefer to make the jelly in summer, and after a recent trip to Filoli with a friend who had just made jelly for the first time and was having some issues getting it to set up well, it feels like the right time to get all that juice turned into jelly!
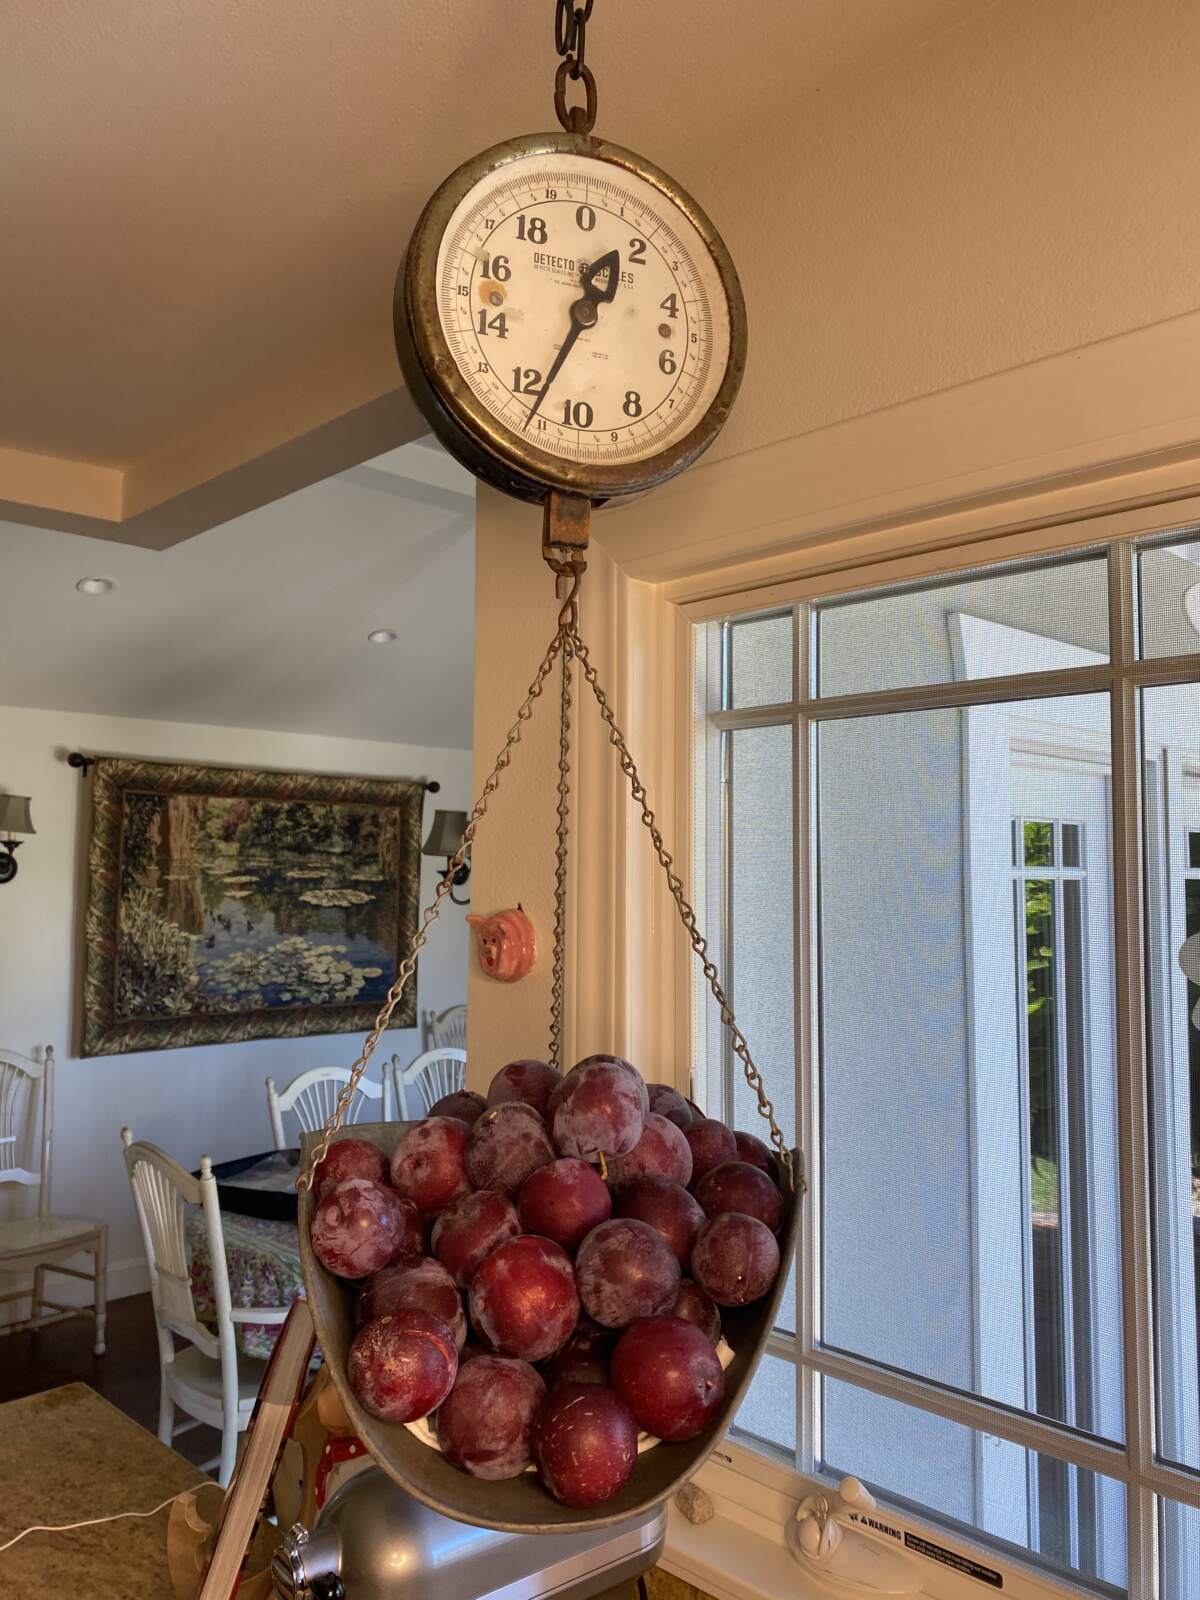
The first step is always to juice the plums, which is super easy although a bit time consuming. We pick everything we can all at once as it is ok to have some less than ripe plums in the mix. Even bruised fruit is ok as long as it isn’t rotten. You will need to know how much fruit you have by weight as that dictates the amount of water you will use, the ratio is 1/2 cup water per pound of fruit, and I’m lucky enough to have an antique scale hanging in our kitchen so weighing the fruit is easy. My mom and I found the scale years ago at the Alameda Antique Faire and I had Jason hang it right next to the sink as a handy place for us to store dish towels, but it’s really great for this as I’m not sure my counter scale is up to the task of weighing such a large quantity.
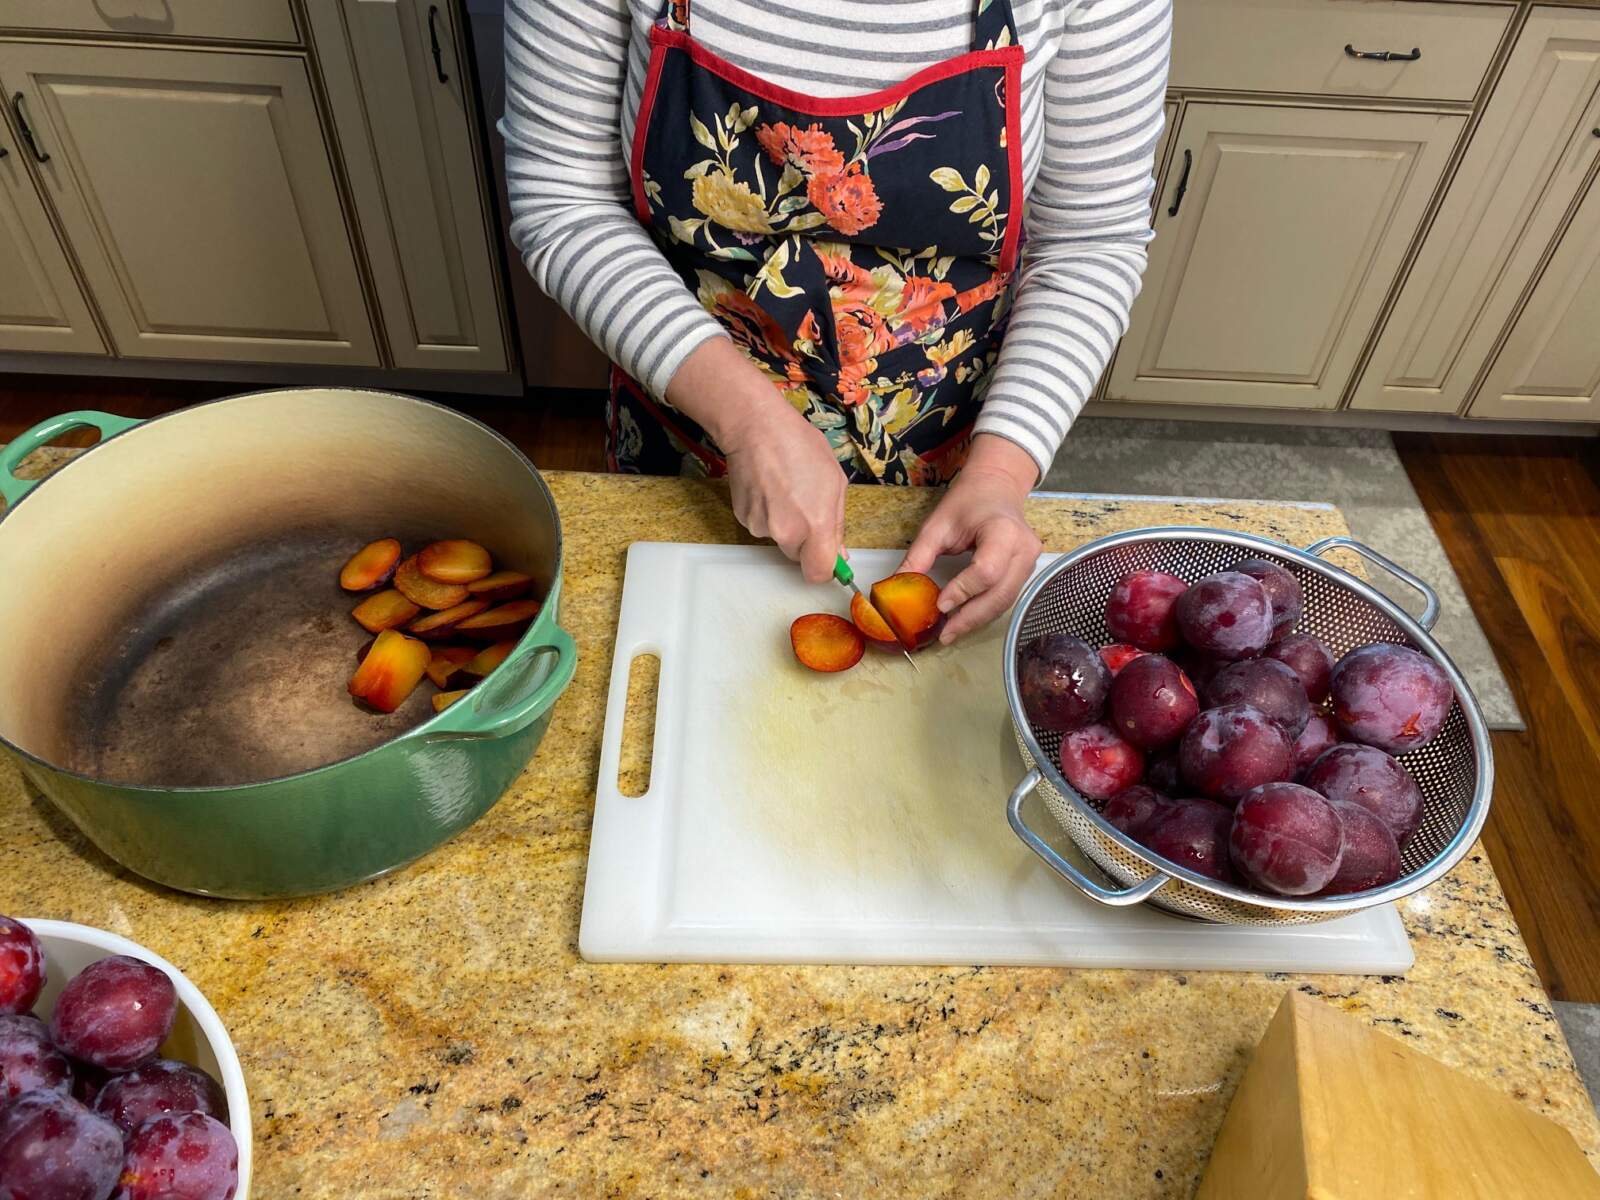

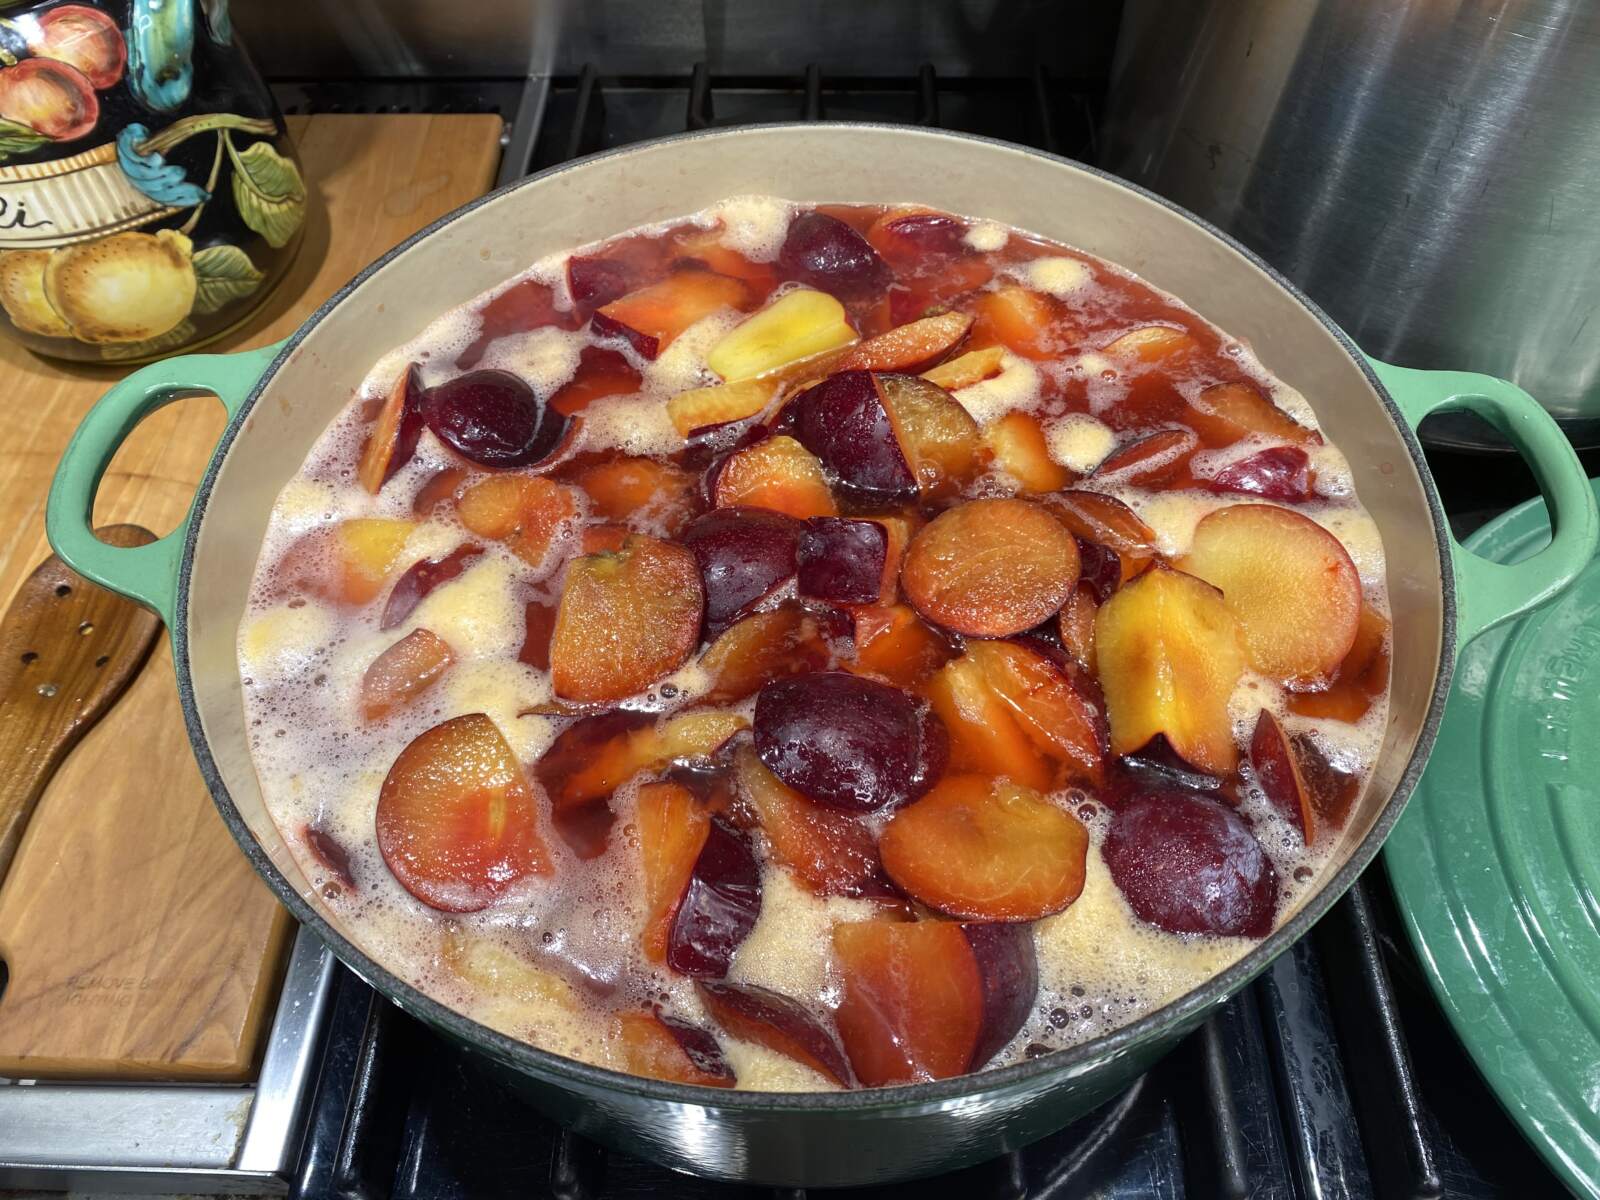

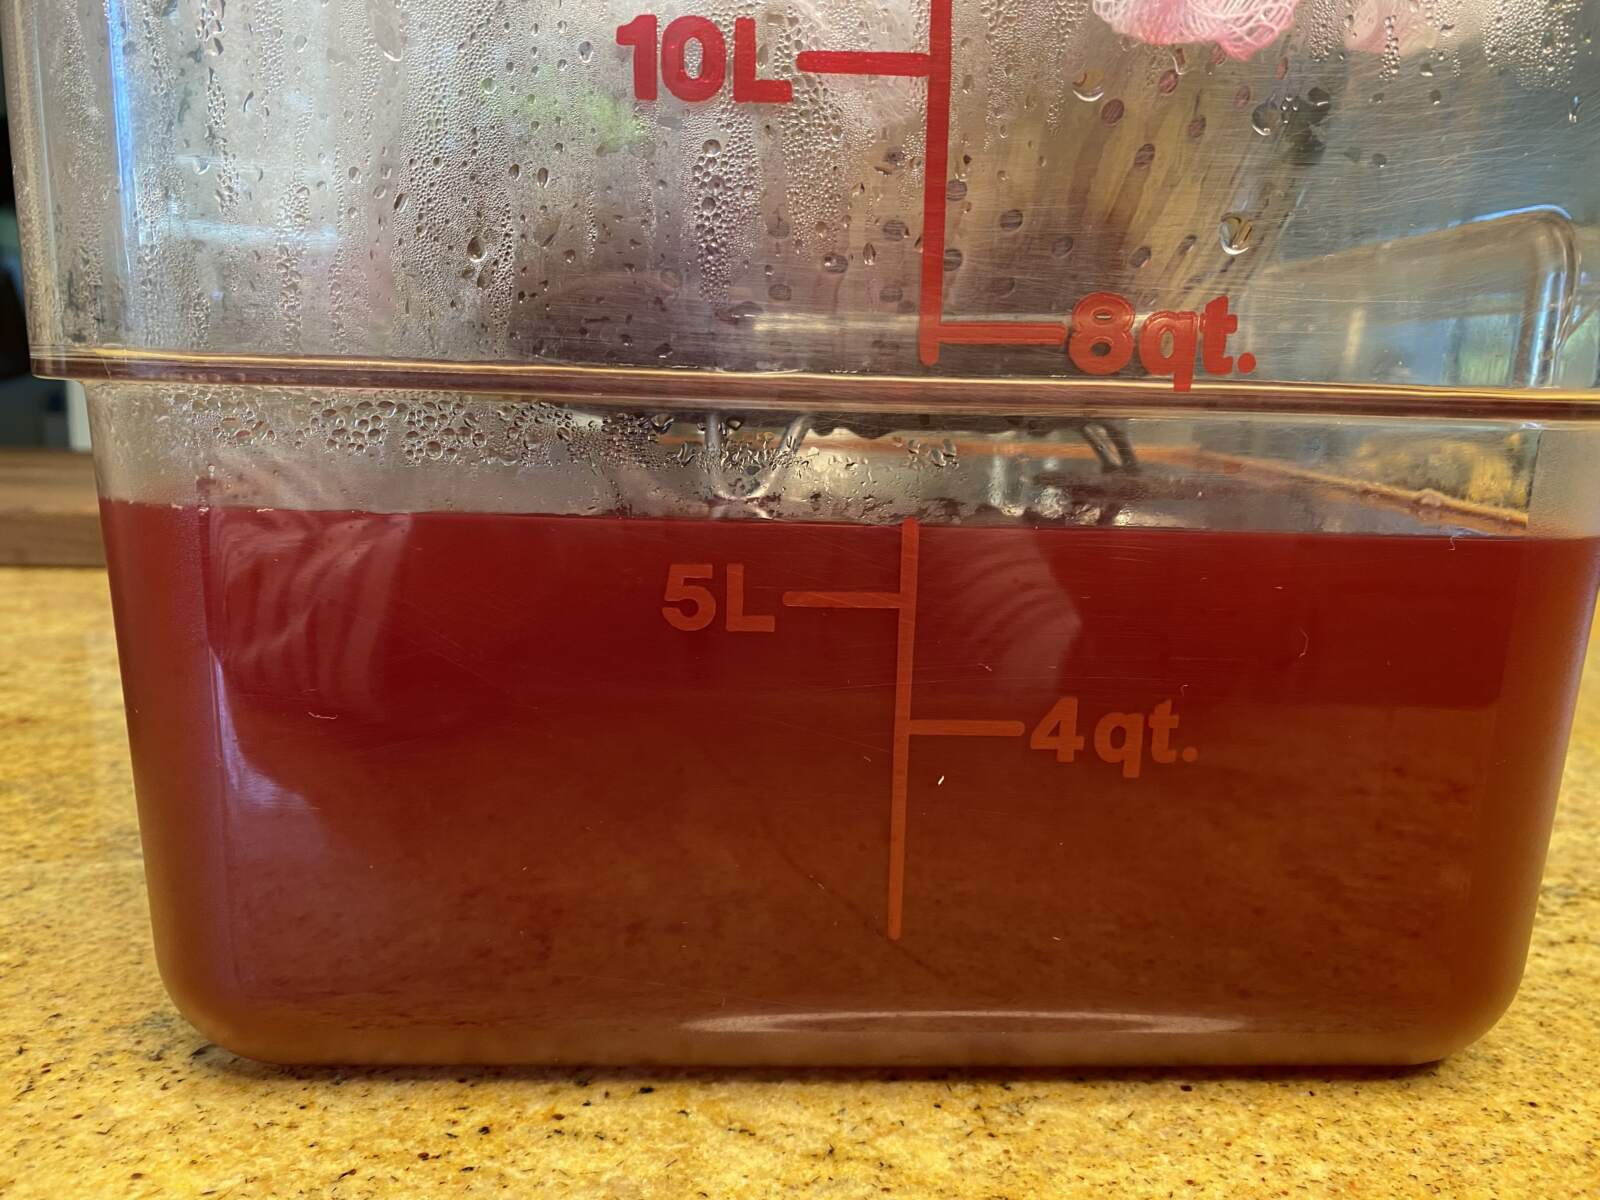
I weigh and rinse one colanders worth of fruit at a time keeping track of how much is in each of my two largest pots. There is no need to pit or peel the plums, and the peels are actually critical to leave in as they are what give your jelly that beautiful color! I think technically you’re supposed to use stainless steel but I usually use both my large stainless pot and my big Le Creuset, which is enameled cast iron. The key is to use very little water, 1/2 cup per pound feels like not enough when you get started, but trust me it will produce a lot of juice once the fruit is cooked! Bring it just to a simmer and cook for about 20 minutes, or until the fruit is soft, stirring occasionally. Overcooking the fruit will damage the natural pectin so I stick closely to the 20 minute time frame, especially since plums are already pretty soft. Transfer the pulp and liquid to a large colander lined with cheesecloth and set over something to collect the juice. I love this handy set up Jason created with a few wooden spoons and our largest storage container which I originally bought for bread dough but is handy to have for many reasons. A steamer insert (not the pasta insert) for a pasta pot also works great, and we use both since we juice such a large quantity of fruit. The important part is that there is space between the collected juice and the draining fruit. Allow fruit to drain for at least 2 hours, longer is better, and resist the urge to press on the fruit pulp which will cloud the juice. We usually let ours set for about 6-8 hours, then transfer to containers that we can freeze until we are ready for jelly day.
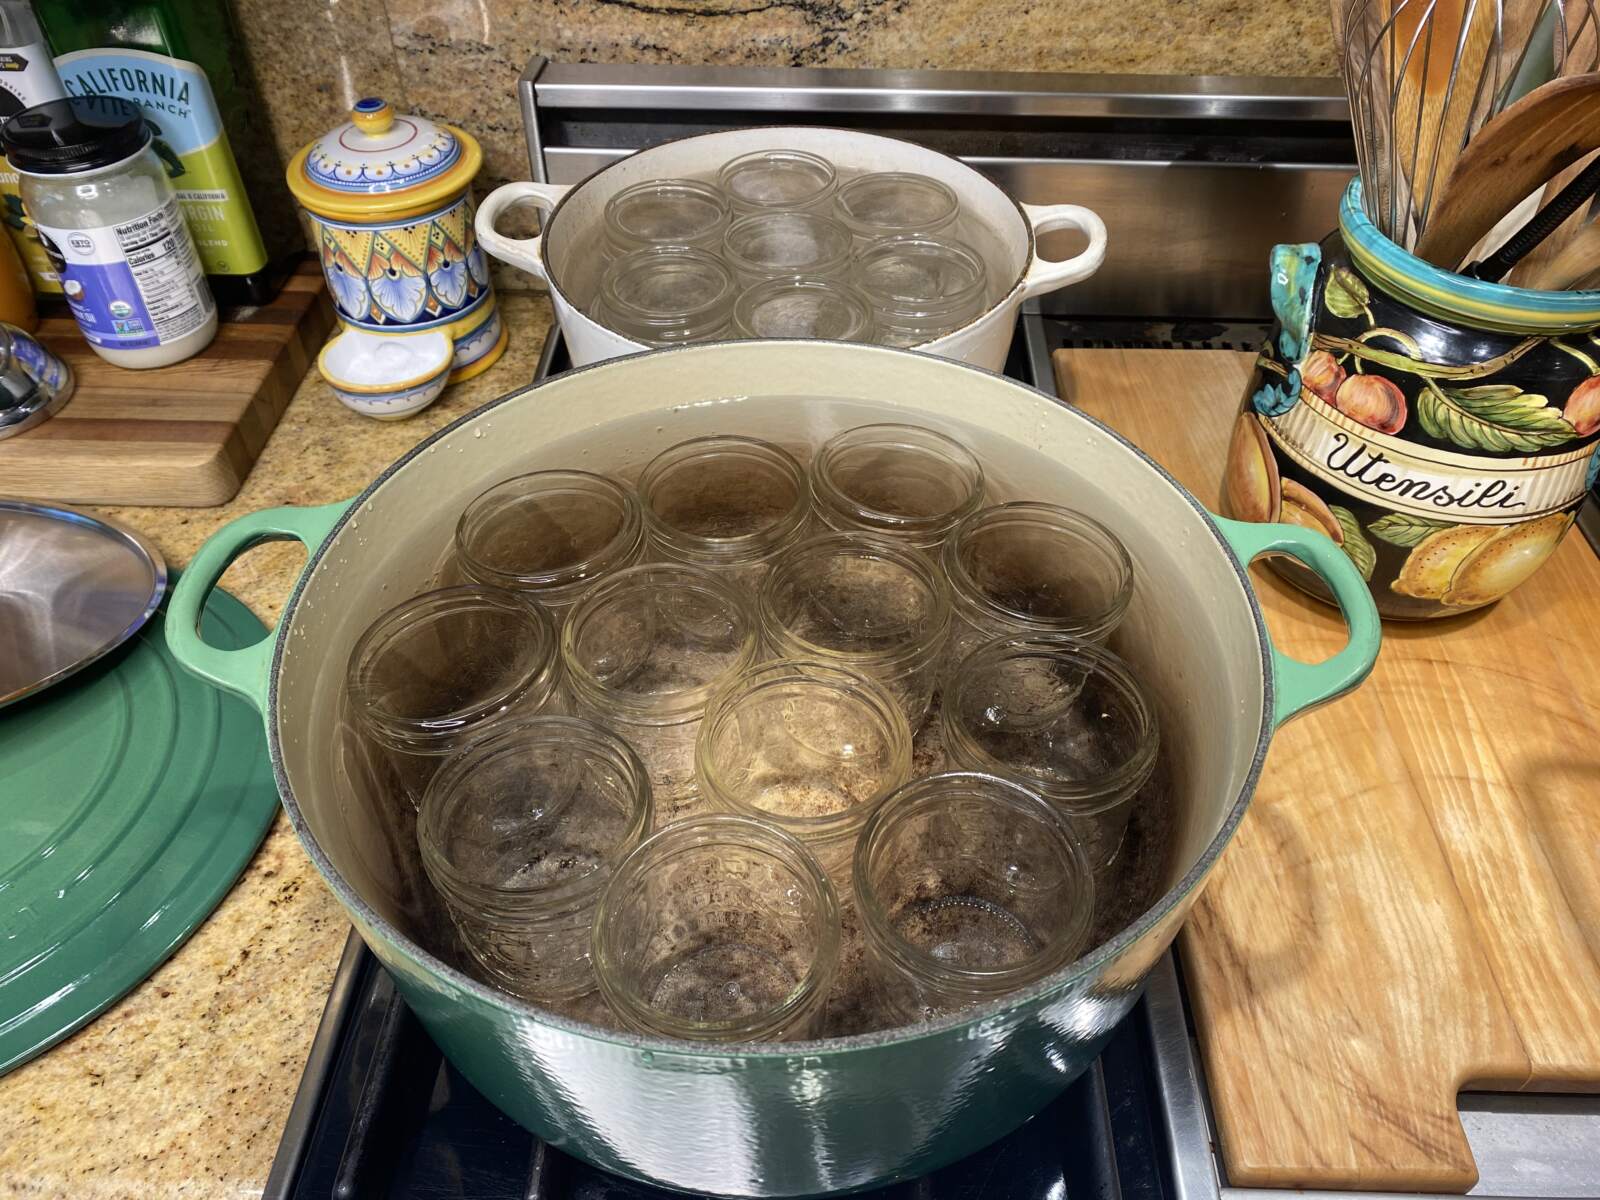

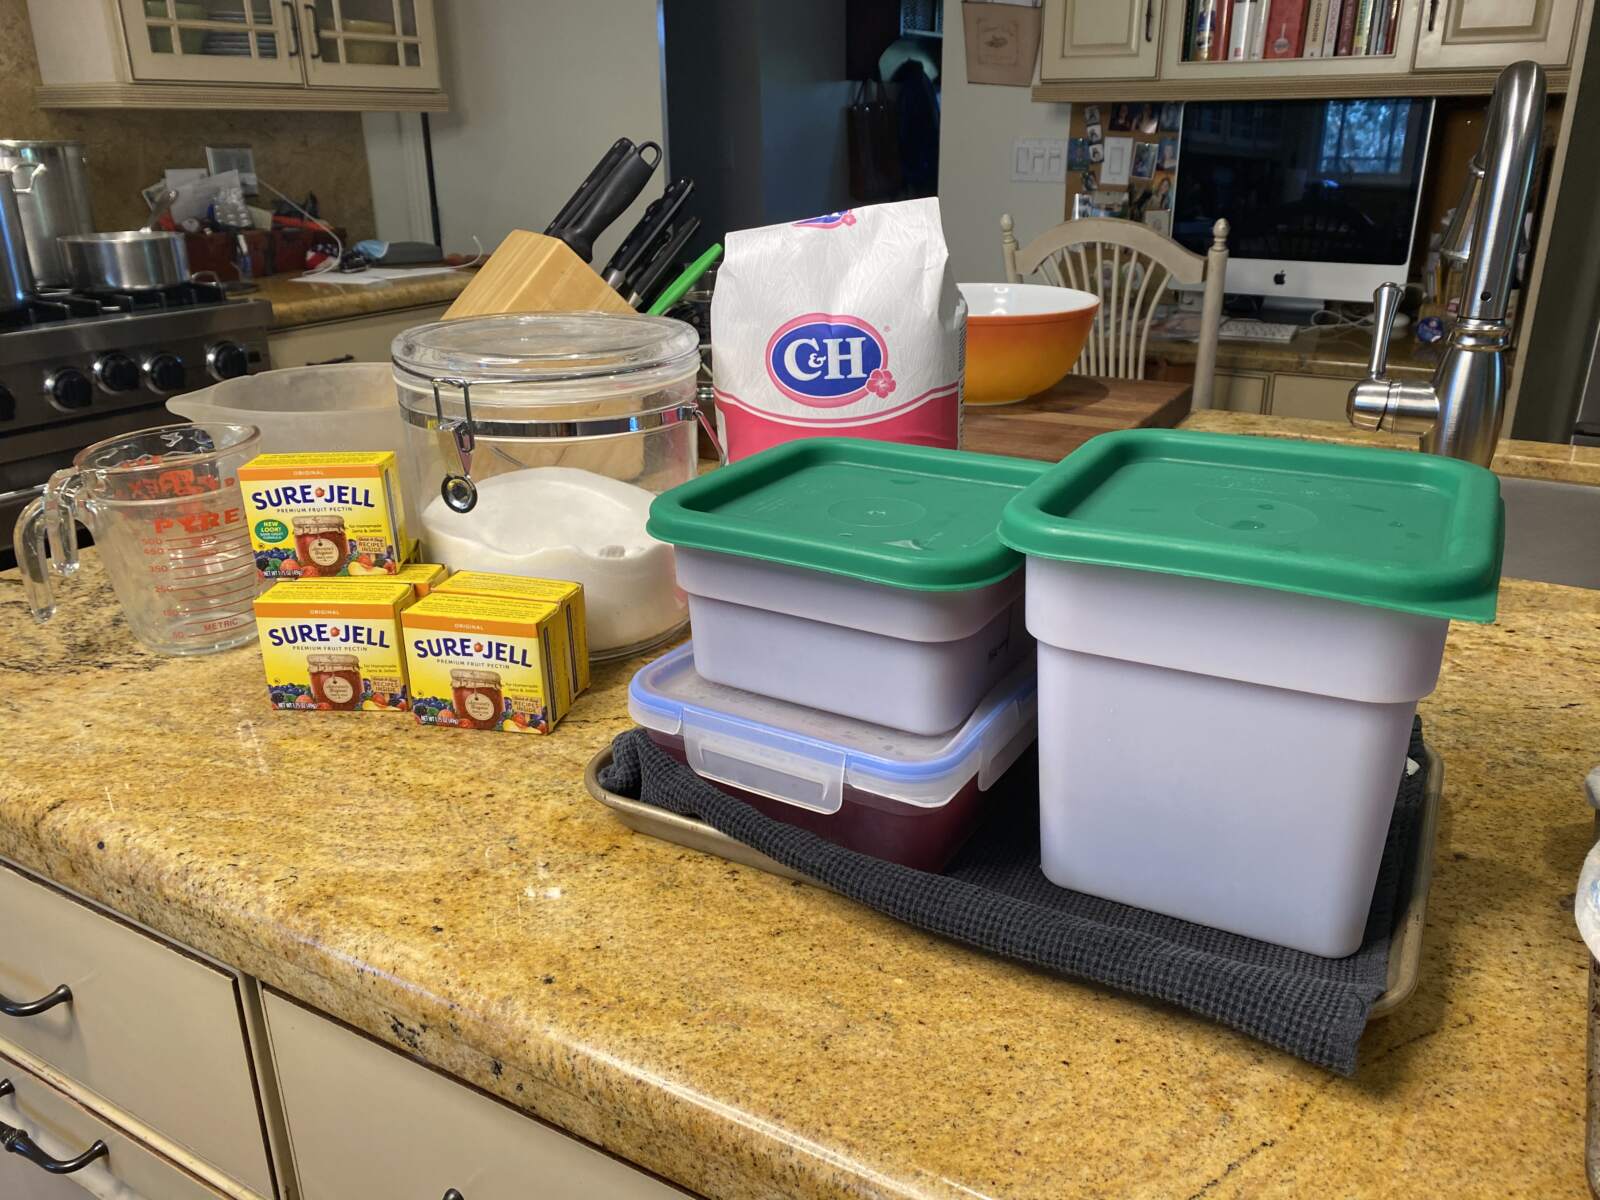
Once we are ready to make jelly I will let the juice thaw overnight in the fridge and then for an additional couple hours on the counter while I get everything set up. You’ll need every large pot in the house available this time as in addition to the biggest stainless steel one you have (mine holds 16 quarts) for making the actual jelly, you’ll need several for heating your jars and a small saucepan for heating the lids. I like to have more jars and sugar than I think I will need on hand since over the years I have run out of both. I also do a mix of pint and half pint jars so I can give it away to a lot of people and those friends and family who are big fans can get a big jar.

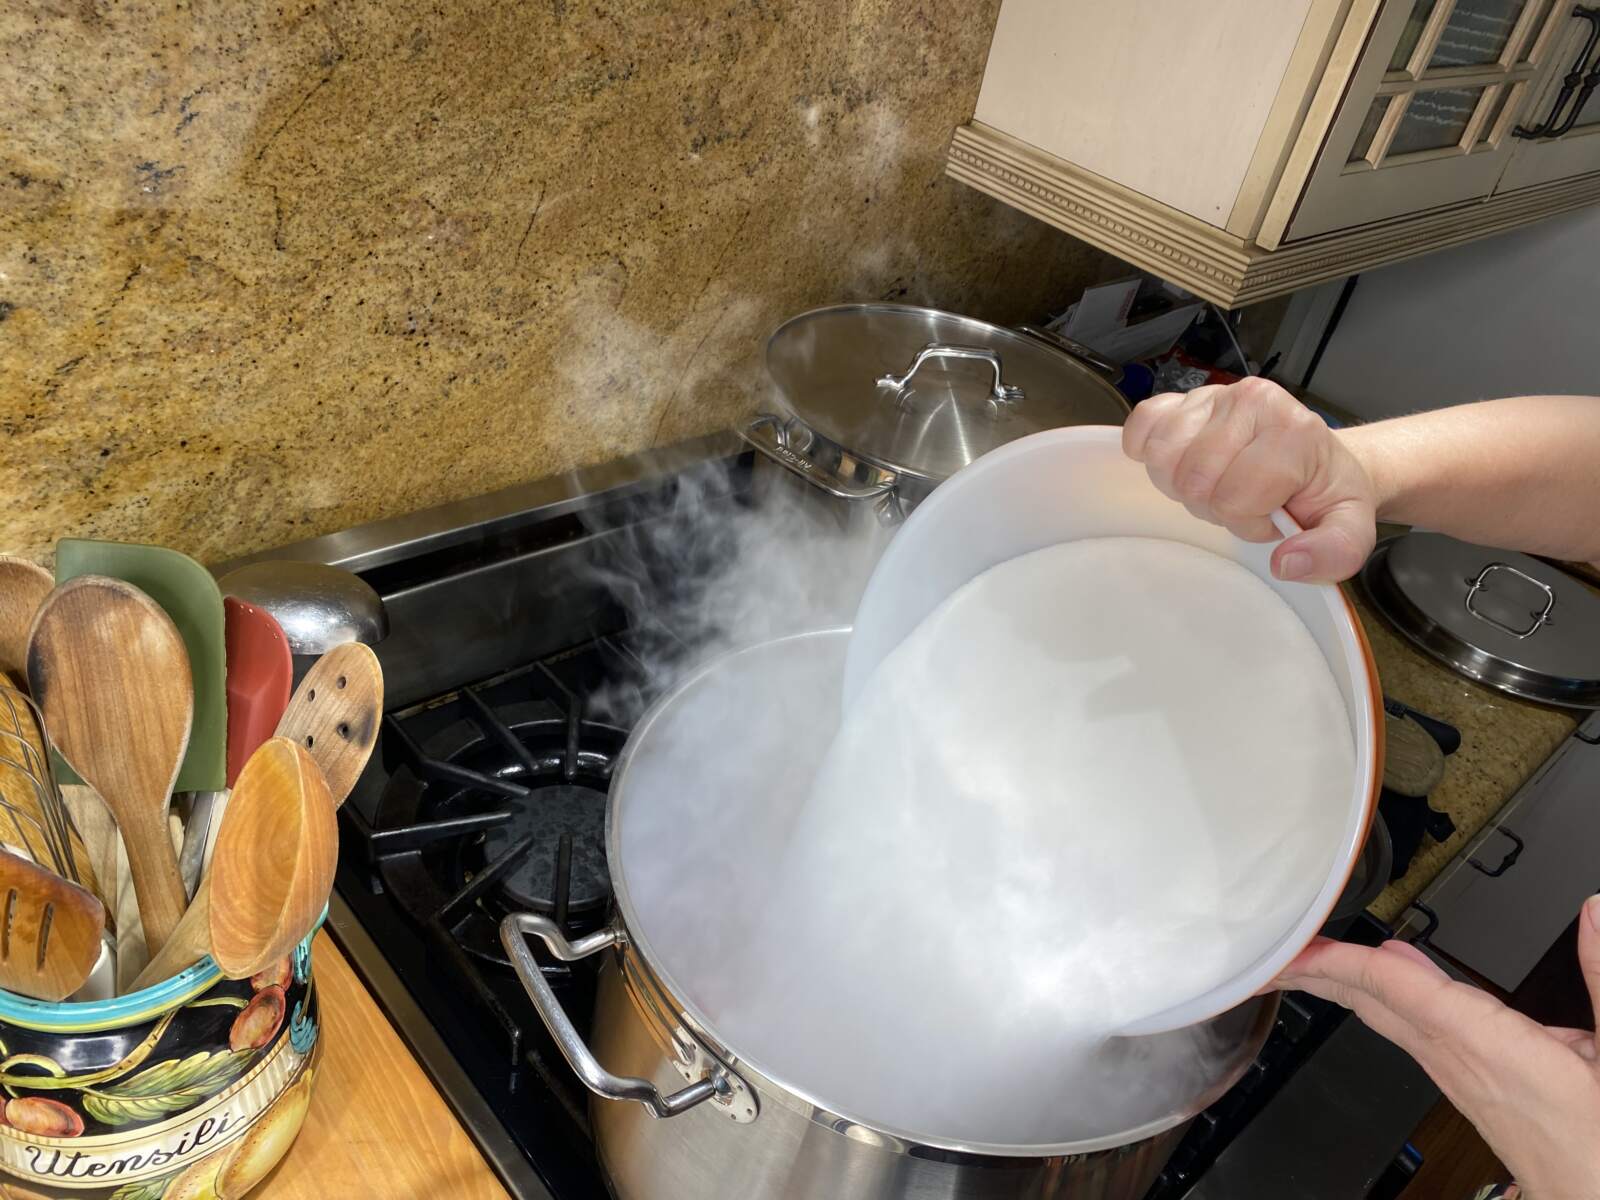
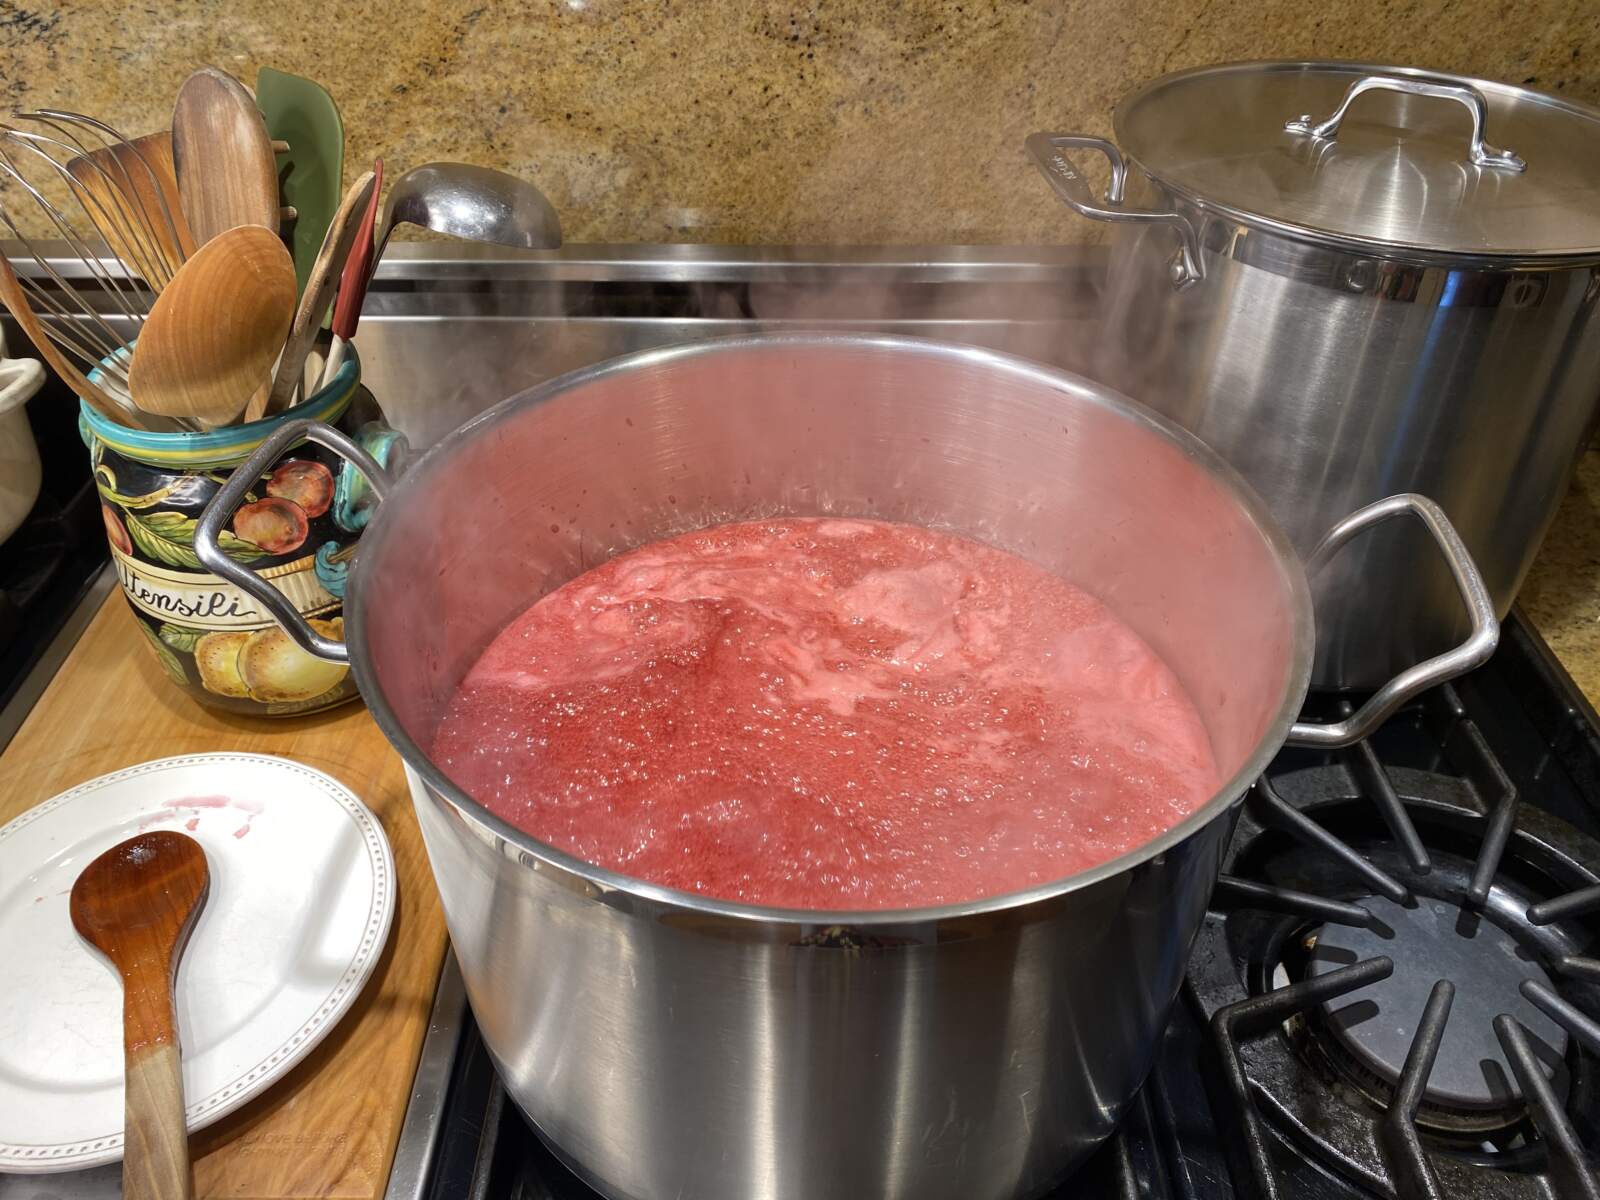

It’s not particularly complicated, but since we are dealing with large quantities of juice it takes some time to bring the jelly to a boil and each batch requires two boils. Although it is not pictured here I often wear my OveGlove (I got this cute set at Sur La Table a few years ago, but it has the same heat protection as the original) while stirring the jelly because it gets hot! And I’m lucky to have a husband who is willing to help so we take turns with that part. We make between 2 and 3 batches of jelly depending on how much juice we have and do our best with guesstimating if we have to alter the amounts in Opa’s recipe which is below. I really tried to come up with a list of ingredients that did not include the 1/2 box of SureJell you will see in the recipe, but I just couldn’t seem to wrap my head around that math! What I will say is that it is a lot more sugar than my friend used when she had problems with her jelly setting up, which was more of a 1:1 ratio of plum juice to sugar. In fact, Jason was horrified by how much sugar was in it the first time we made it and that Christmas we made cute little labels calling it Opa’s Sugar Plum Jelly! It fit with the season, but over the years I guess we have become immune to the heavy sugar content. If it truly bothers you SureJell does make a special pectin for using with low sugar jams and jellies, but I know we’ll never stray from this particular recipe because of our sentimental ties to all those jars Opa made just this way.
Opa’s Plum Jelly
Ingredients
- 11 1/2 cups plum juice see note
- 1/4 cup lemon juice
- 2 1/2 packages SureJell fruit pectin
- 17 cups sugar
- 1 tsp butter
Instructions
- Place plum juice, lemon juice, and SureJell in large stainless steel pot and bring to rolling boil over medium high heat stirring constantly.
- Once the boil is rolling and you are unable to stir it down boil for 1 minute, then add the sugar. If the sugar balls up use a wooden spoon to press against the side of the pot to break up the ball.
- Stir constantly to dissolve sugar, bringing back to a boil. Once boil is rolling again stop stirring and allow to boil for 2 minutes. Jelly will foam up at this point so be sure you've used a pot that is big enough to allow for this.
- Turn off heat and add butter which helps to reduce foam. If you do get some foam in your jars of jelly you can remove it with a clean teaspoon before sealing.
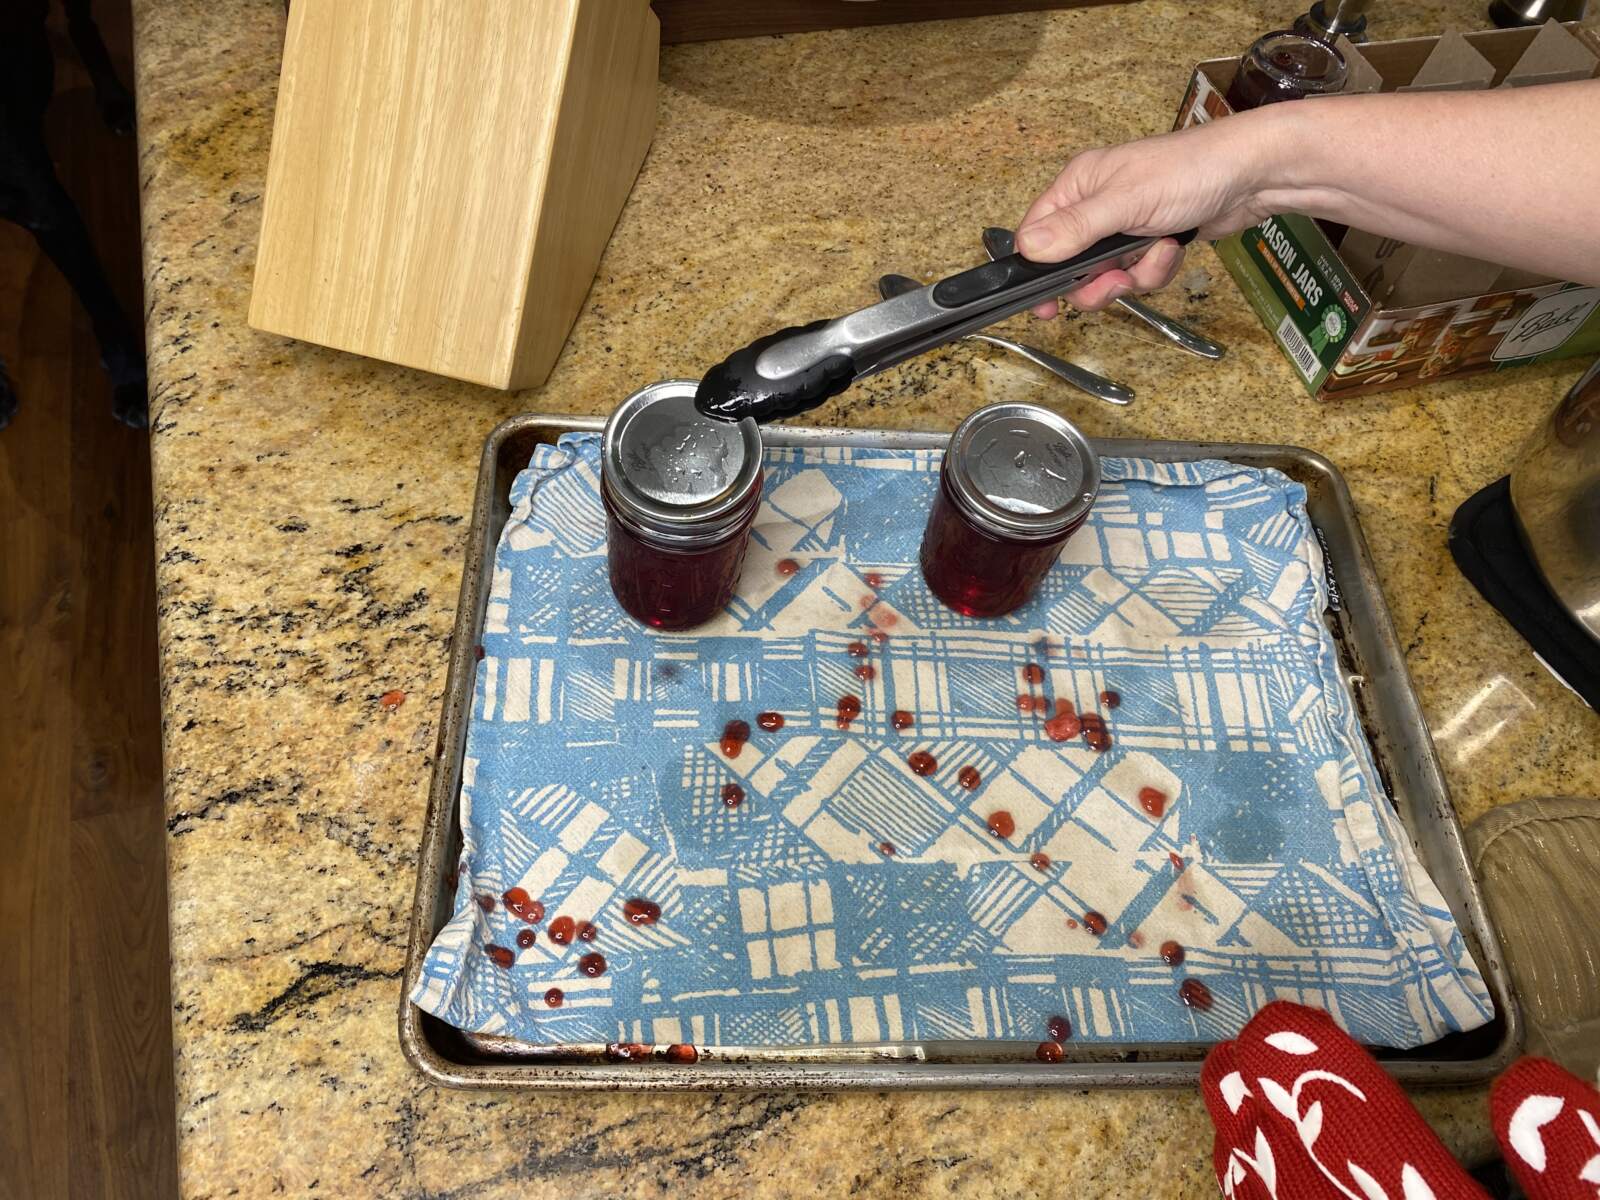
- Transfer jelly to heated jars filling to just below ring marks. Top with heated lid and seal with ring twisting tightly.
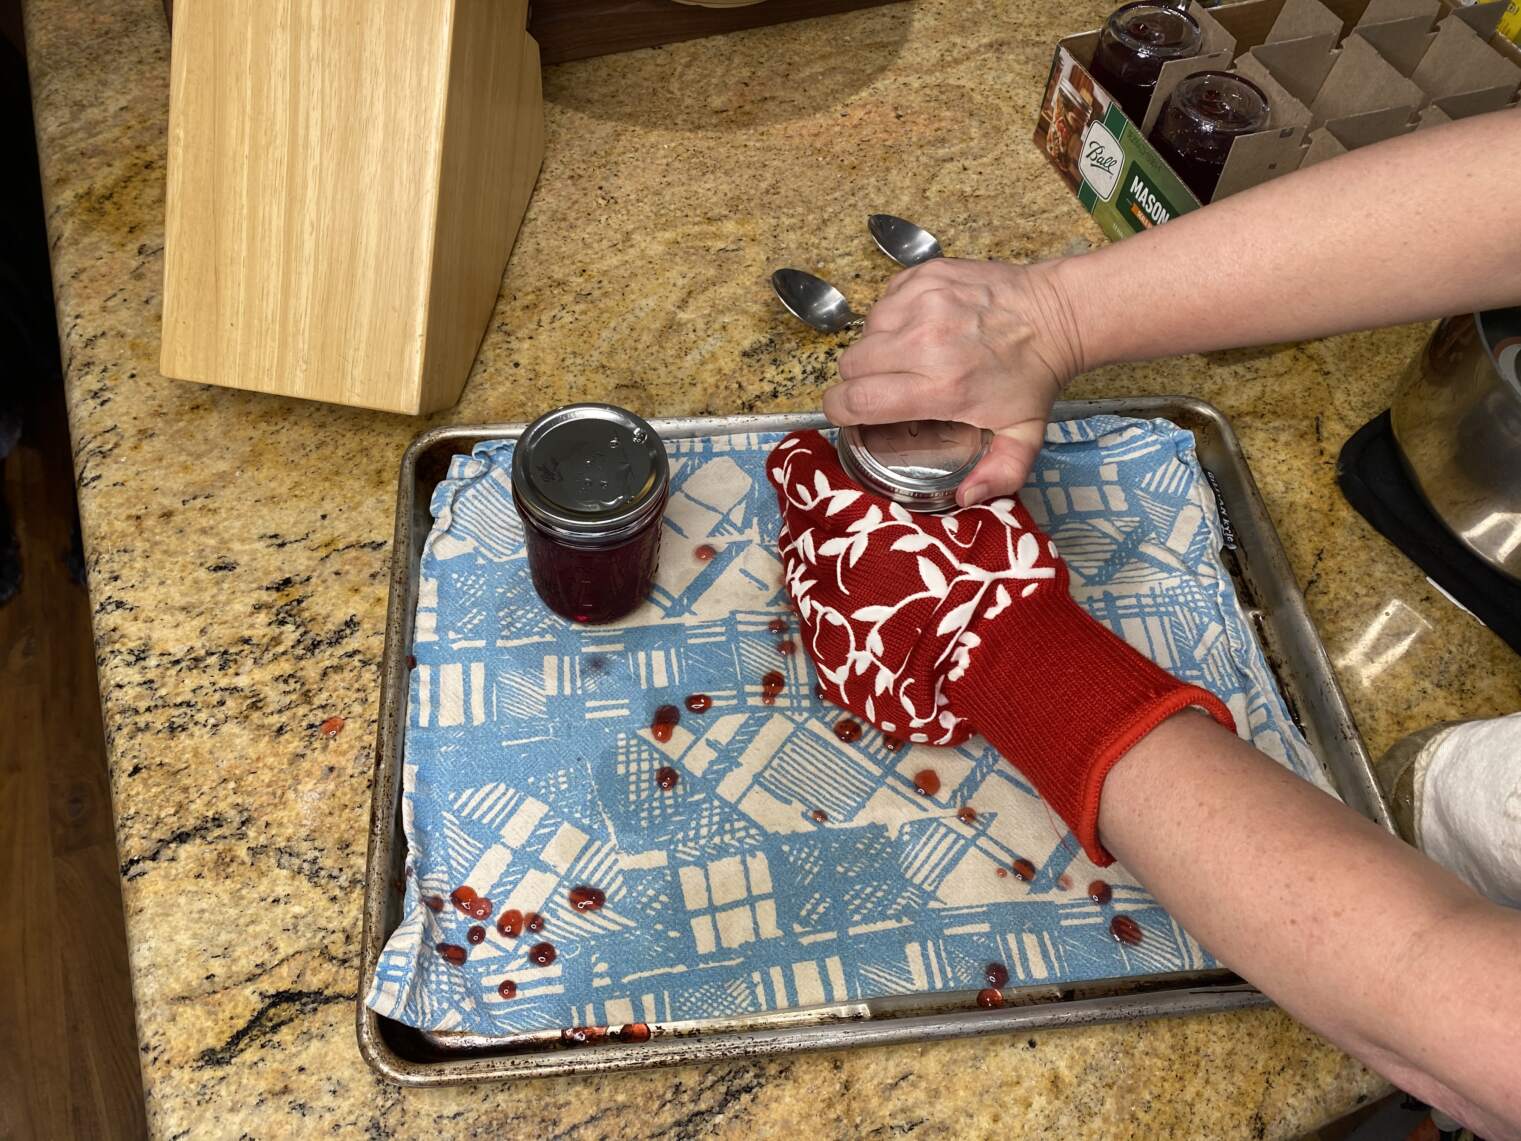
- Place jars upside down for approximately 30 minutes which increases heat at the lid and helps seal the jars. Flip so jars are right side up after half hour and allow to cool to room temperature.
- Test each jar to see if it has sealed by pressing firmly on the center of the lid. If a jar has sealed there will be no give, if the lid presses up and down then the seal did not take. Store any jars that did not seal in the fridge and use first.
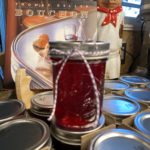
- Sealed jars may be kept in a cool dark pantry for up to one year.
Notes
We’re thinking about trying pickles next year. Both our grandparents made 14 Day Sweet Pickles and Bread and Butter Pickles (which I love!), but our son Clay really wants us to try Dill. Do you have a great recipe for Dill Pickles? Please share it with me if you do!
2 thoughts on “Opa’s Plum Jelly”