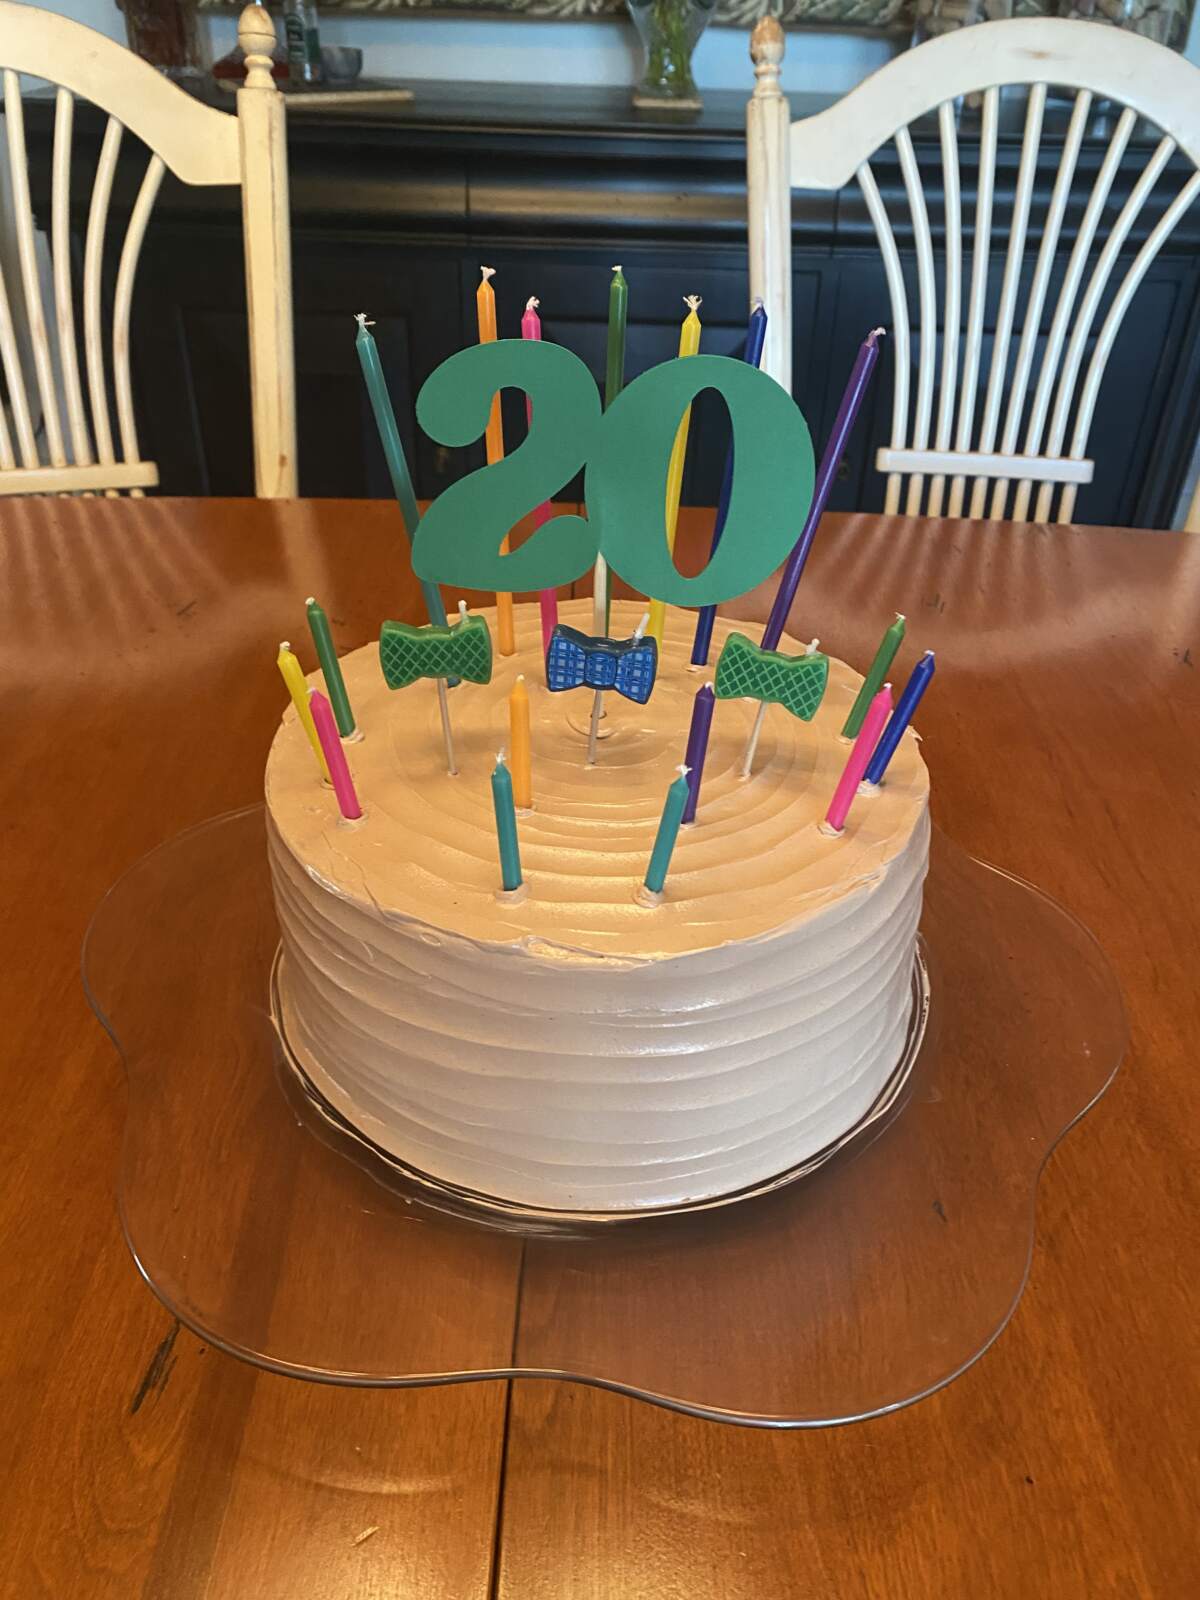
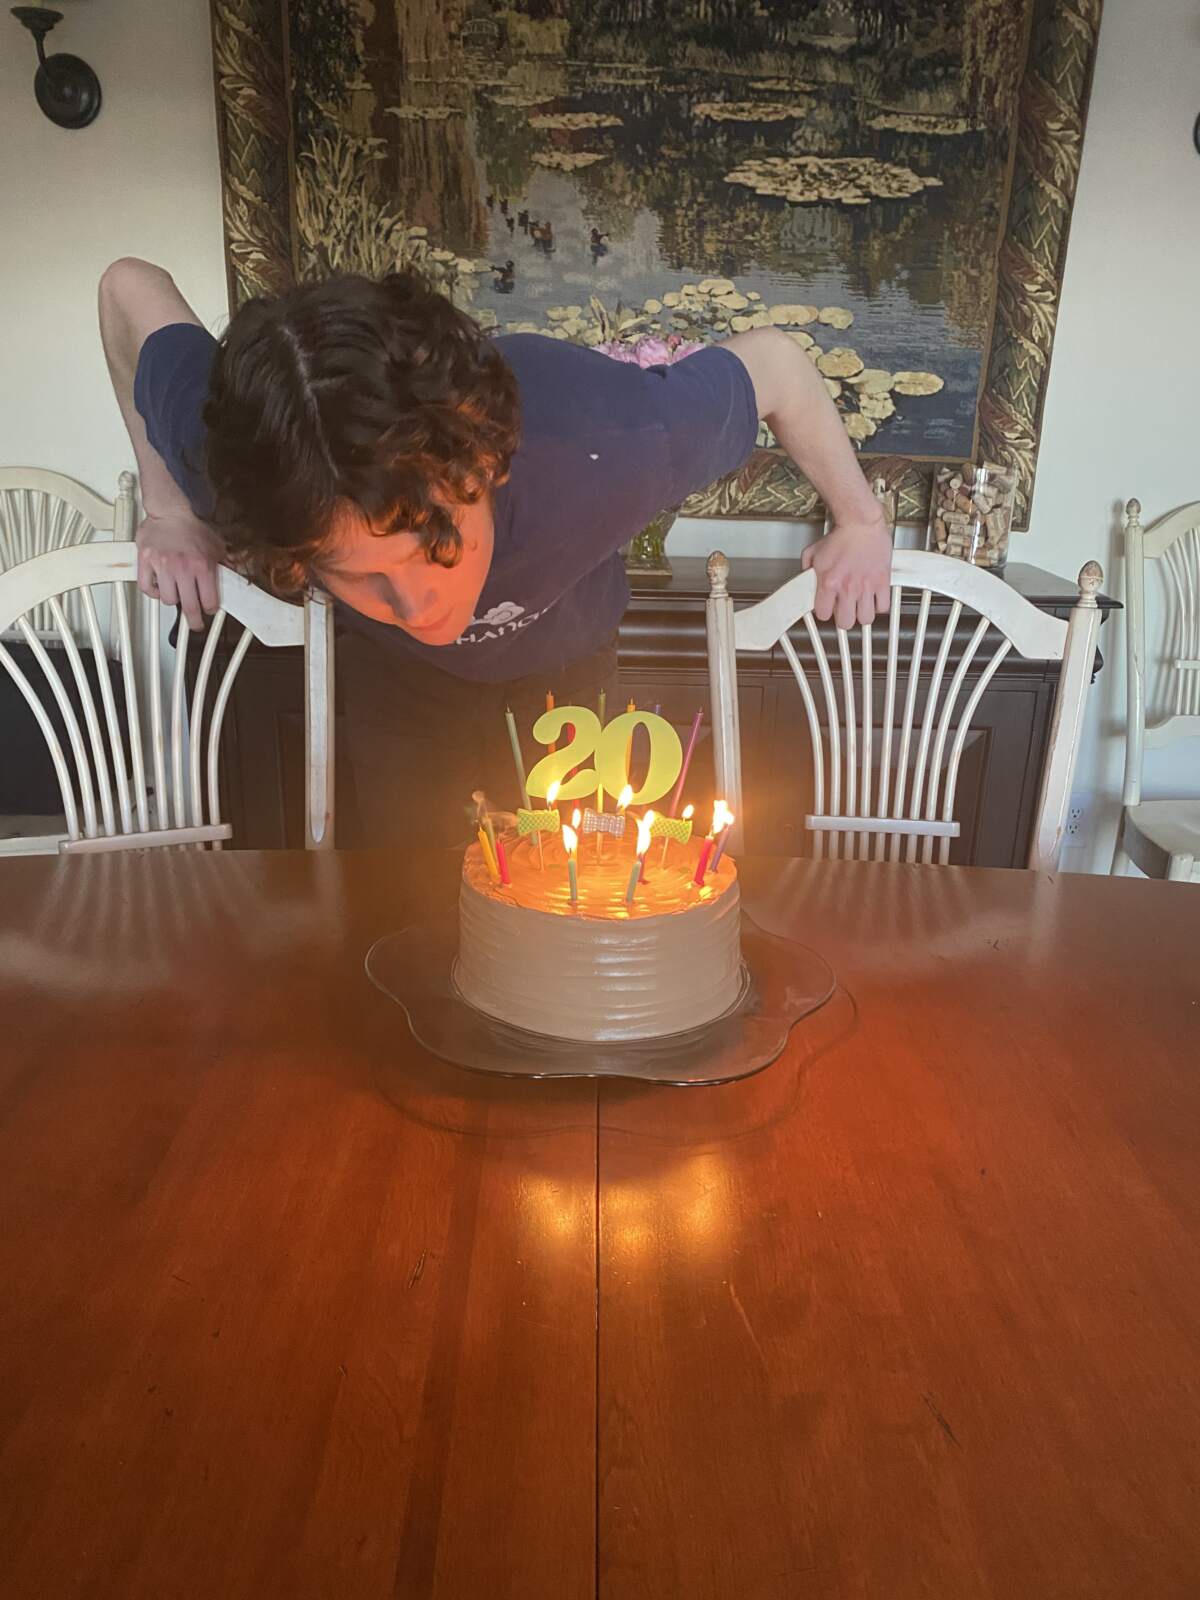
We’ve barely gotten started with summer and I’ve made this triple layer chocolate cake twice already. It is by far my most requested cake for birthdays. It is a big cake, and great for a party since it will easily serve 14-16 people. The latest version celebrated my youngest son’s 20th birthday, and I just love how it turned out with 20 varying size candles (we even got a few bow ties on there!) and a custom cake topper I made with my Cricut laser cutter. The Cricut was a Christmas gift this year and I am super excited to get more familiar with all the possibilities there, but for sure cake toppers will be a go to for me where that machine is concerned.

Like any cake you start by softening the butter, but with this one you also need to “bloom” the cocoa powder in boiling water and let it cool to room temperature. I like to do those things first thing in the morning and come back to bake it after I’ve hit the gym. Trust me you will not want to skip your workout when you make this cake because you will want a big slice!


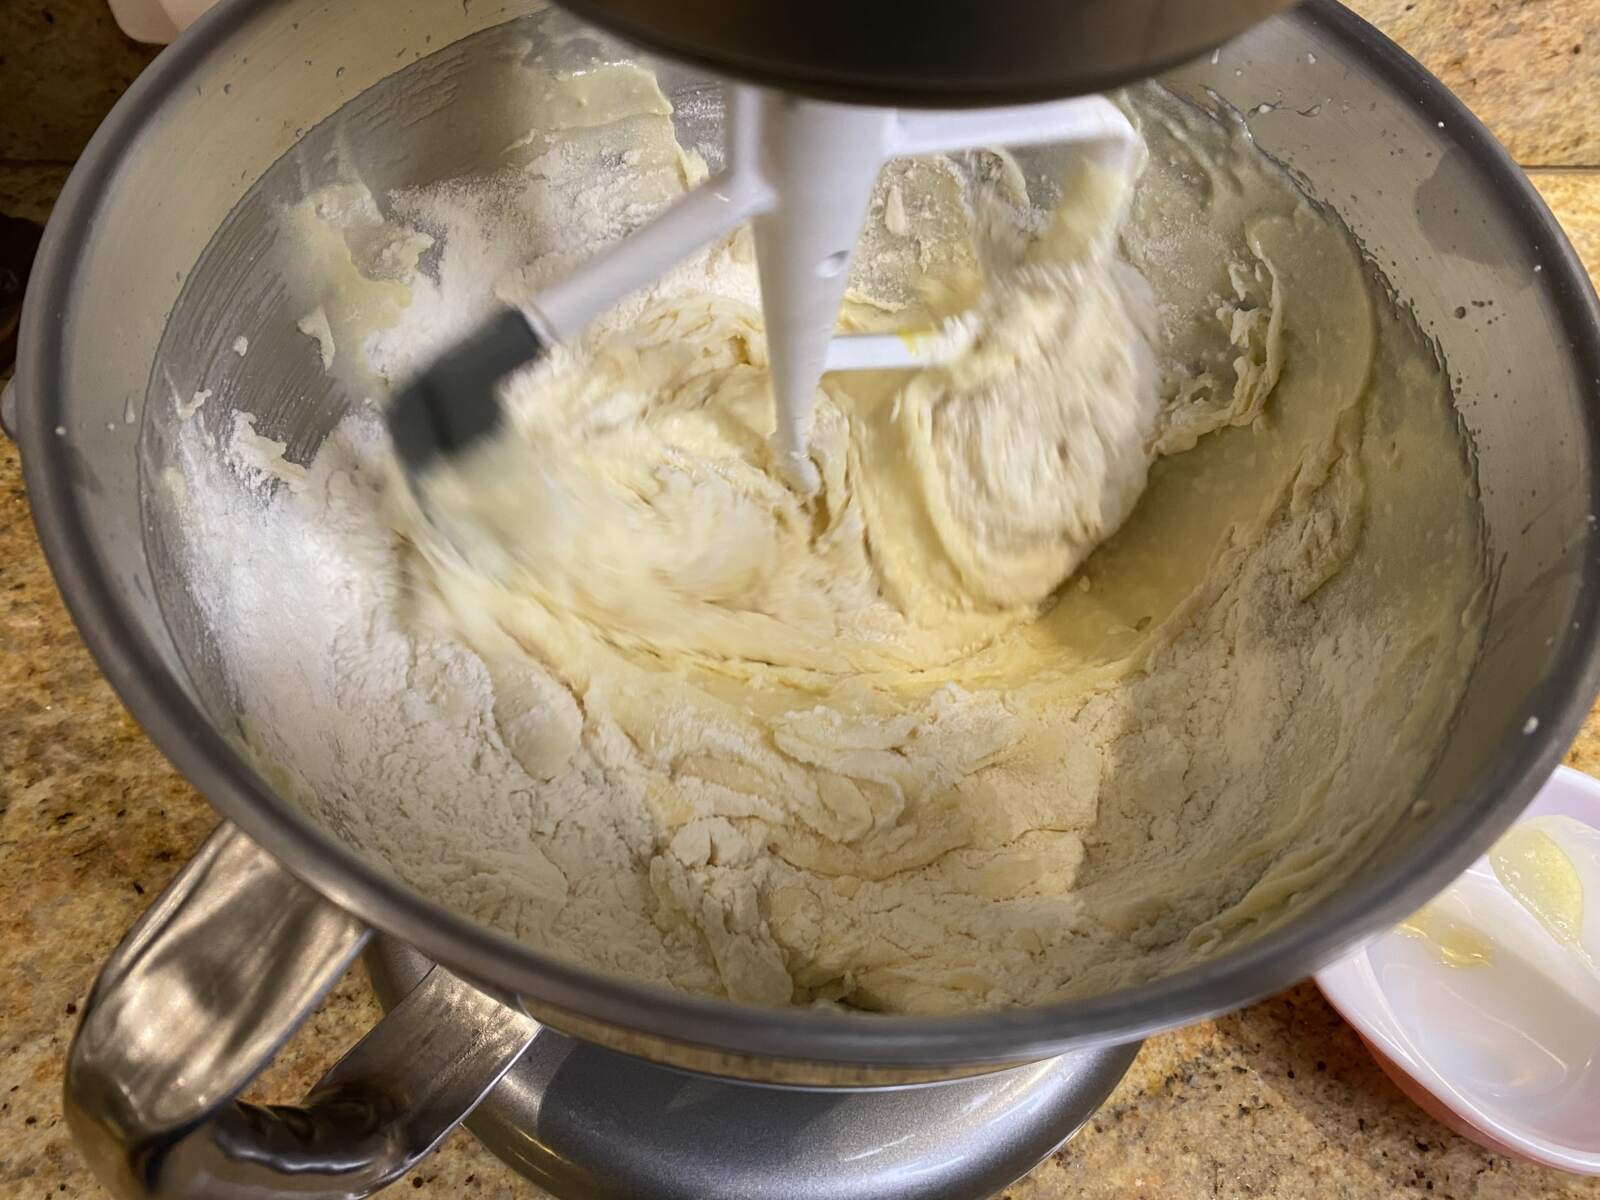
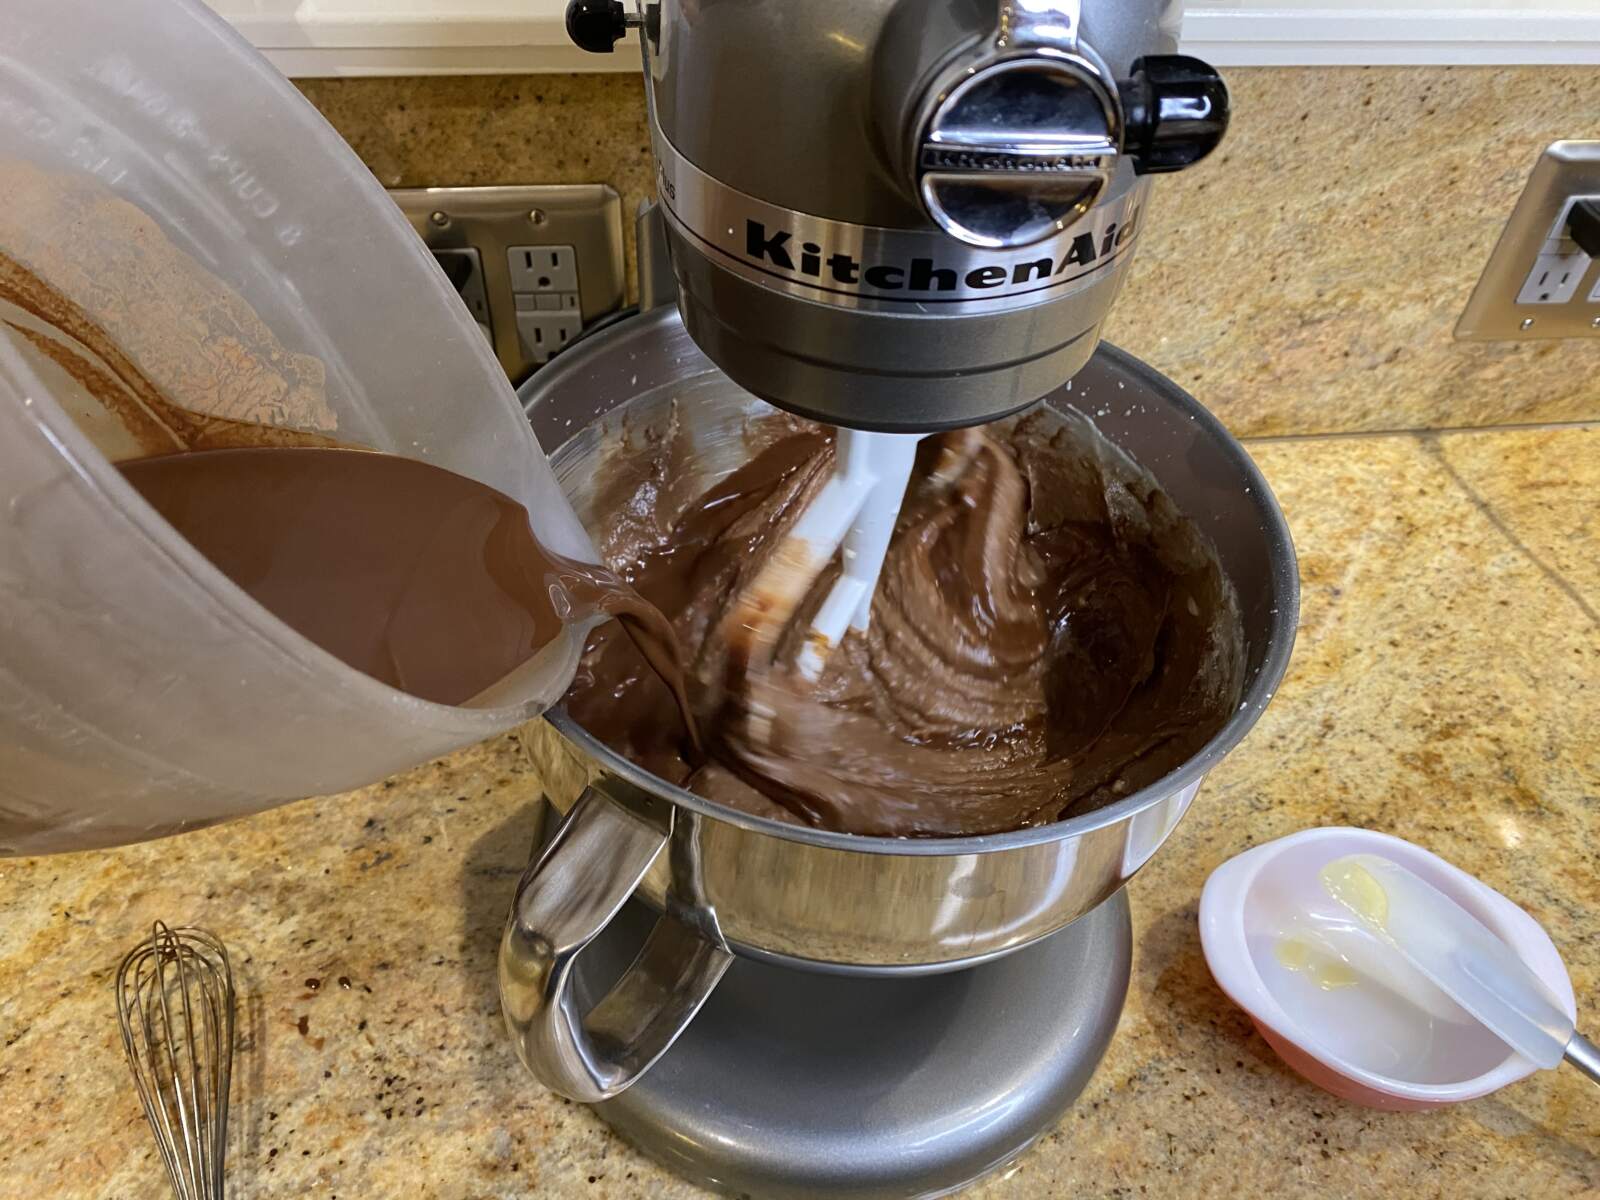
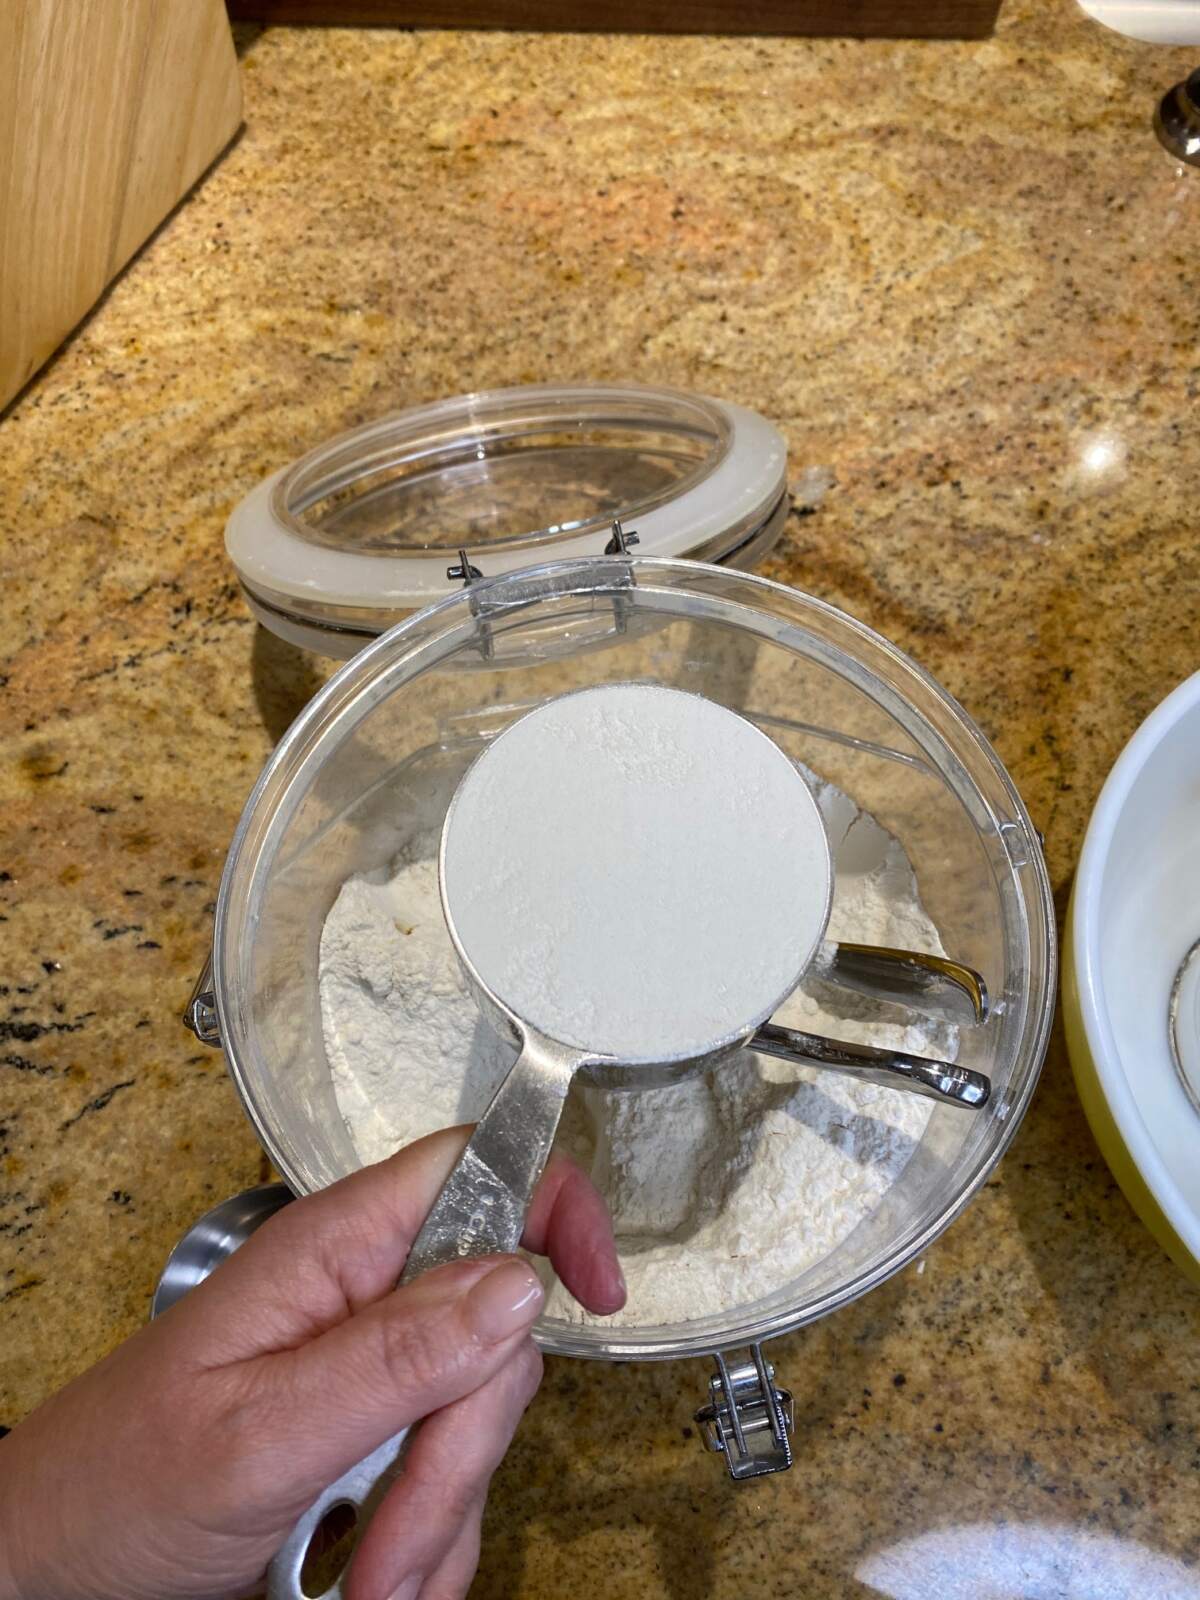
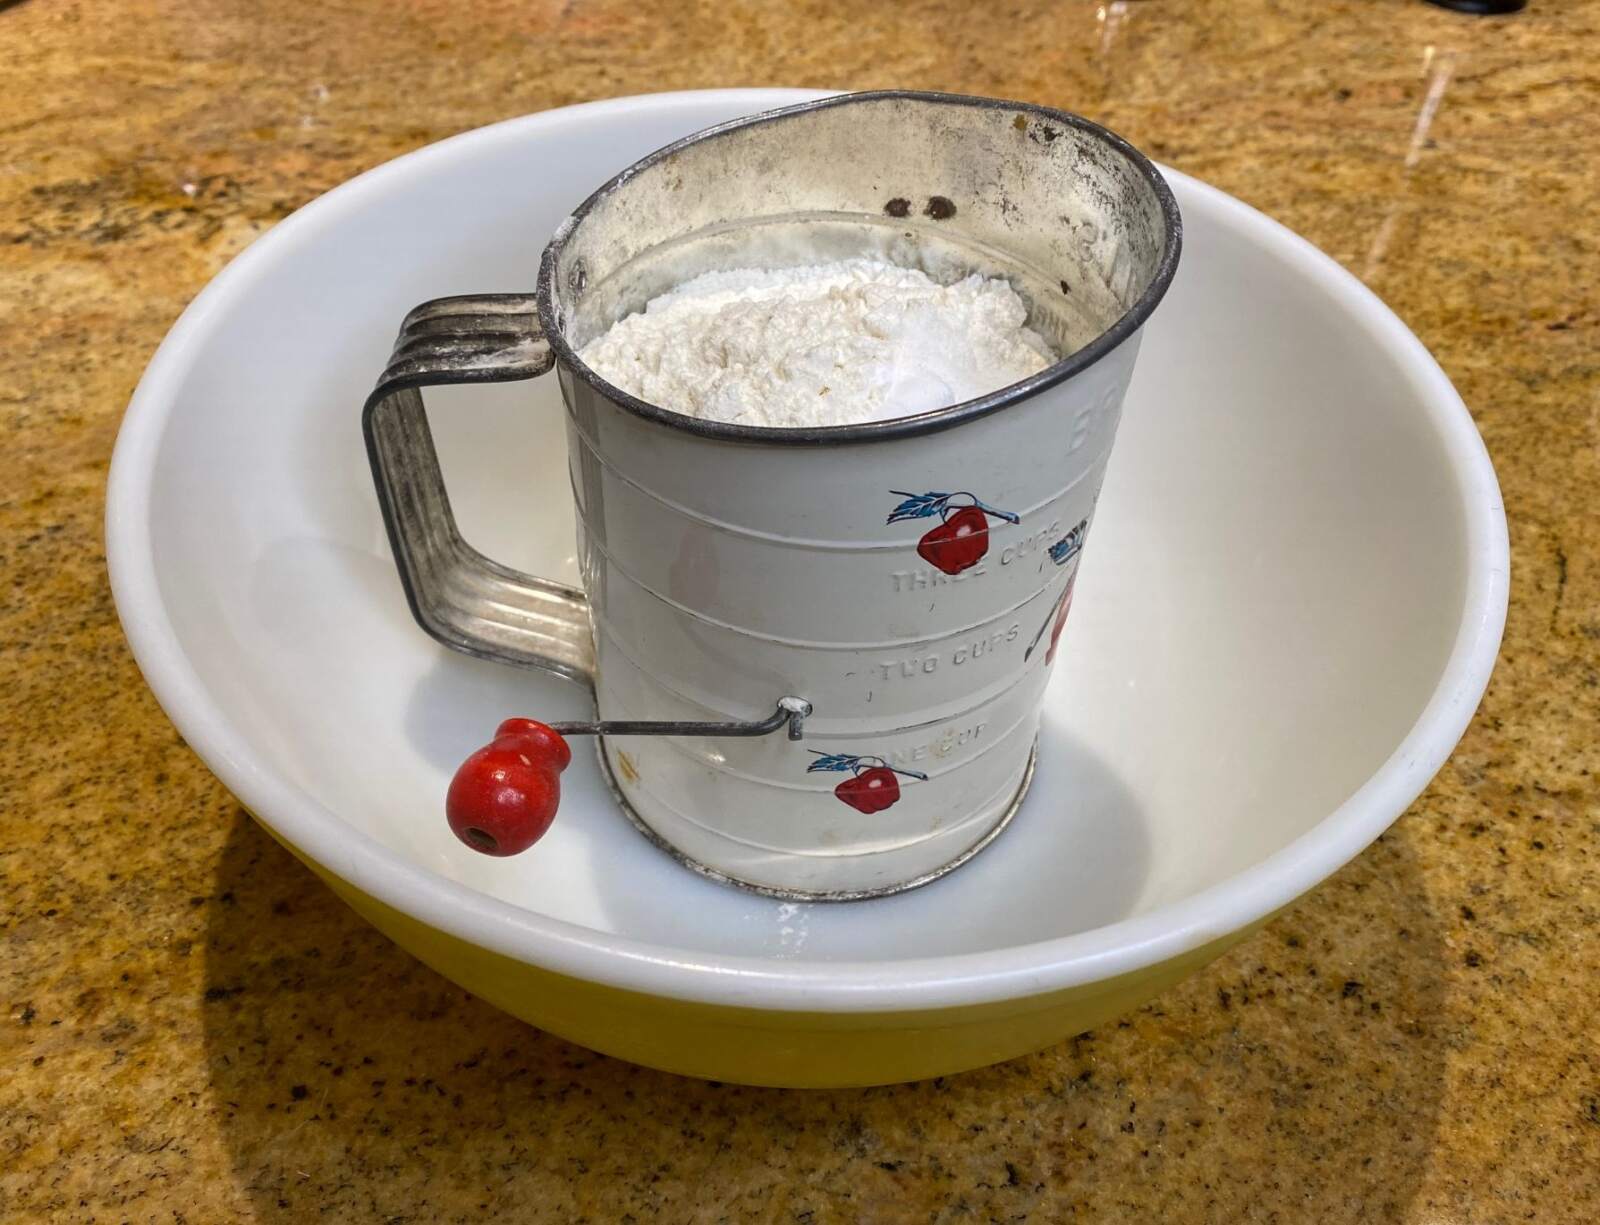
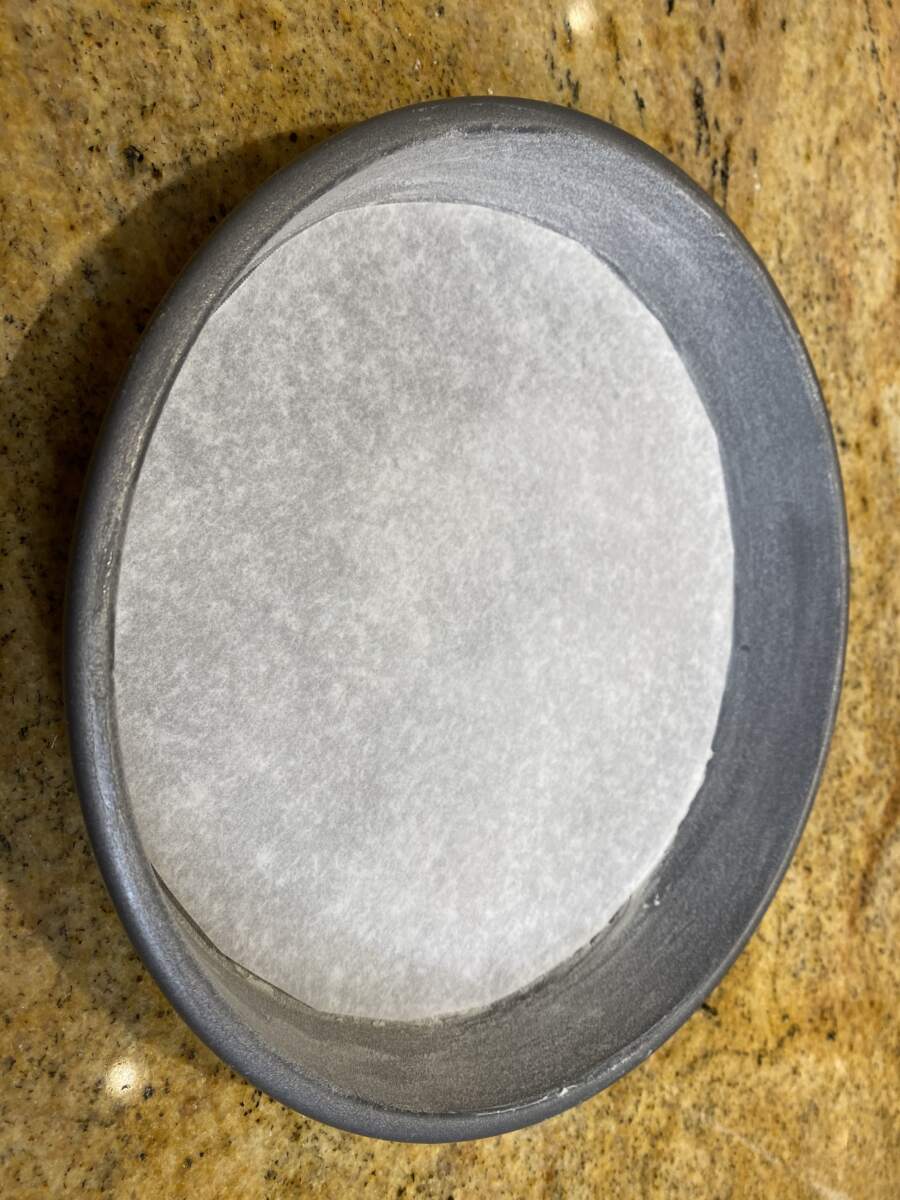
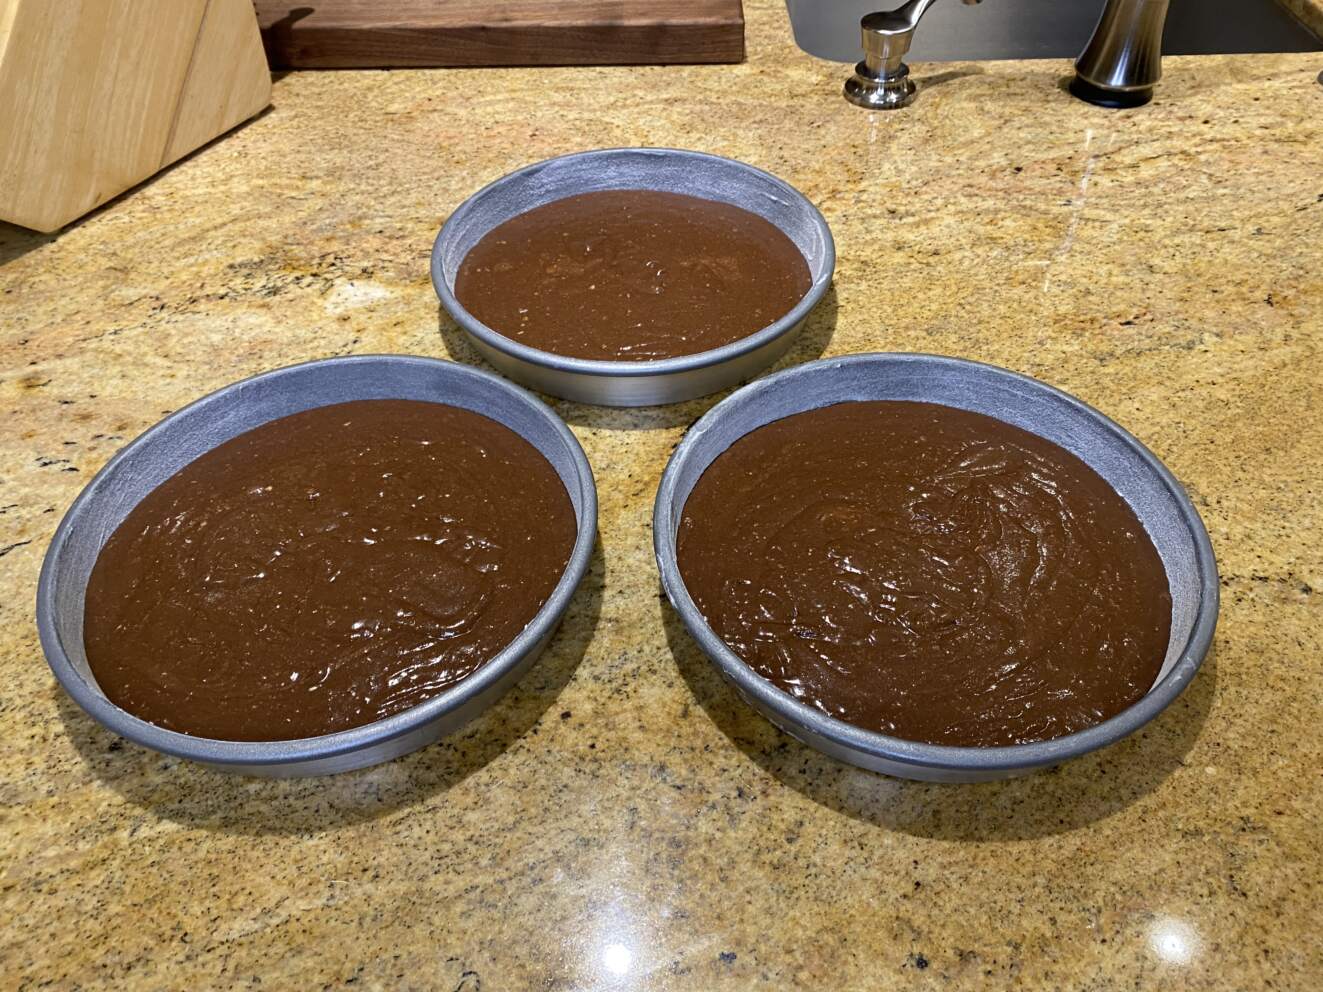
Once the butter and cocoa mixture are ready to go this cake comes together fast, so be sure you give your oven enough time to preheat. I like to let mine heat for a good half hour, so I usually turn it on before I prep the cake pans and sift the dry ingredients. Next you’ll put the butter, eggs, sugar, and vanilla in the bowl of your stand mixer all at once and beat at high speed until light. Once you start adding the flour and cocoa mixture you’ll need to set the speed as low as it will go and be very careful not to overbeat it or the cake will be dry. I start pouring in the cocoa mixture while the last swirls of flour are still visible as you are alternating the wet and dry ingredients. Once the batter is just combined stop your mixer and give the sides and bottom of the bowl a good scrape with a rubber spatula and then mix about 15 seconds more, then evenly divide the batter between your prepared pans which is actually a lot harder than it sounds! I gauge my success by the weight of the pans and if one is a little heavier it goes on the lower rack as that pan always takes a little longer (I move it to the top rack when I take those two pans out). I also like to rotate my pans 180° midway through baking and follow the cardinal rule of cakes, which is don’t open the oven door for any reason until the cake has been in there at least 10 minutes.
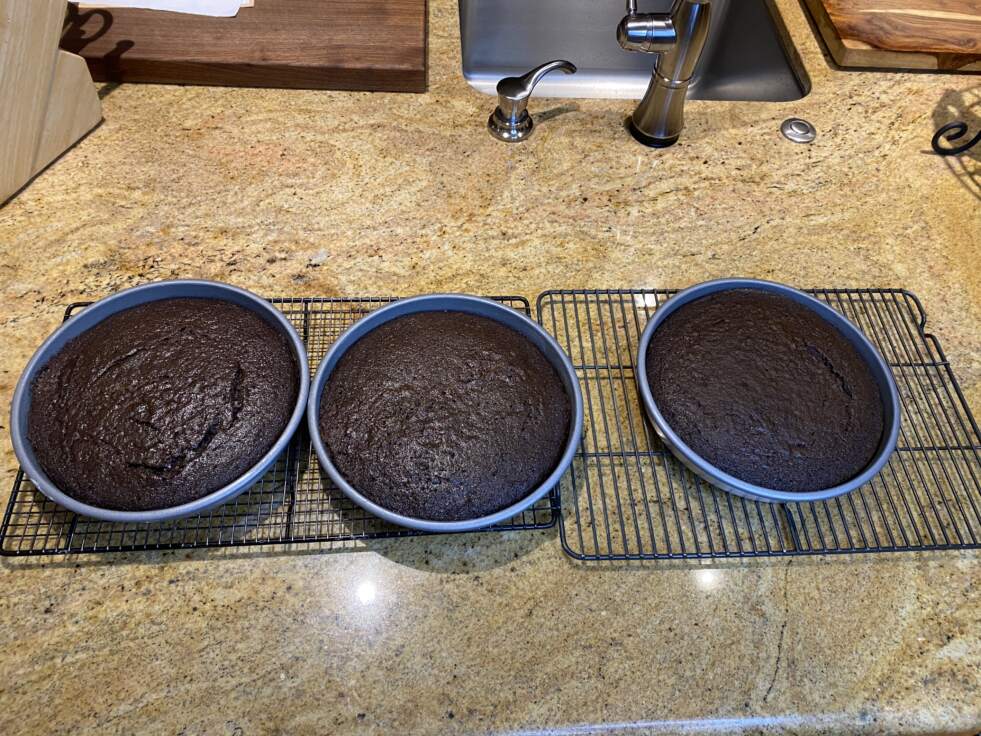
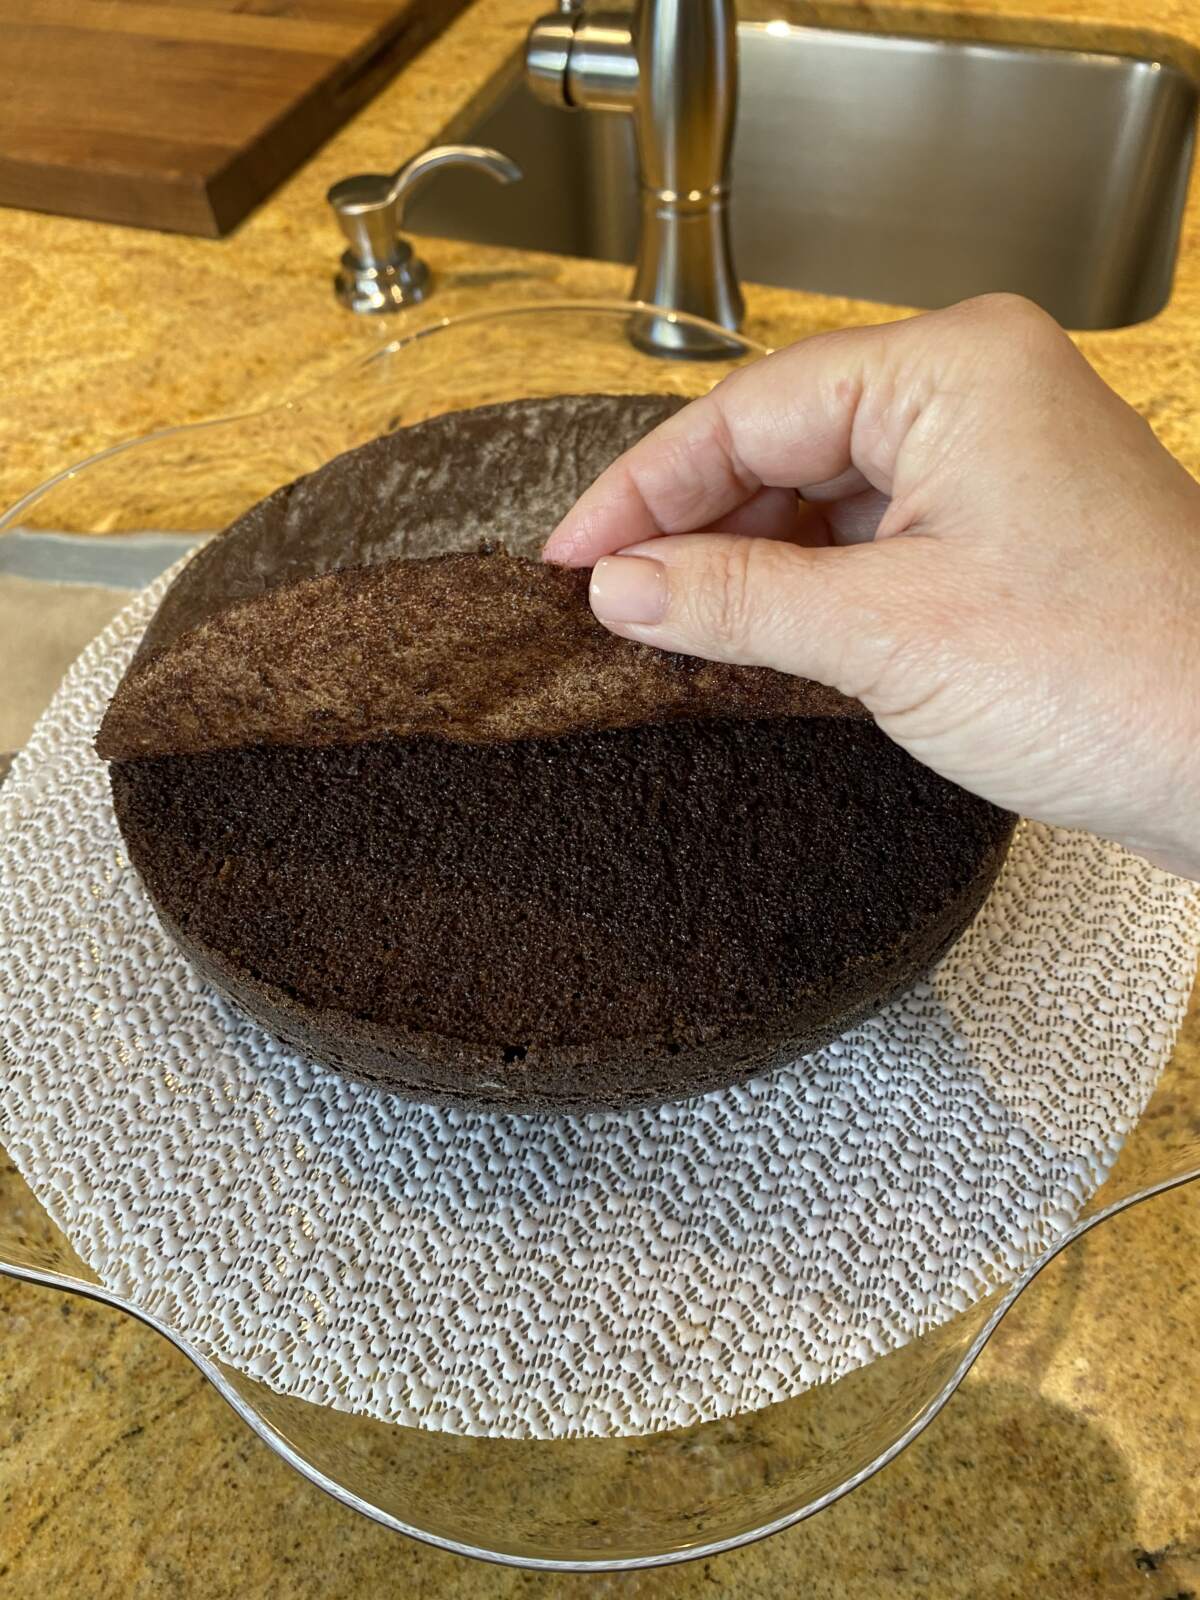
Once the cake layers are cool you can wrap them in plastic wrap and refrigerate for a few hours or even overnight. This is particularly helpful as it is easier to frost a cold cake, but this time around I did not have time for that so I started making the frosting about half hour after the cake came out of the oven. It takes a while to make this icing so I knew the cake would be completely cool by the time I was finished.
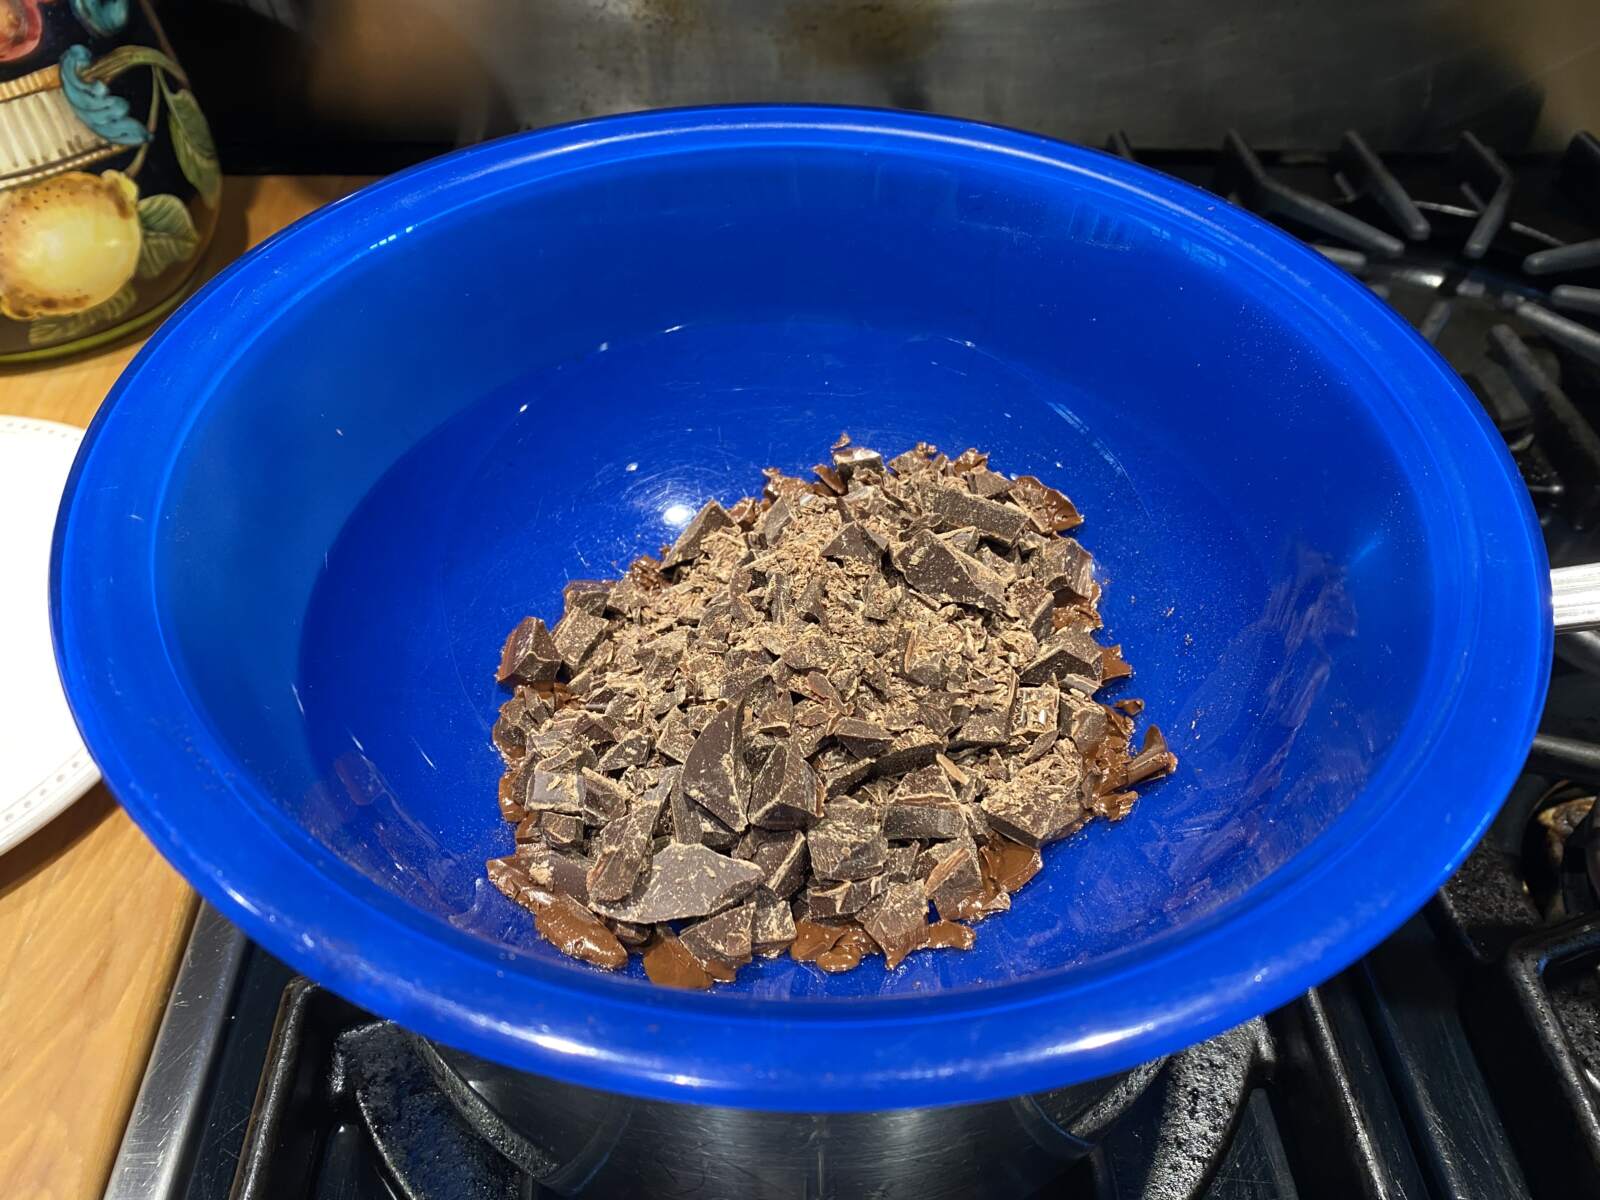
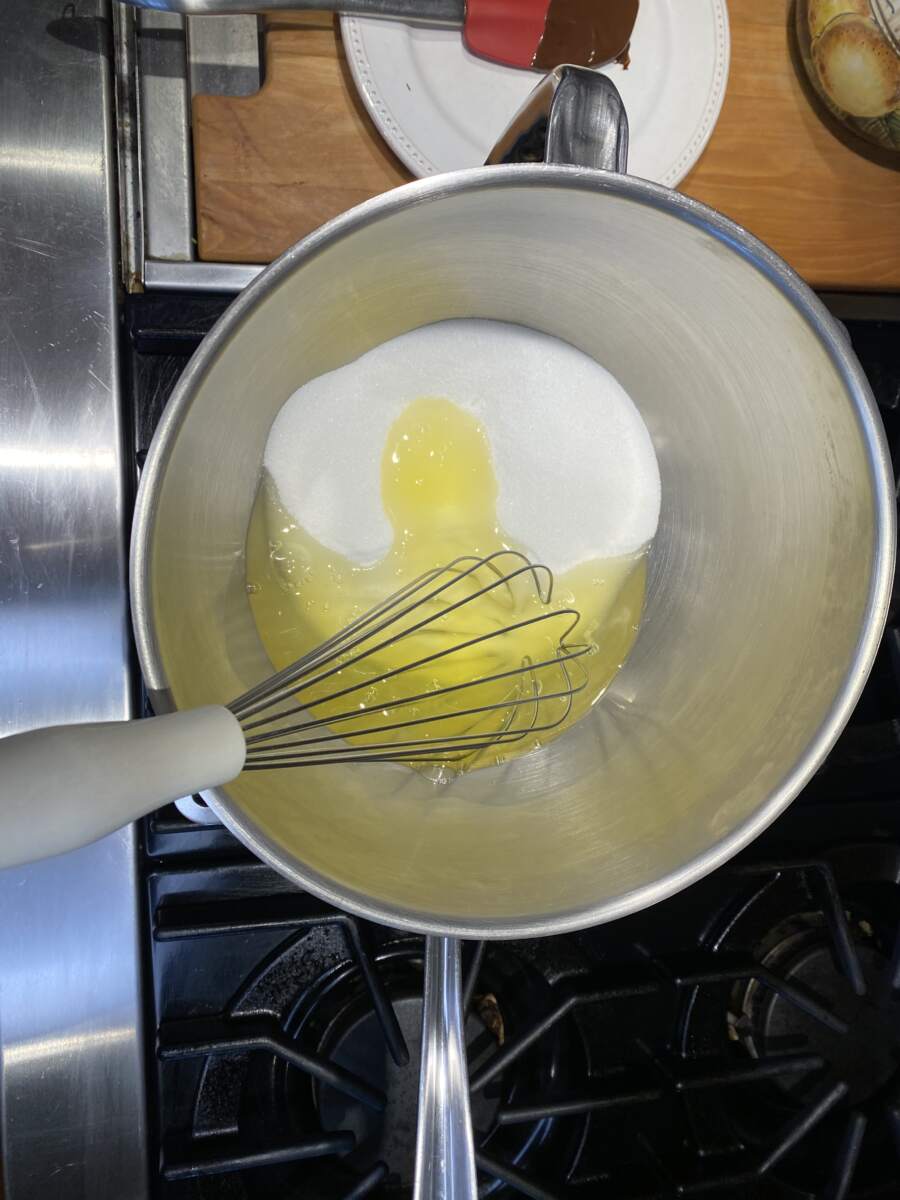

It is definitely more of a commitment to make a true Swiss buttercream, but trust me when I say this is what makes this cake so special. It is so light and fluffy but with a true rich butter flavor and not overly sweet. Start by simmering some water in a saucepan or double boiler and melting your chocolate so it will be cool enough to add to the icing once that is finished. Next combine your egg whites and sugar in a heat proof mixing bowl, whisking constantly over the pan of simmering water until the mixture has reached 140° on an instant read thermometer. This is a good workout for your arms as it takes a bit to reach the right temperature and if you stop whisking for even a minute the eggs will cook too rapidly, but trust me, you’ve got this! Once you’ve hit the 140° mark on your thermometer transfer the bowl to your stand mixer and whip at high speed with the whisk attachment until the bowl feels cool to the touch, around 5-10 minutes.
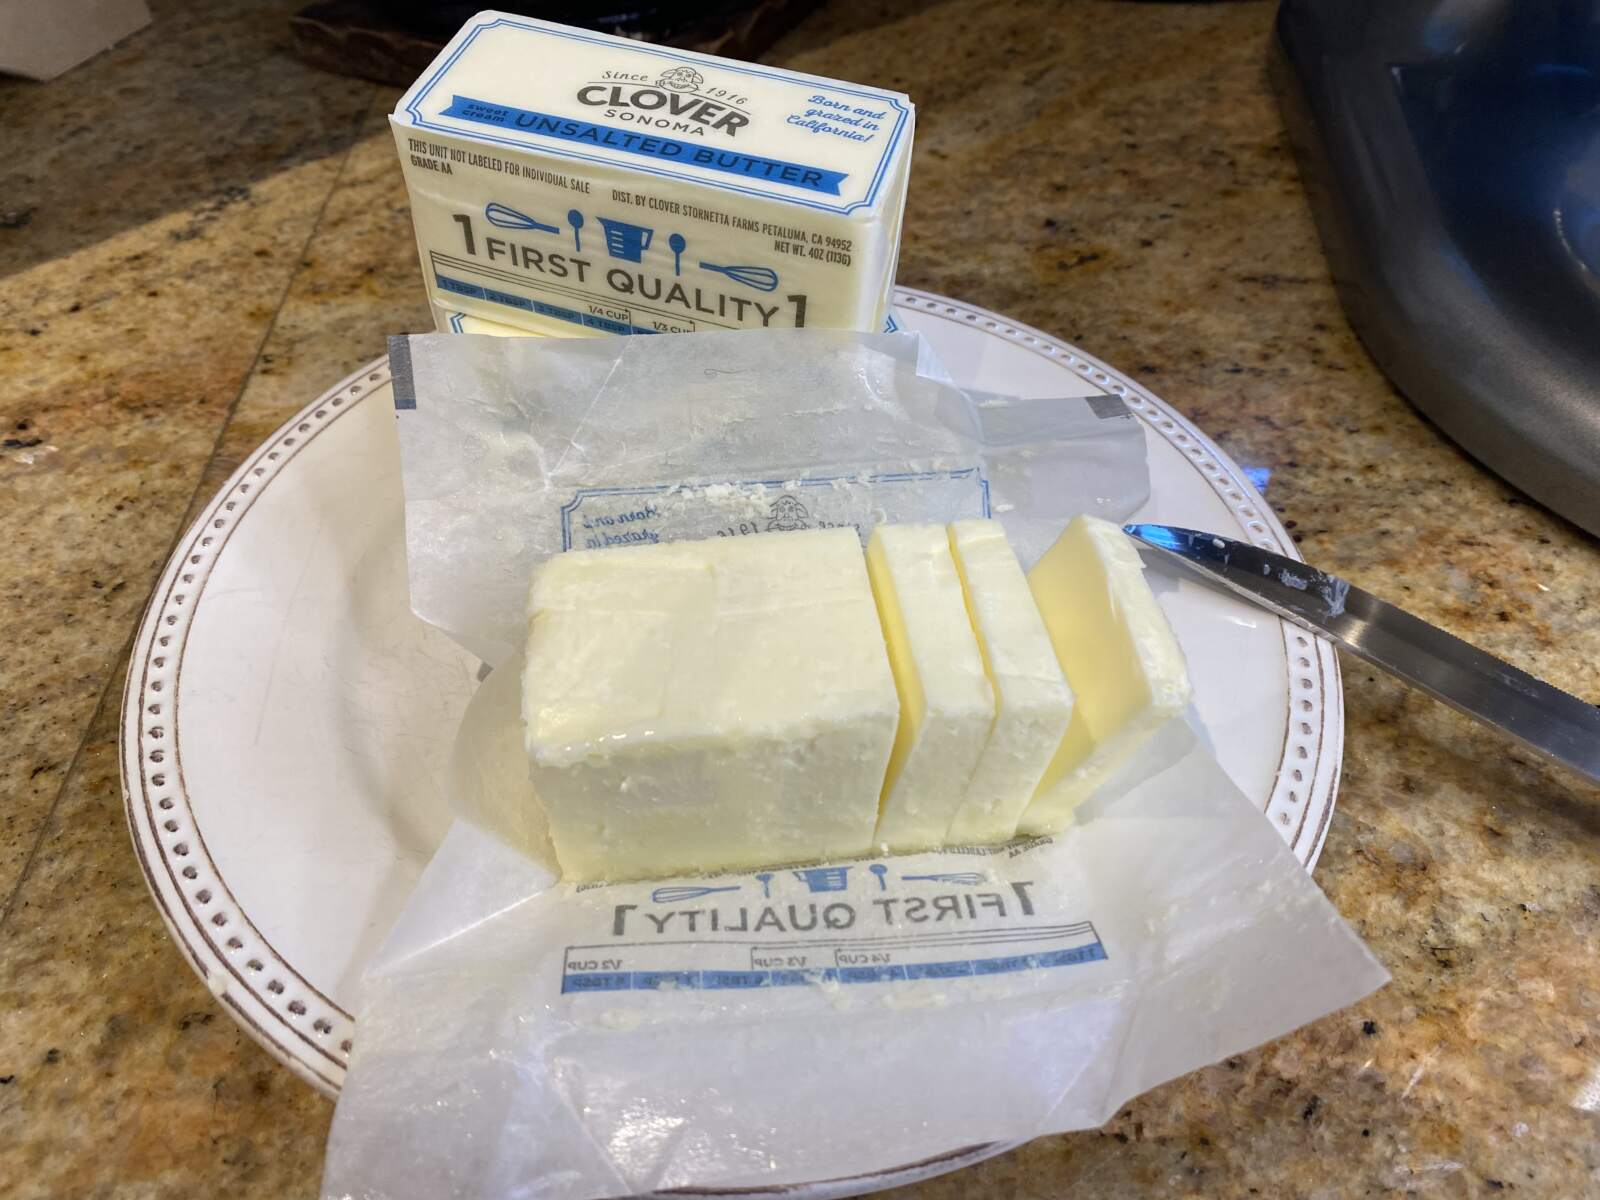
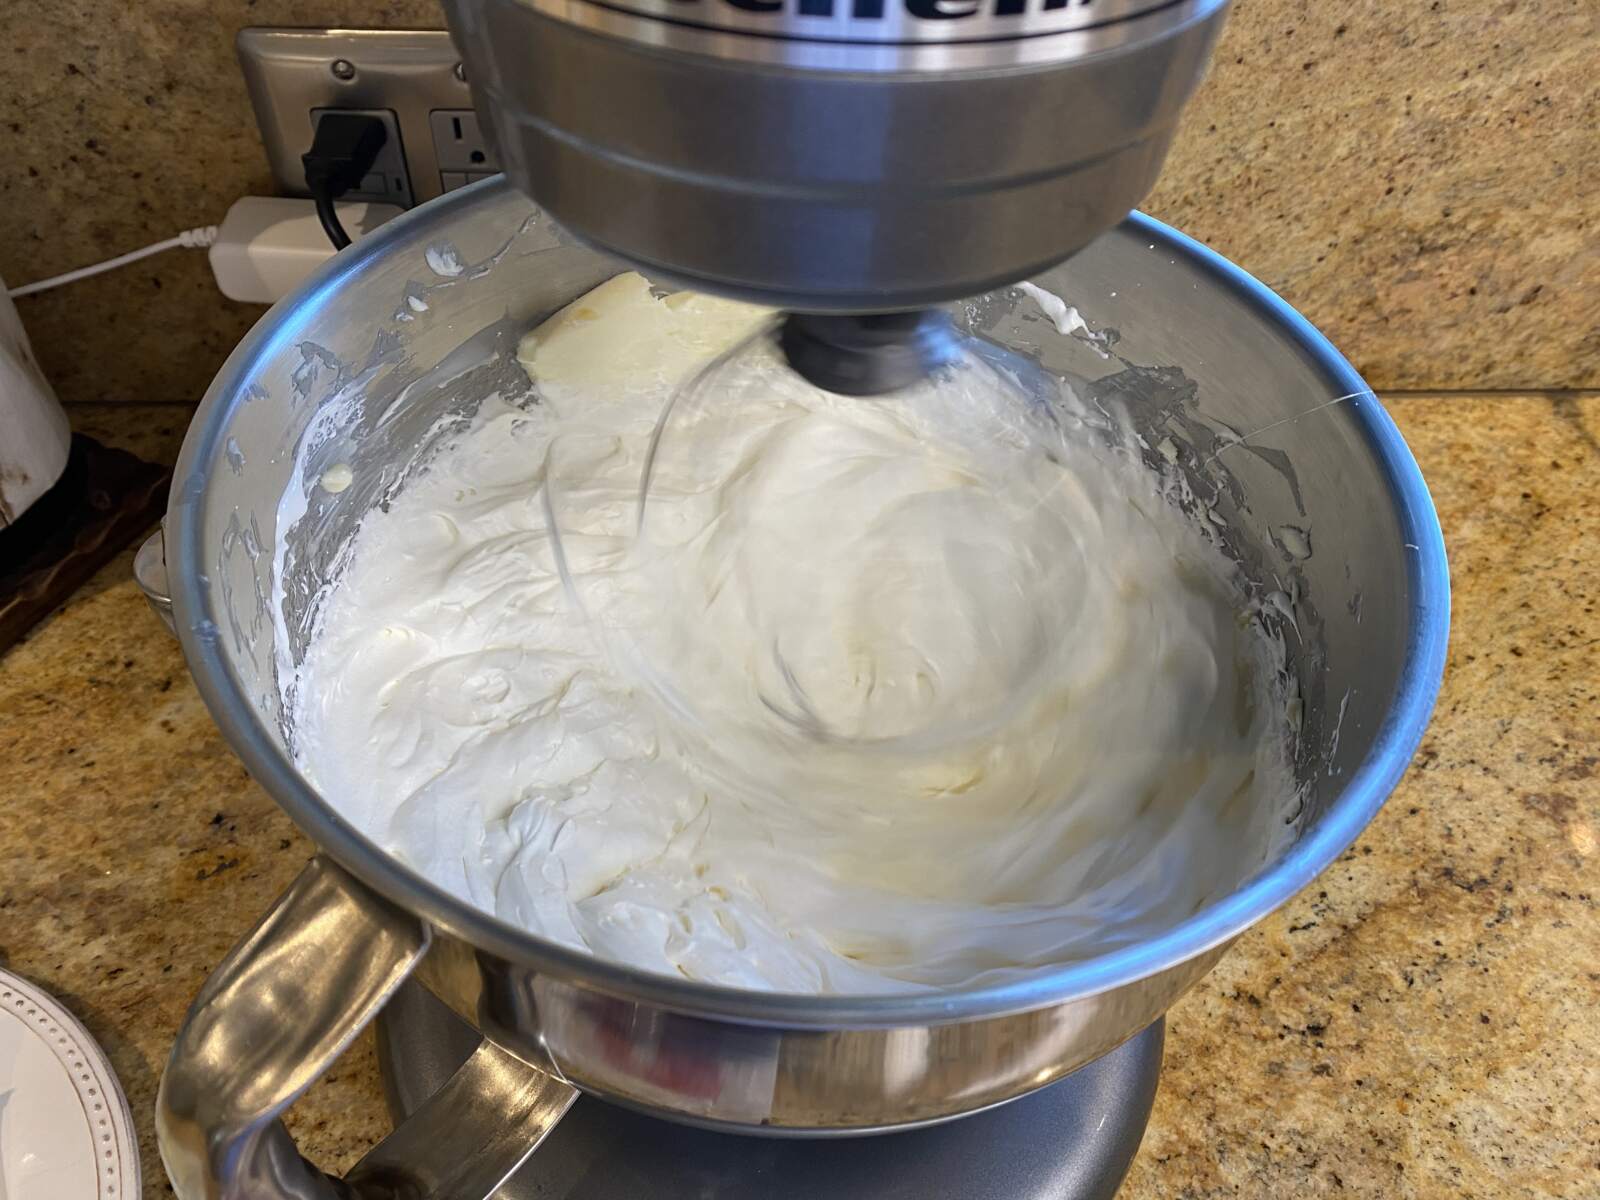
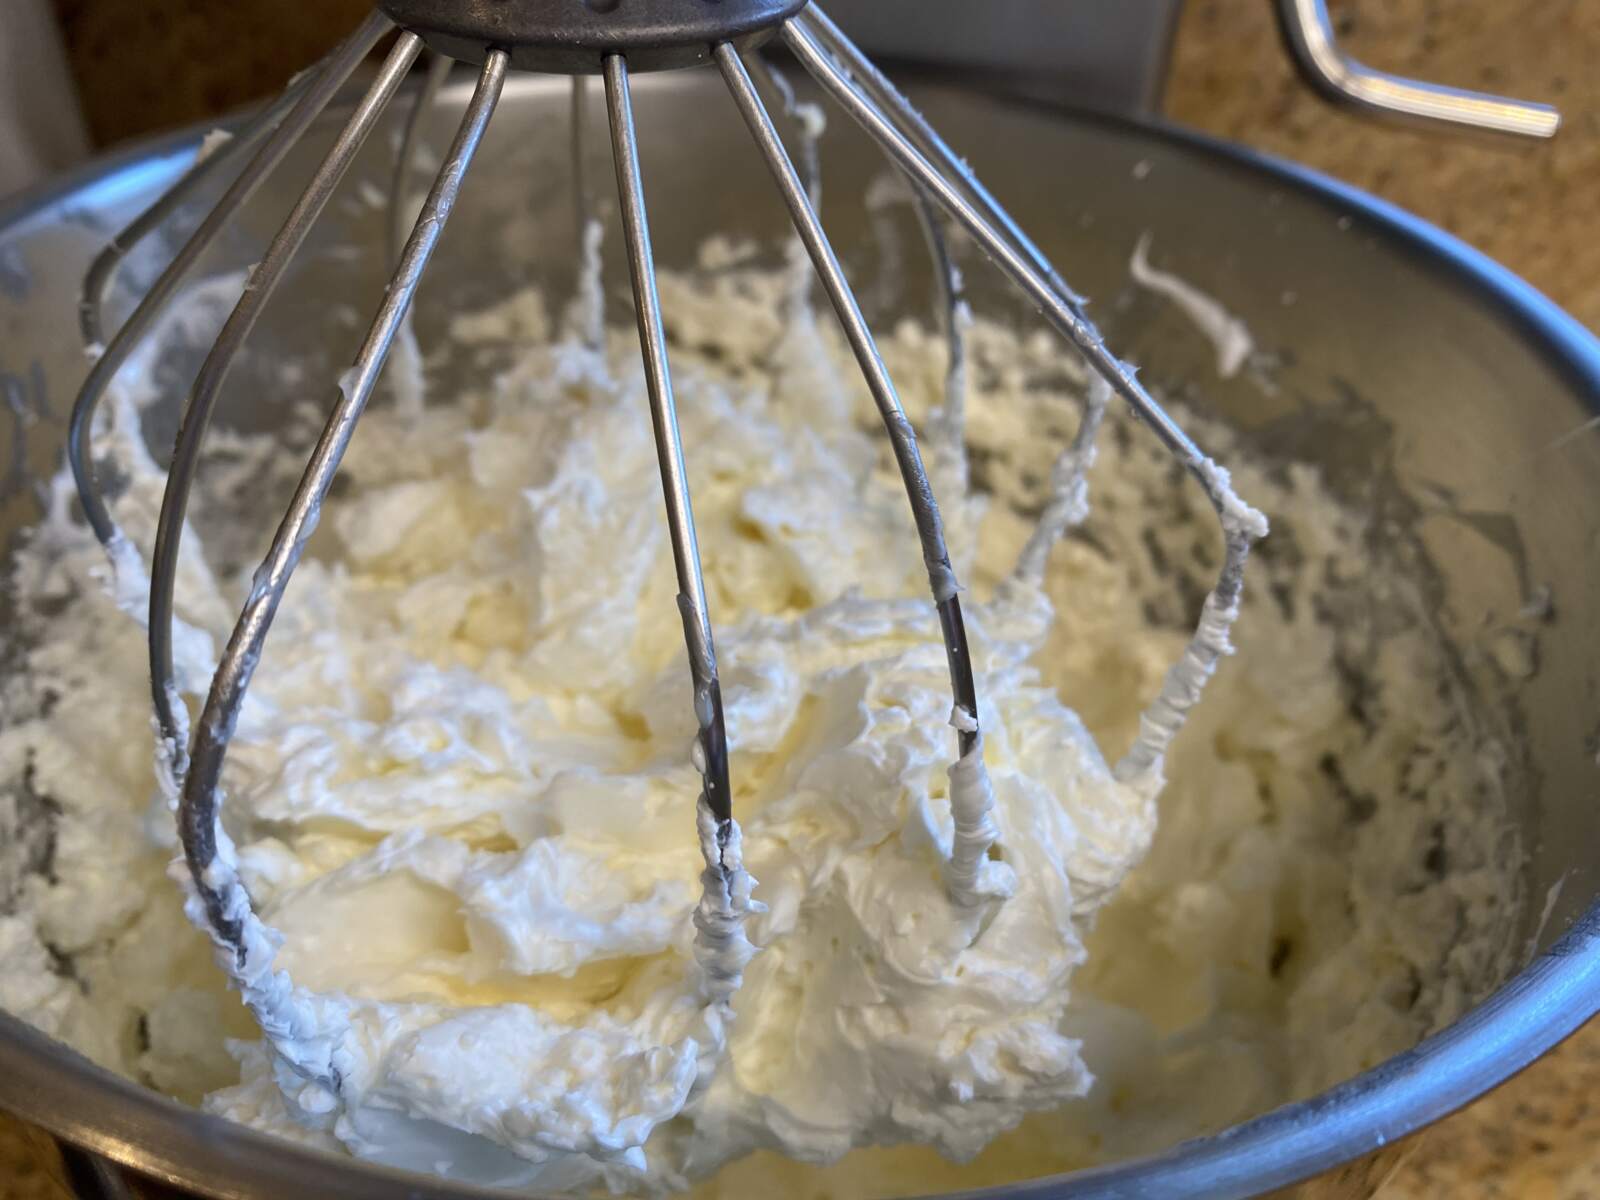
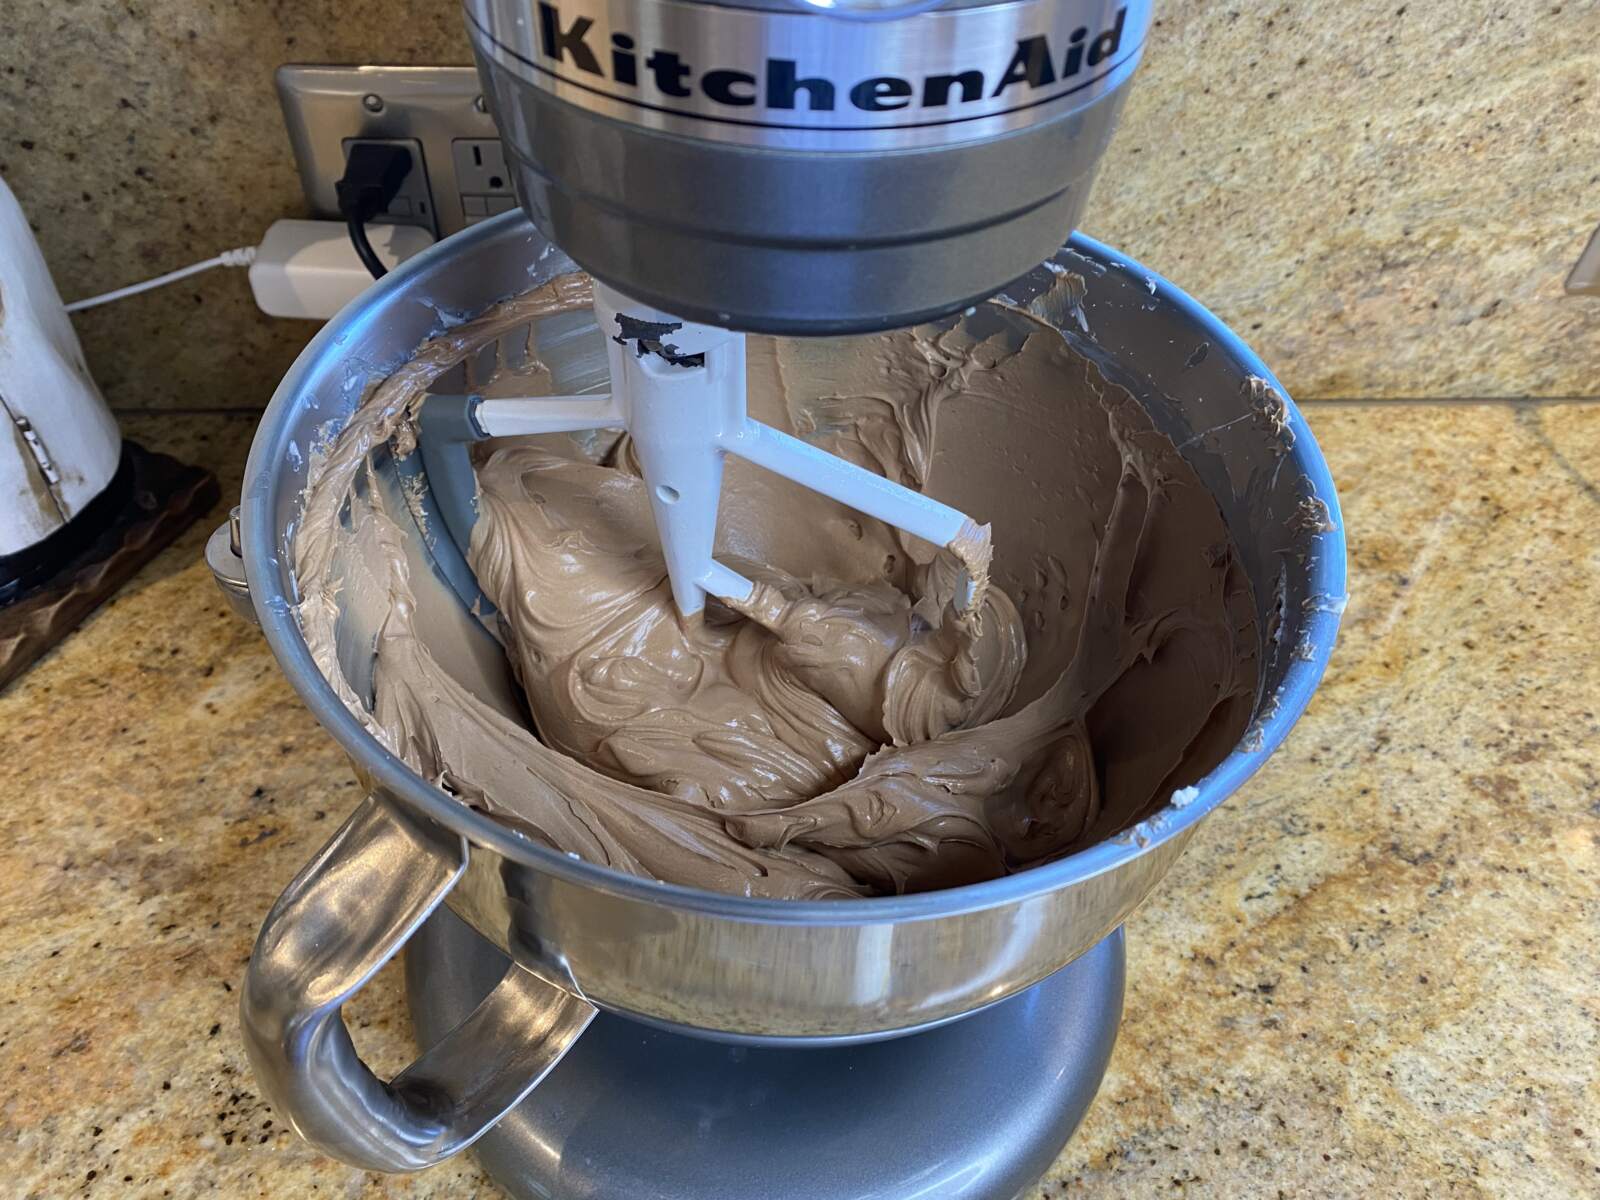
Once the bowl feels cool to the touch you can start adding the softened butter one tablespoon at a time. It will look like a soupy mess for a while, but it just kind of magically comes together into buttercream as those last few tablespoons go in, and I always stop adding the butter when that happens which can mean you don’t quite use all of it. Likewise, I have had times where it isn’t coming together and I needed to add an additional tablespoon or two so I always have a little extra softened butter on hand just in case! And if it still isn’t coming together you can always put the bowl in the fridge for a few minutes and then whip it again (generally this only happens when the frosting is too warm). I have only had to do this once and I was on pins and needles if it would work! I’d invested a lot of time making the frosting and didn’t have enough butter to start completely over so I was slightly afraid we would have to eat the cake dry, but fortunately 5 minutes in the fridge worked wonders and the frosting came together!
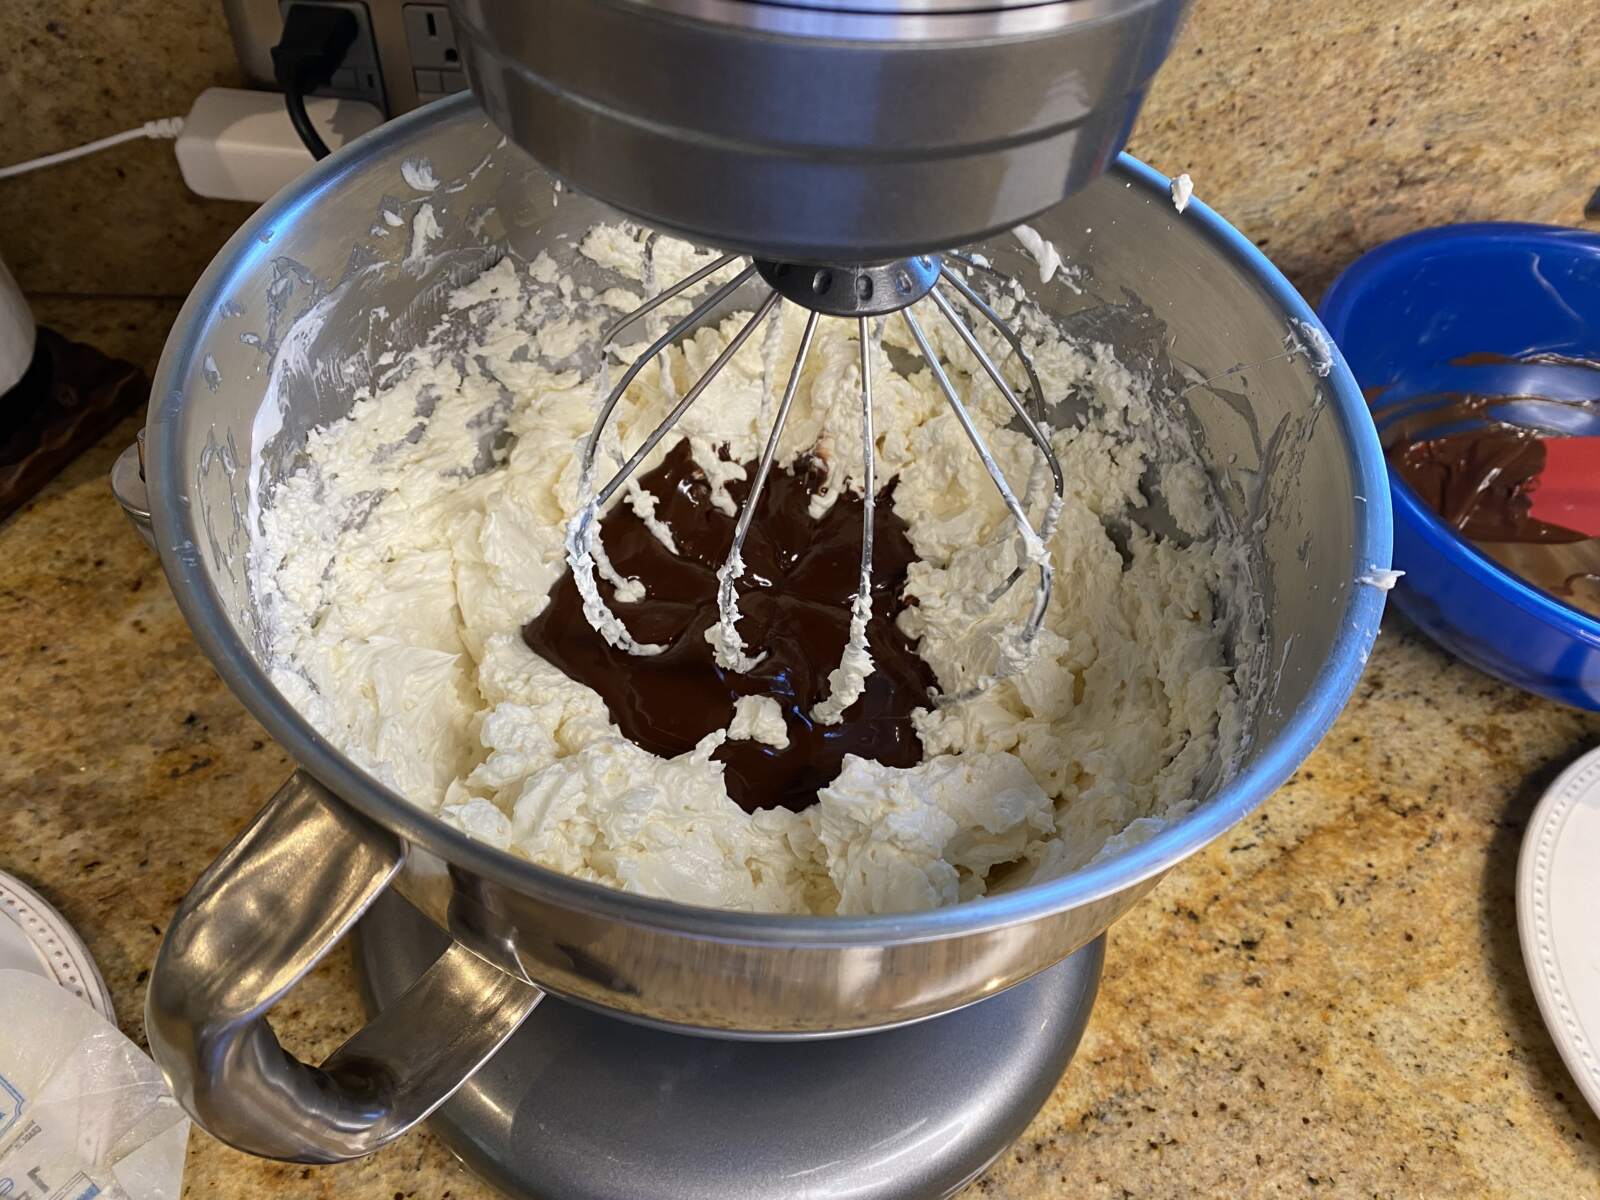
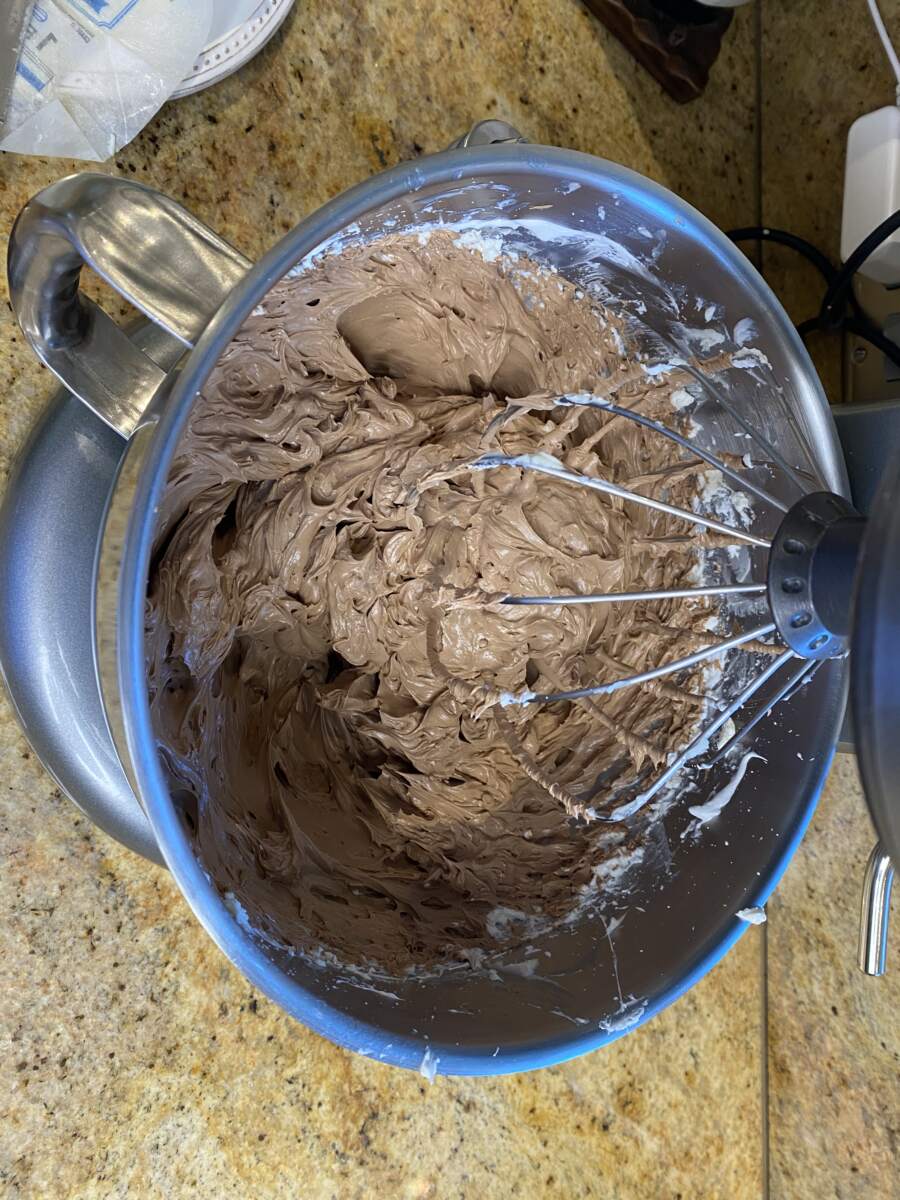
Once it has come together it is time to add the vanilla and melted chocolate. I take the bowl off the stand mixer and hollow out a little divet into the frosting to add the chocolate which prevents chocolate streaks on the side of the bowl that don’t want to mix in. Then put it back on the mixer and whip at high speed until the chocolate is mixed in. Scrape down the sides of the bowl and switch to the paddle attachment at low speed to smooth out the icing and reduce air bubbles. Now you’re ready to frost your cake!
It’s fine to bake the cake ahead, and like I said earlier even preferable since cold cake layers are easier to work with (firmer, less crumbs) but once the icing is done you need to frost it right away. You can store the leftover icing in the fridge and use it to patch up an emergency, but the perfect creamy texture is really only a reality right after it comes off the mixer so plan your time accordingly and be ready to assemble your cake as soon as the frosting is ready.
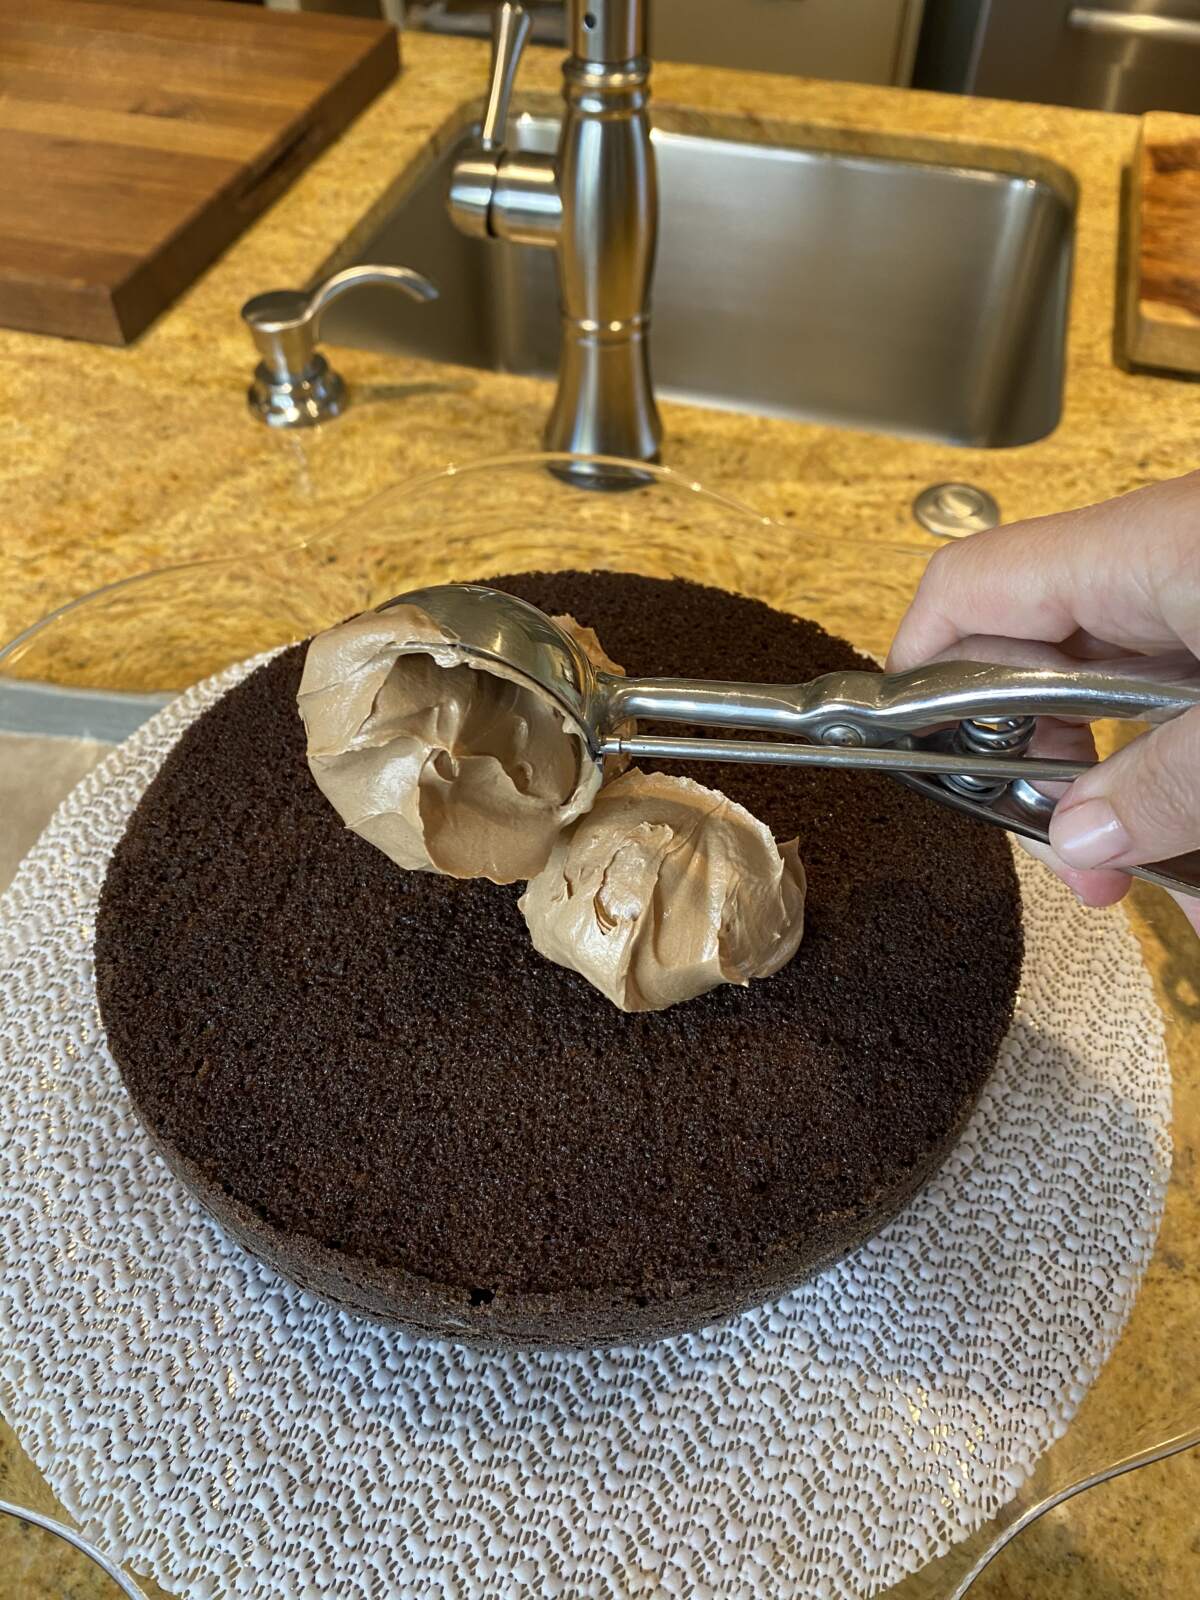
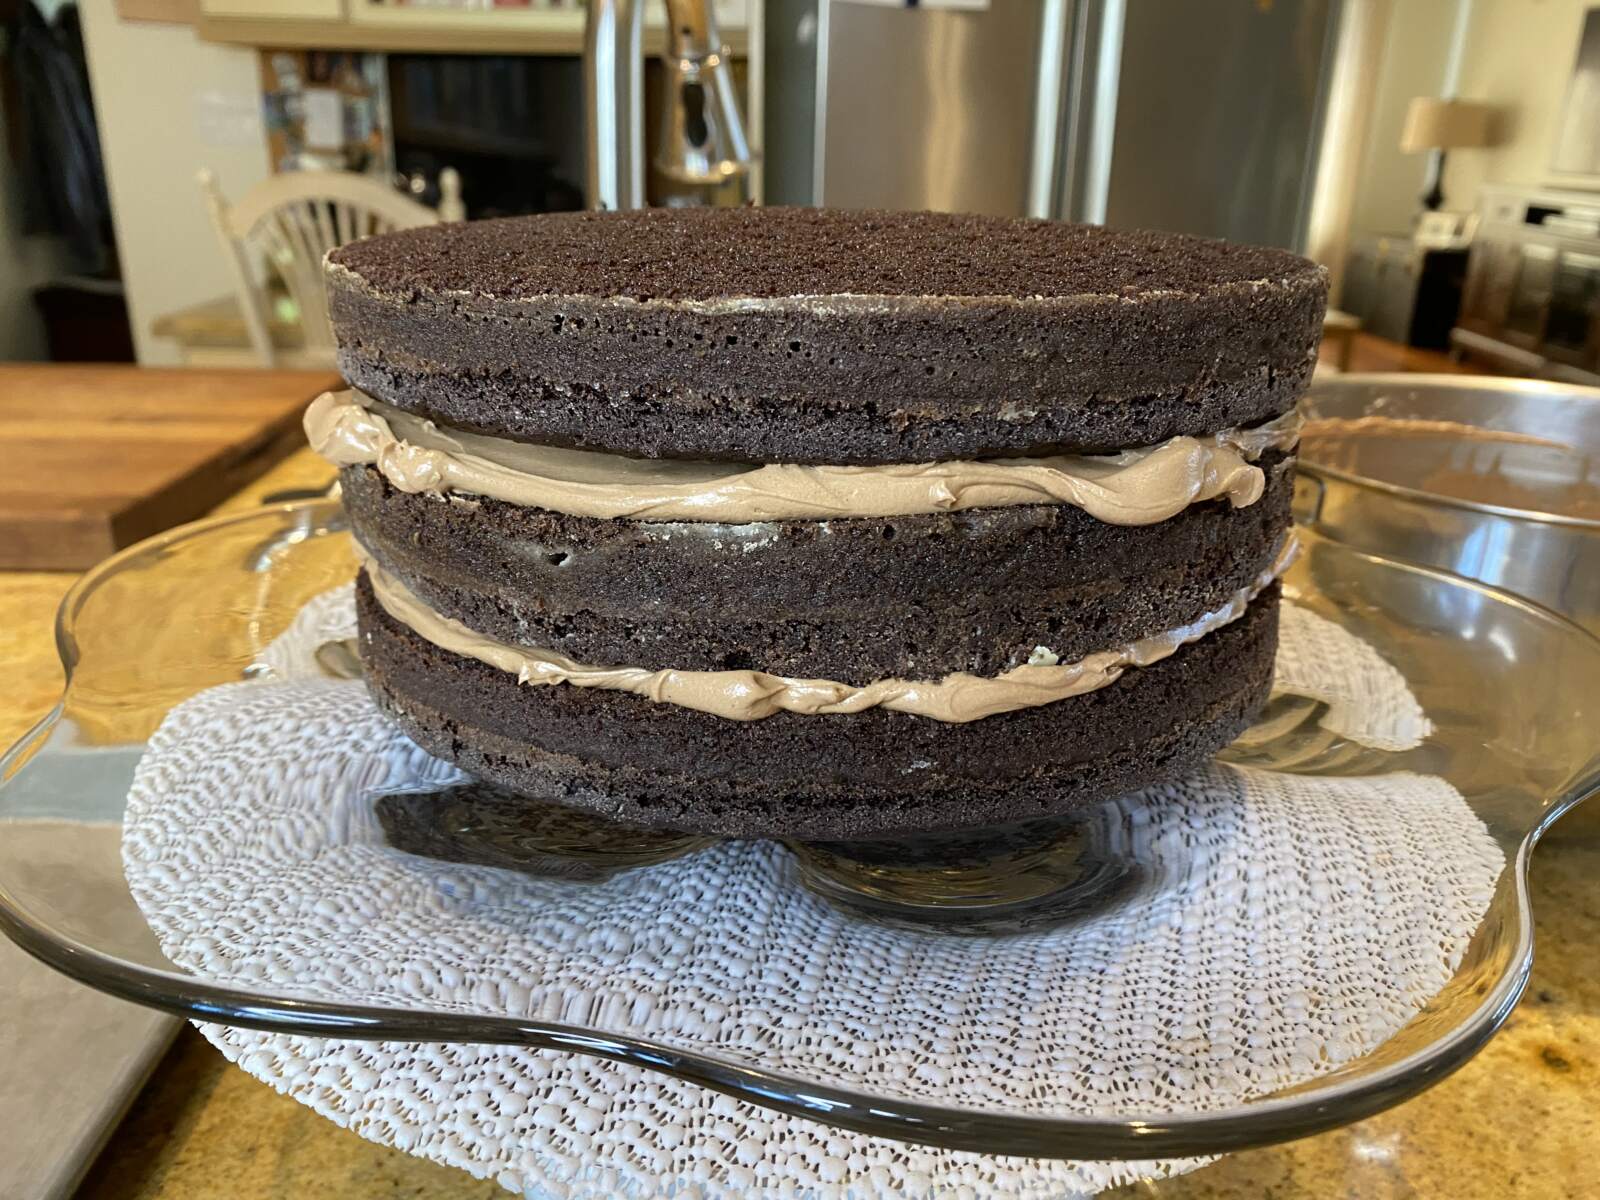
If you have a rotating cake stand it will make the job easier but it is by no means required. However, I strongly recommend two offset spatulas (one small, one large) and an ice cream scoop. The ice cream scoop will help you measure the frosting so you have the same amount between each layer which both looks better and ensures you have a good amount. I use 3 scoops, or 1 1/2 cups, for each layer of a 9″ cake. It may also be worth noting that I use a spring loaded scoop for frosting, I have a different more heavy duty scoop that I like for ice cream, but the spring kind will release frosting more easily and is that perfect 1/2 cup size.
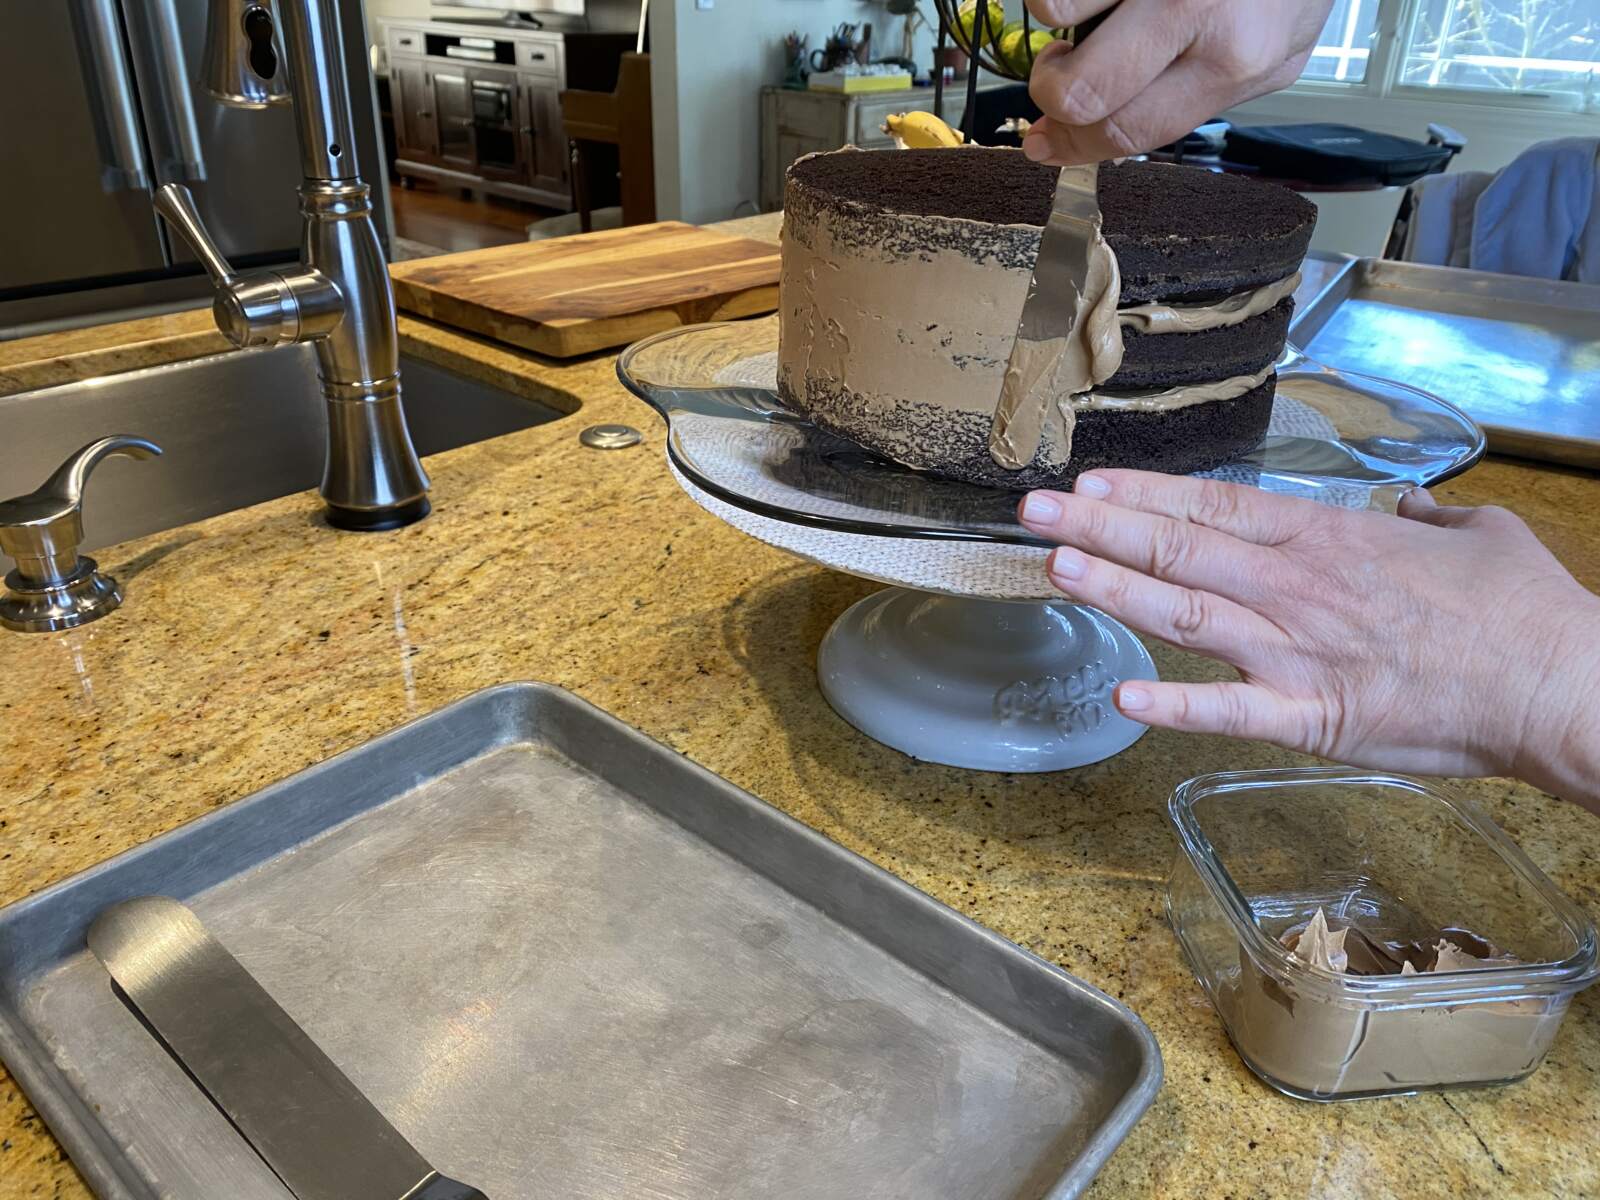
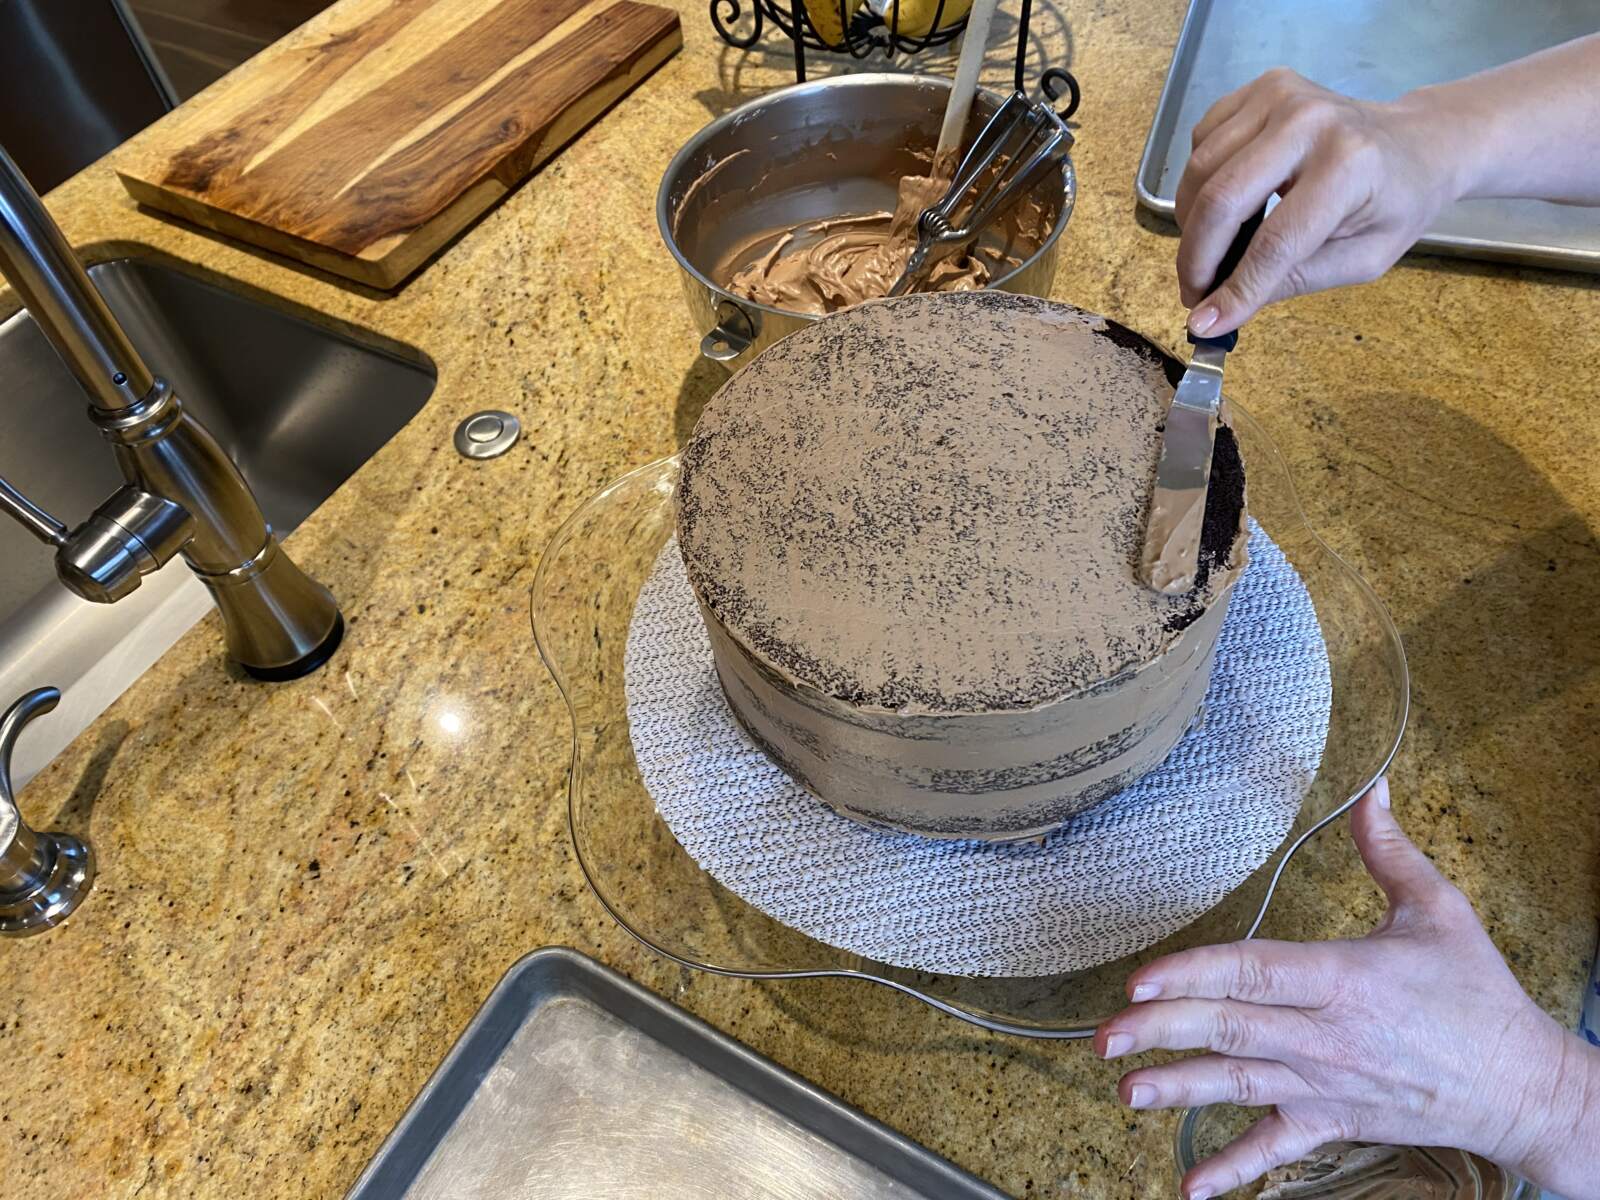
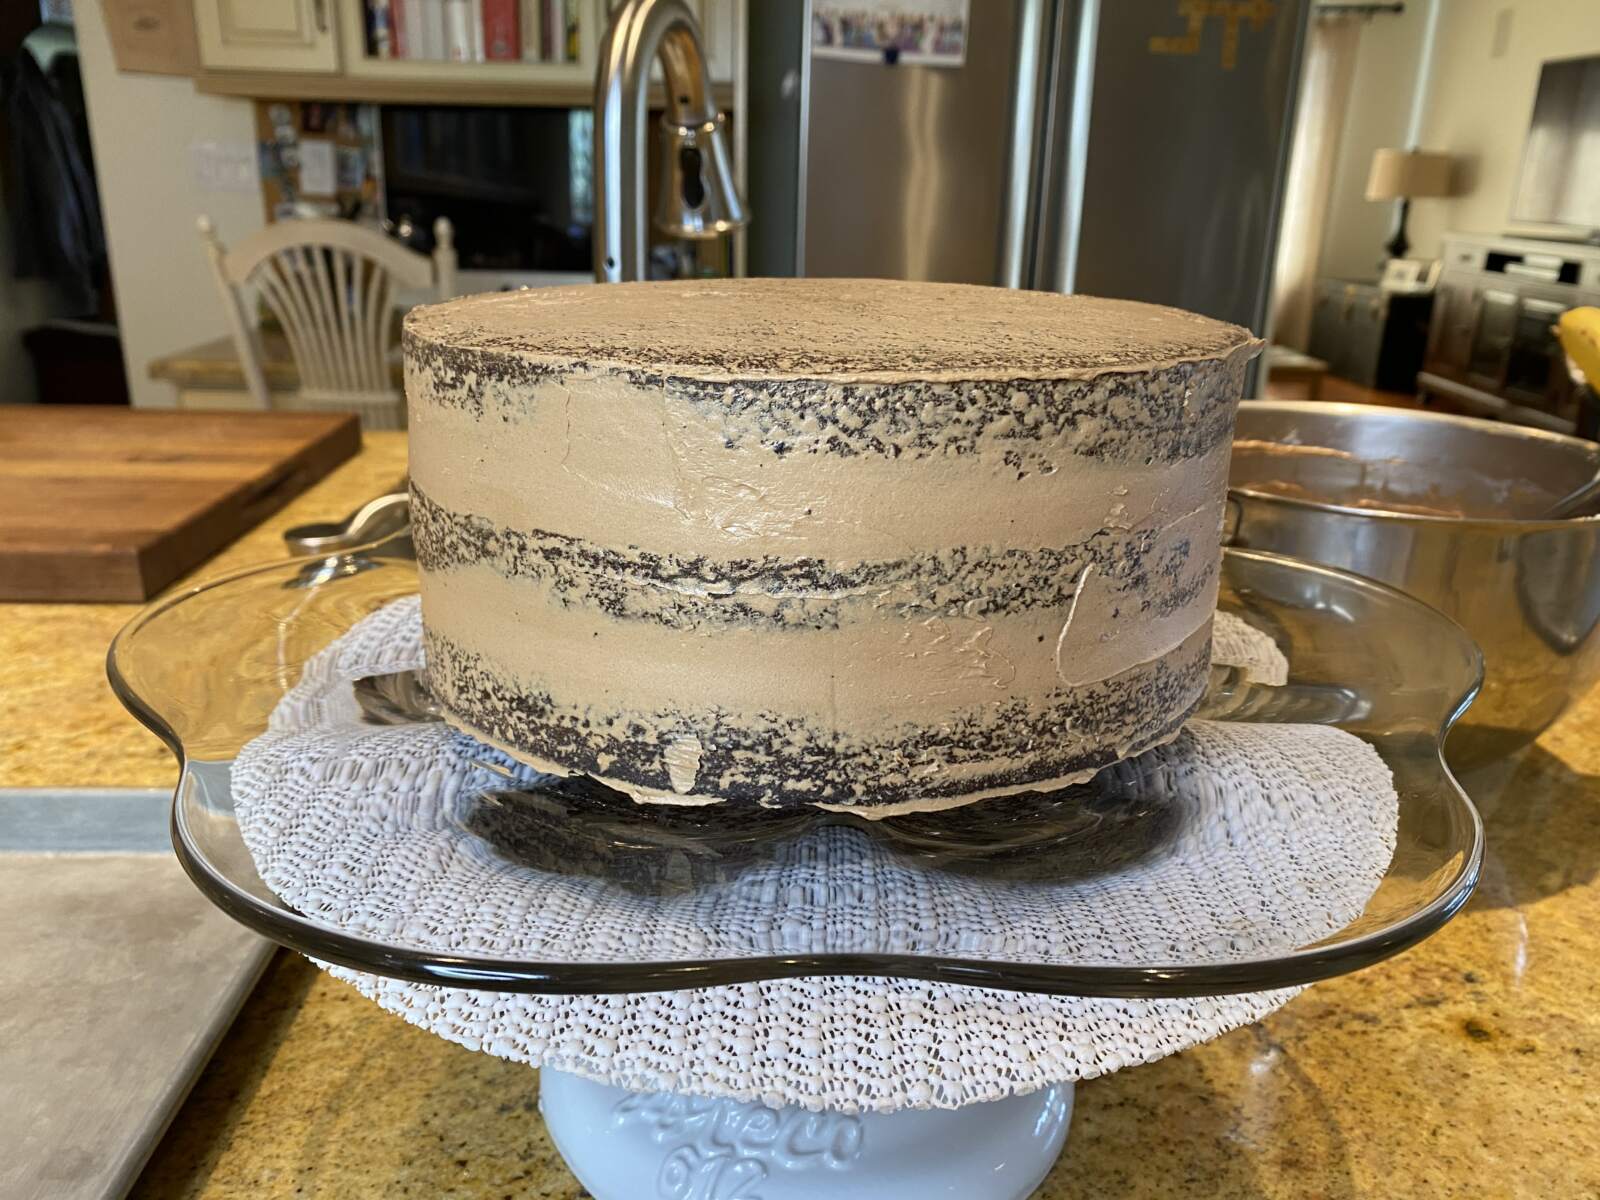
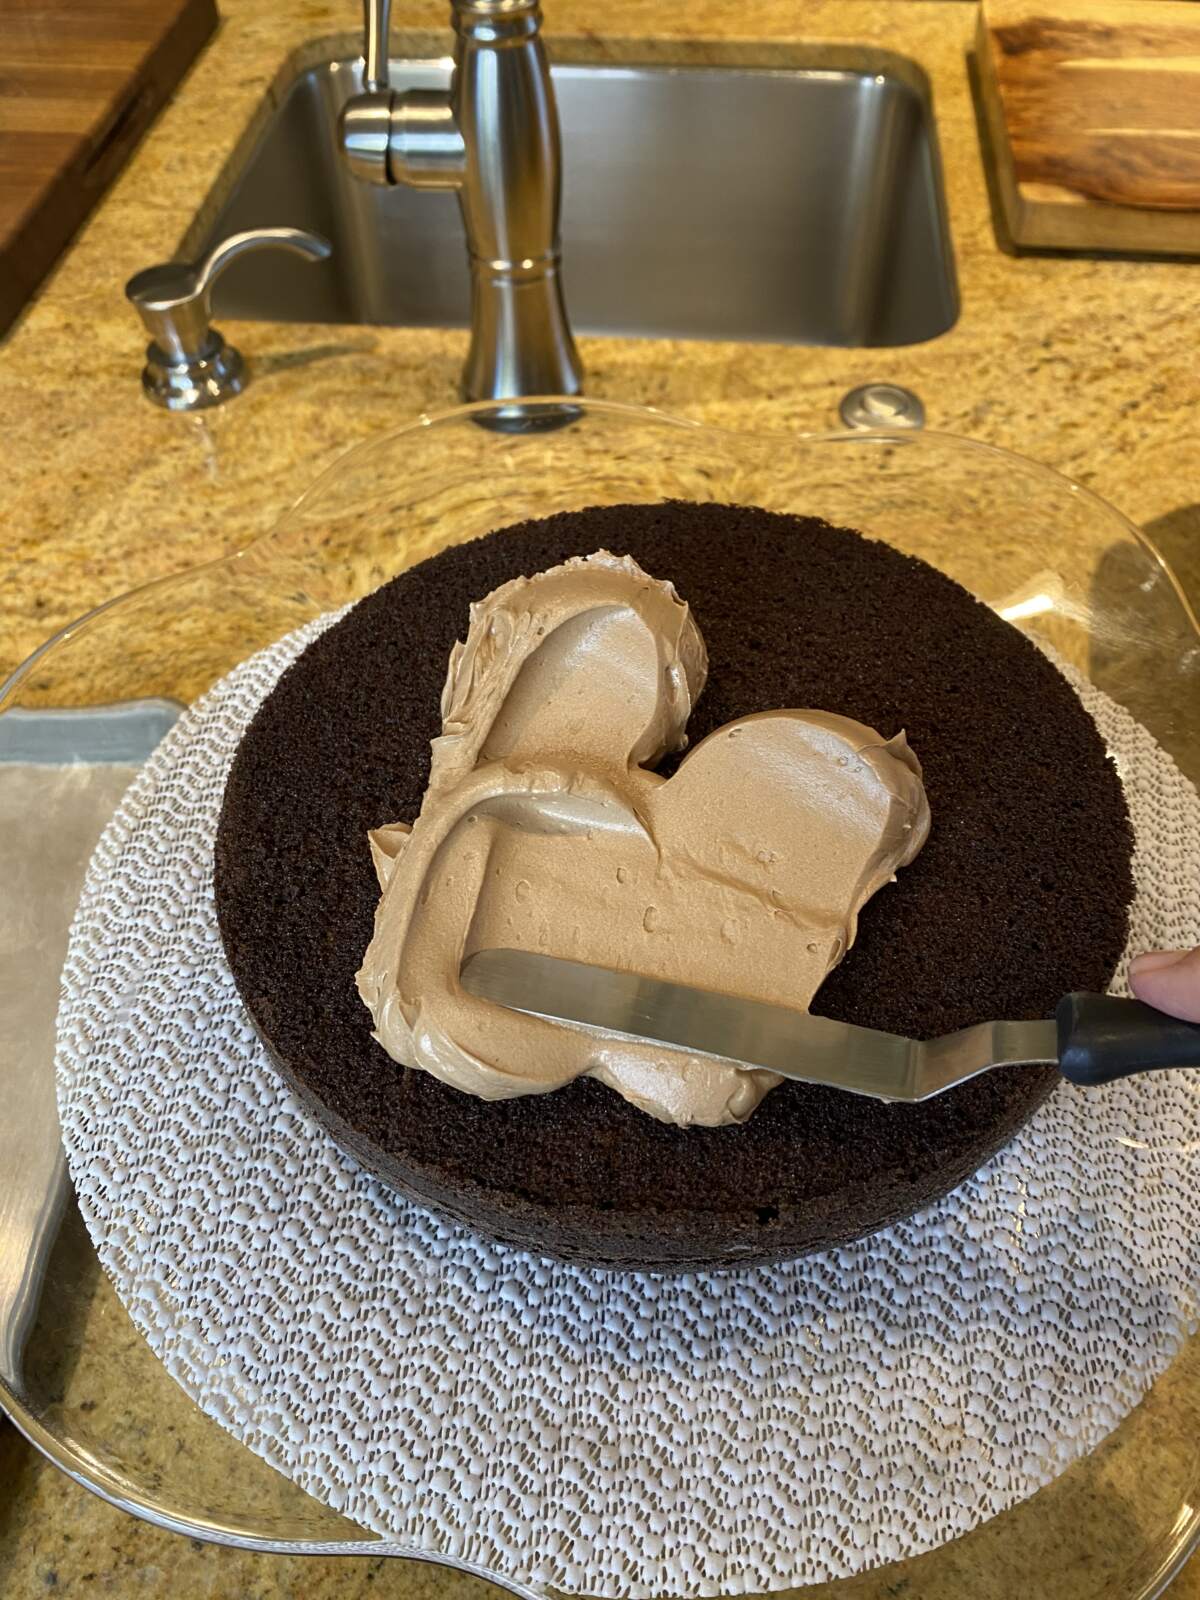
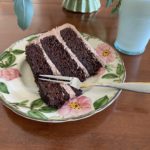
Once you have assembled the cake with all three layers (being sure to remove the parchment from each layer!) you’re ready for the first coat of frosting, which is known as the “crumb coat”. You’ll want to transfer a small amount of frosting to a separate bowl for the crumb coat because (you guessed it!) you will get some crumbs in that bowl. The crumb coat is thin and you literally smash it into the cake which is handy for filling any gaps between the cake layers. Then the cake goes into the fridge for approximately 10 minutes, or until the frosting is well chilled. Now you have a slick surface that will not release any crumbs into your finished cake. Since I had not had time to chill my cake ahead of frosting it I let the crumb coat stay in the fridge longer, more like 20 minutes.
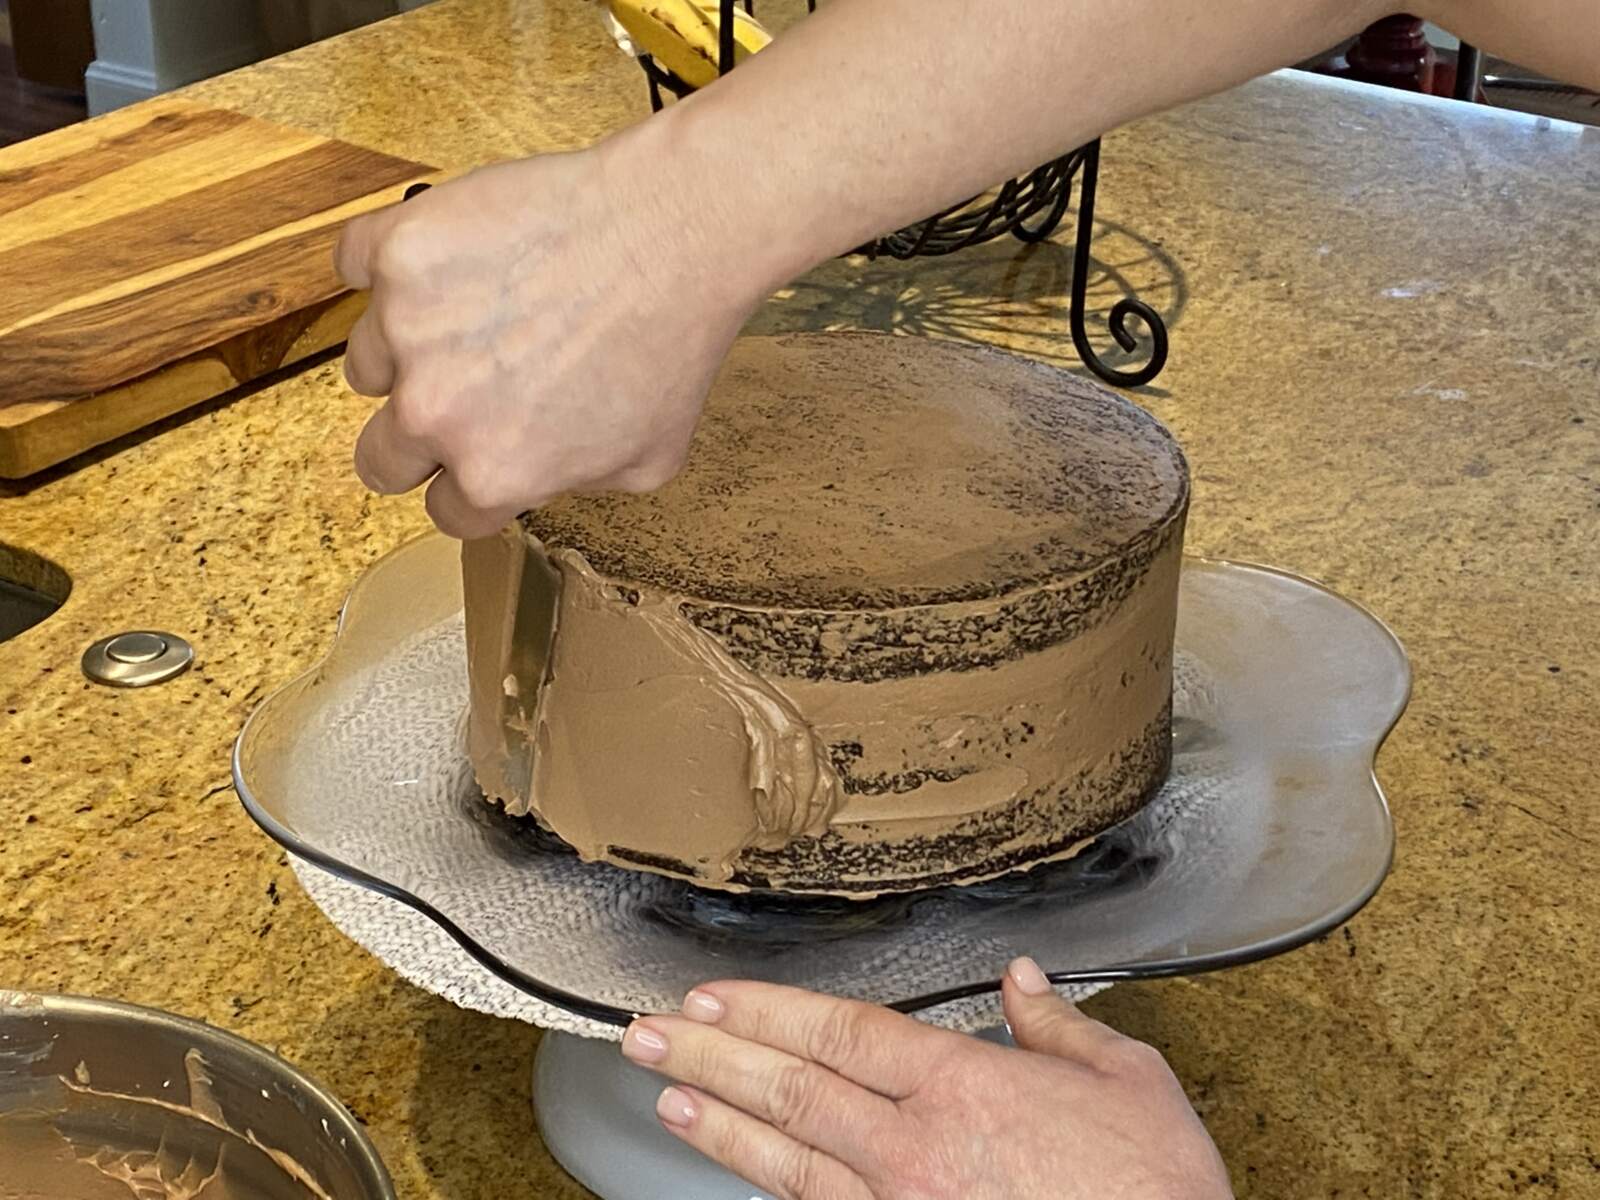
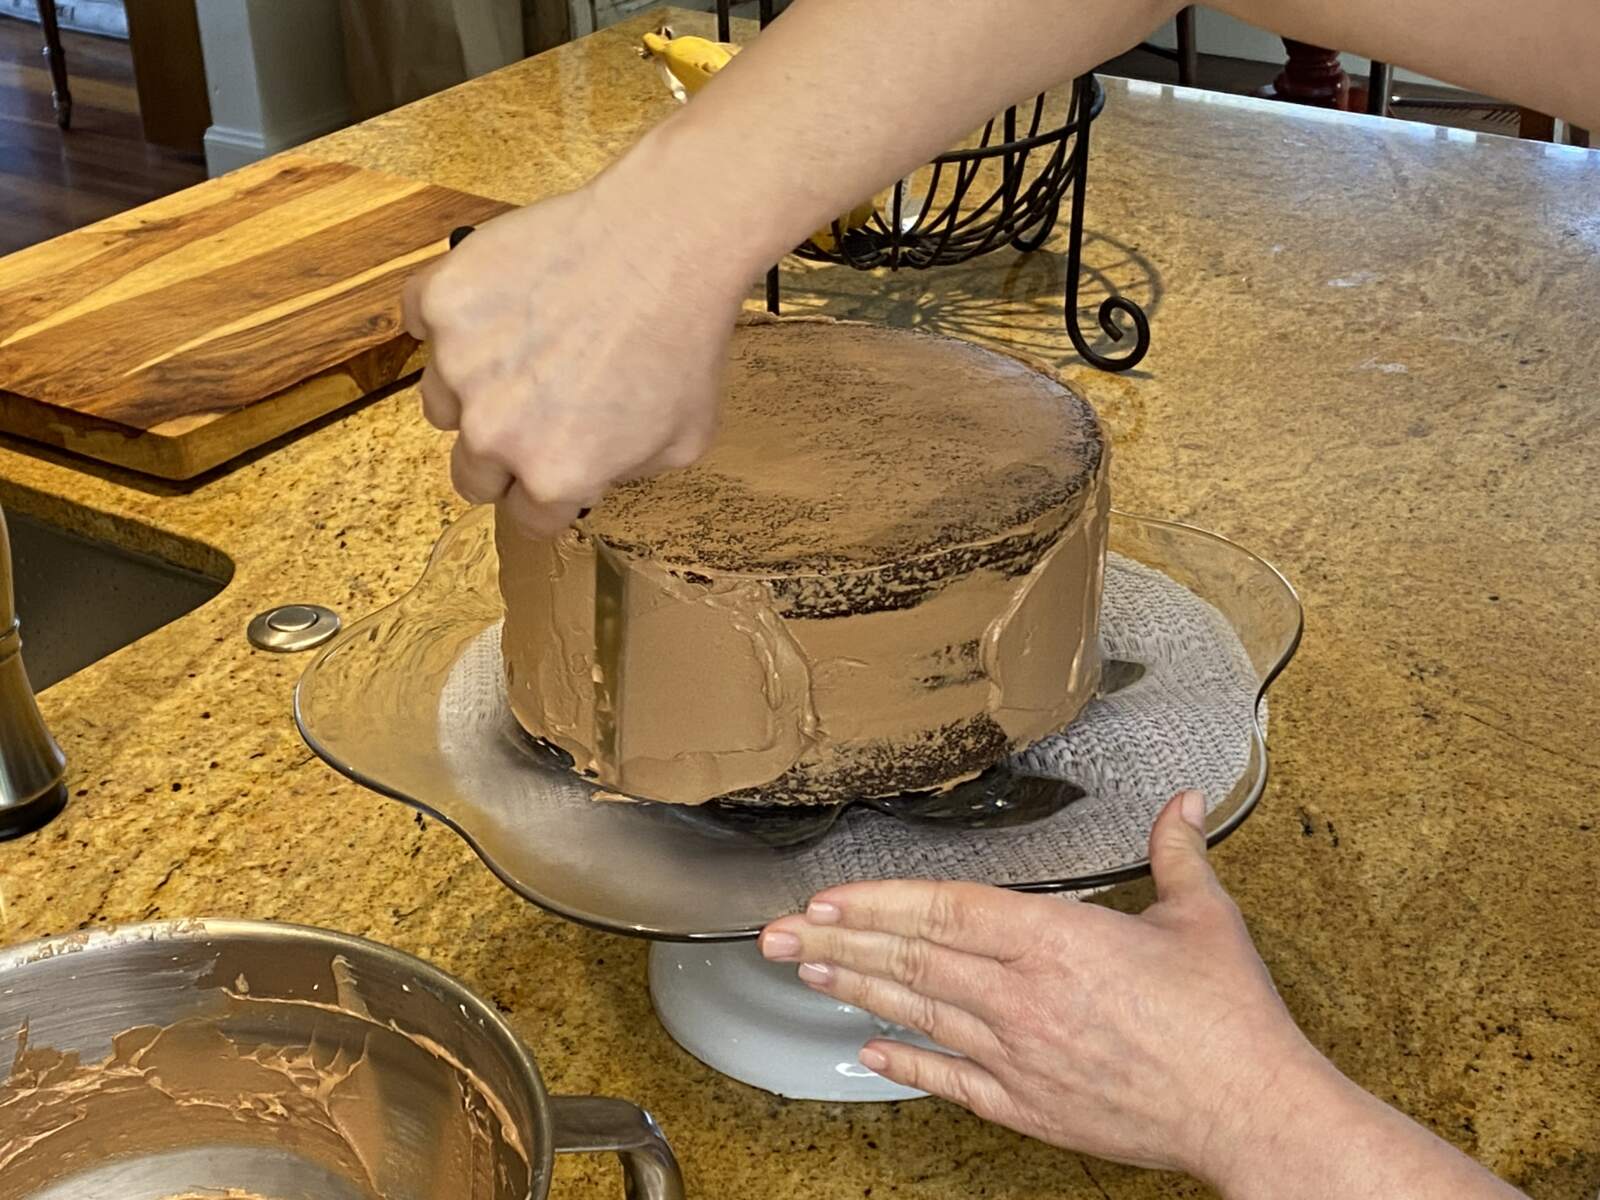
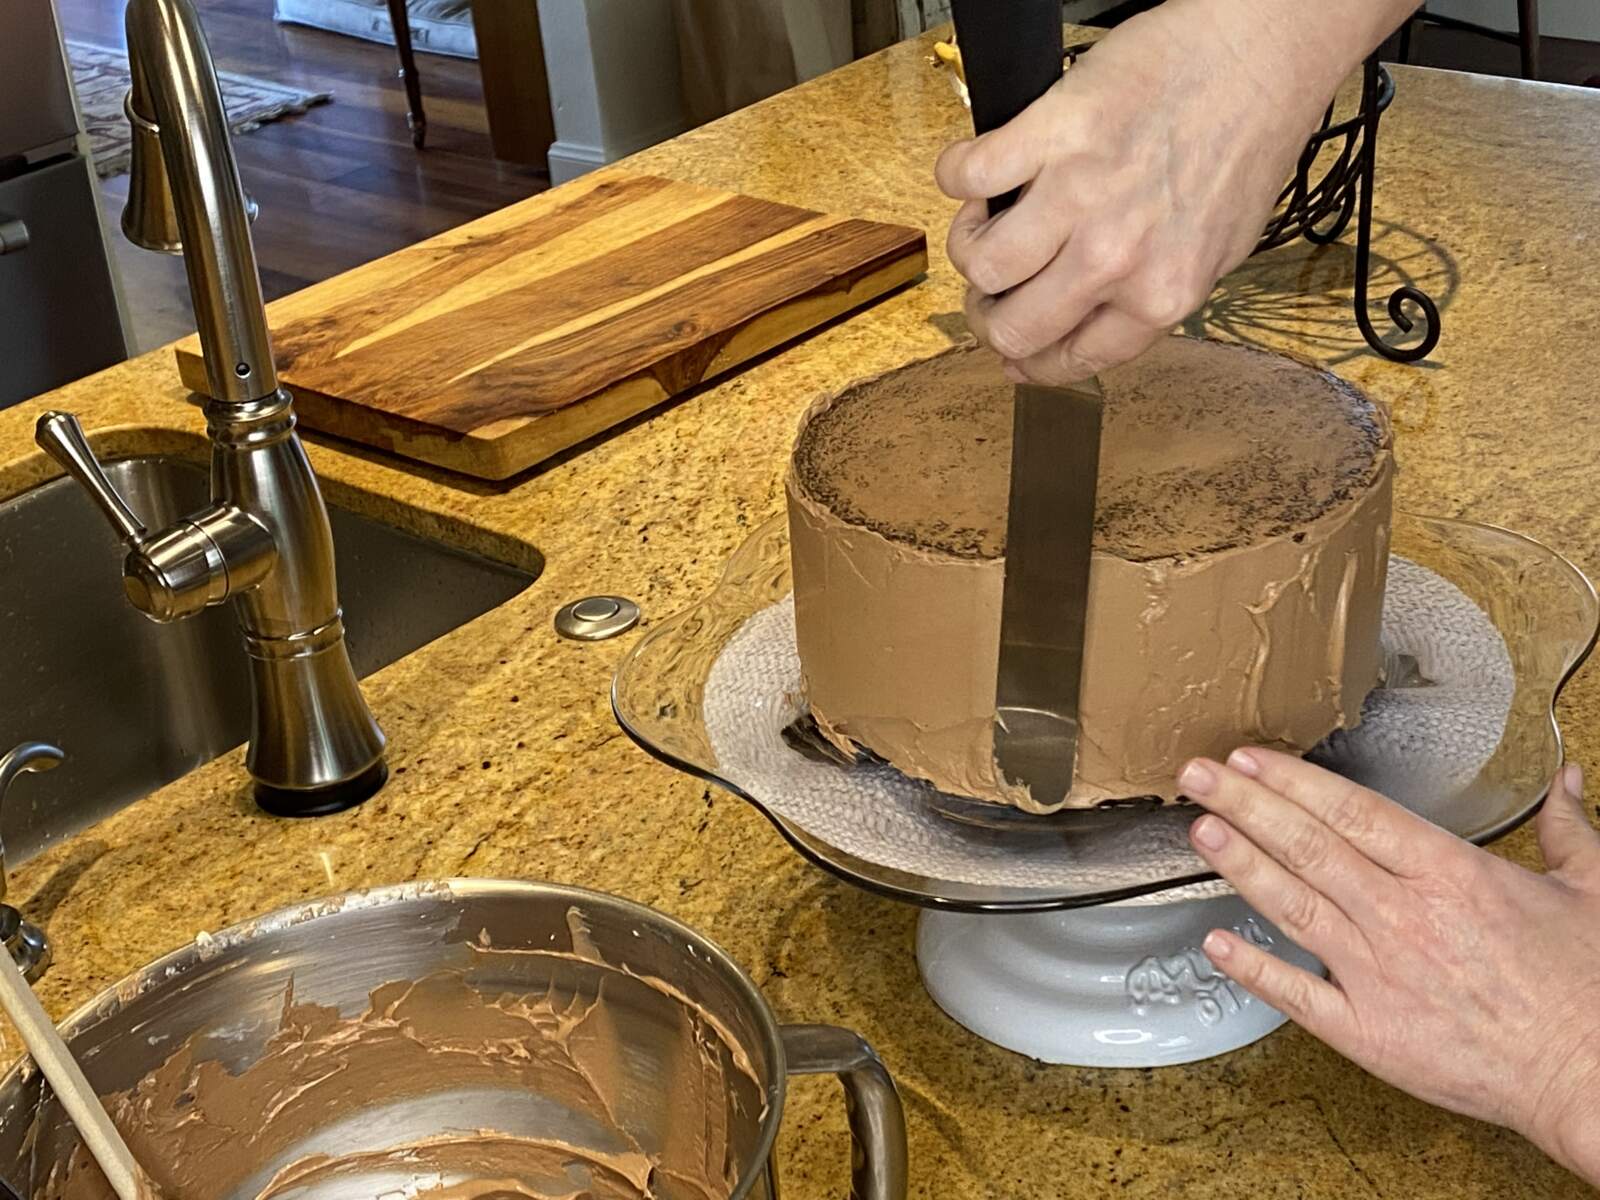
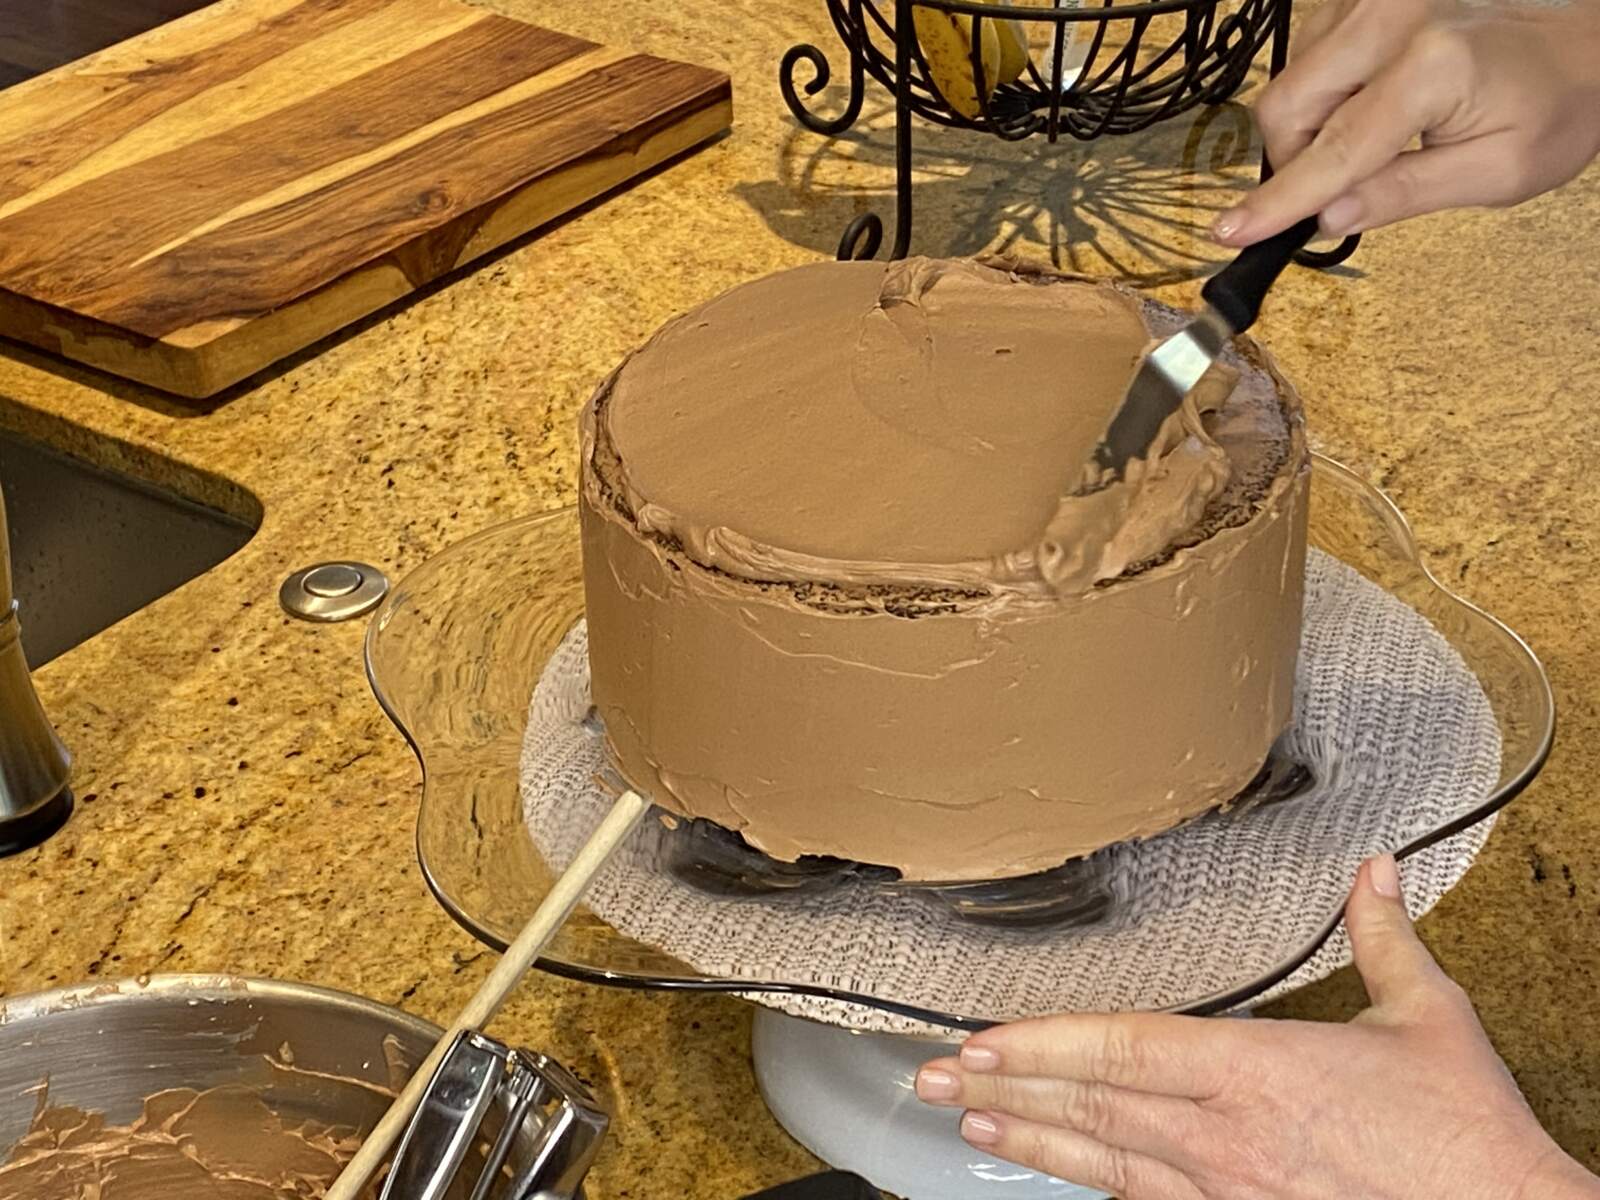
I still mainly use the little spatula for frosting cakes, but the big one is very handy to run along the sides and top once the frosting is on there to get a smooth and even surface. Once you are satisfied with the top and sides it is time to think about decorating. You can put the extra frosting in a pastry bag and pipe an edging along the cake, but since I am more about taste than fancy icing borders I usually just spin the cake on the stand and use my small spatula to create a swirl effect. I will say this is when that rotating cake stand becomes a must!
If you made it all the way to the end of this post without jumping to the recipe let me just say that I am impressed! I think this has been my longest post ever, but there is a lot to say when it comes to both baking and frosting a cake. And though this cake does take some time to put together it is so worth it when it is for someone (or someones!) that you love.
Triple Layer Chocolate Cake
Ingredients
- 1 cup unsweetened cocoa powder do not sift
- 2 cups boiling water
- 2 3/4 cups all purpose flour
- 2 tsp baking soda
- 1/2 tsp baking powder
- 1/2 tsp salt
- 1 cup unsalted butter softened
- 2 1/2 cups granulated sugar
- 4 large eggs
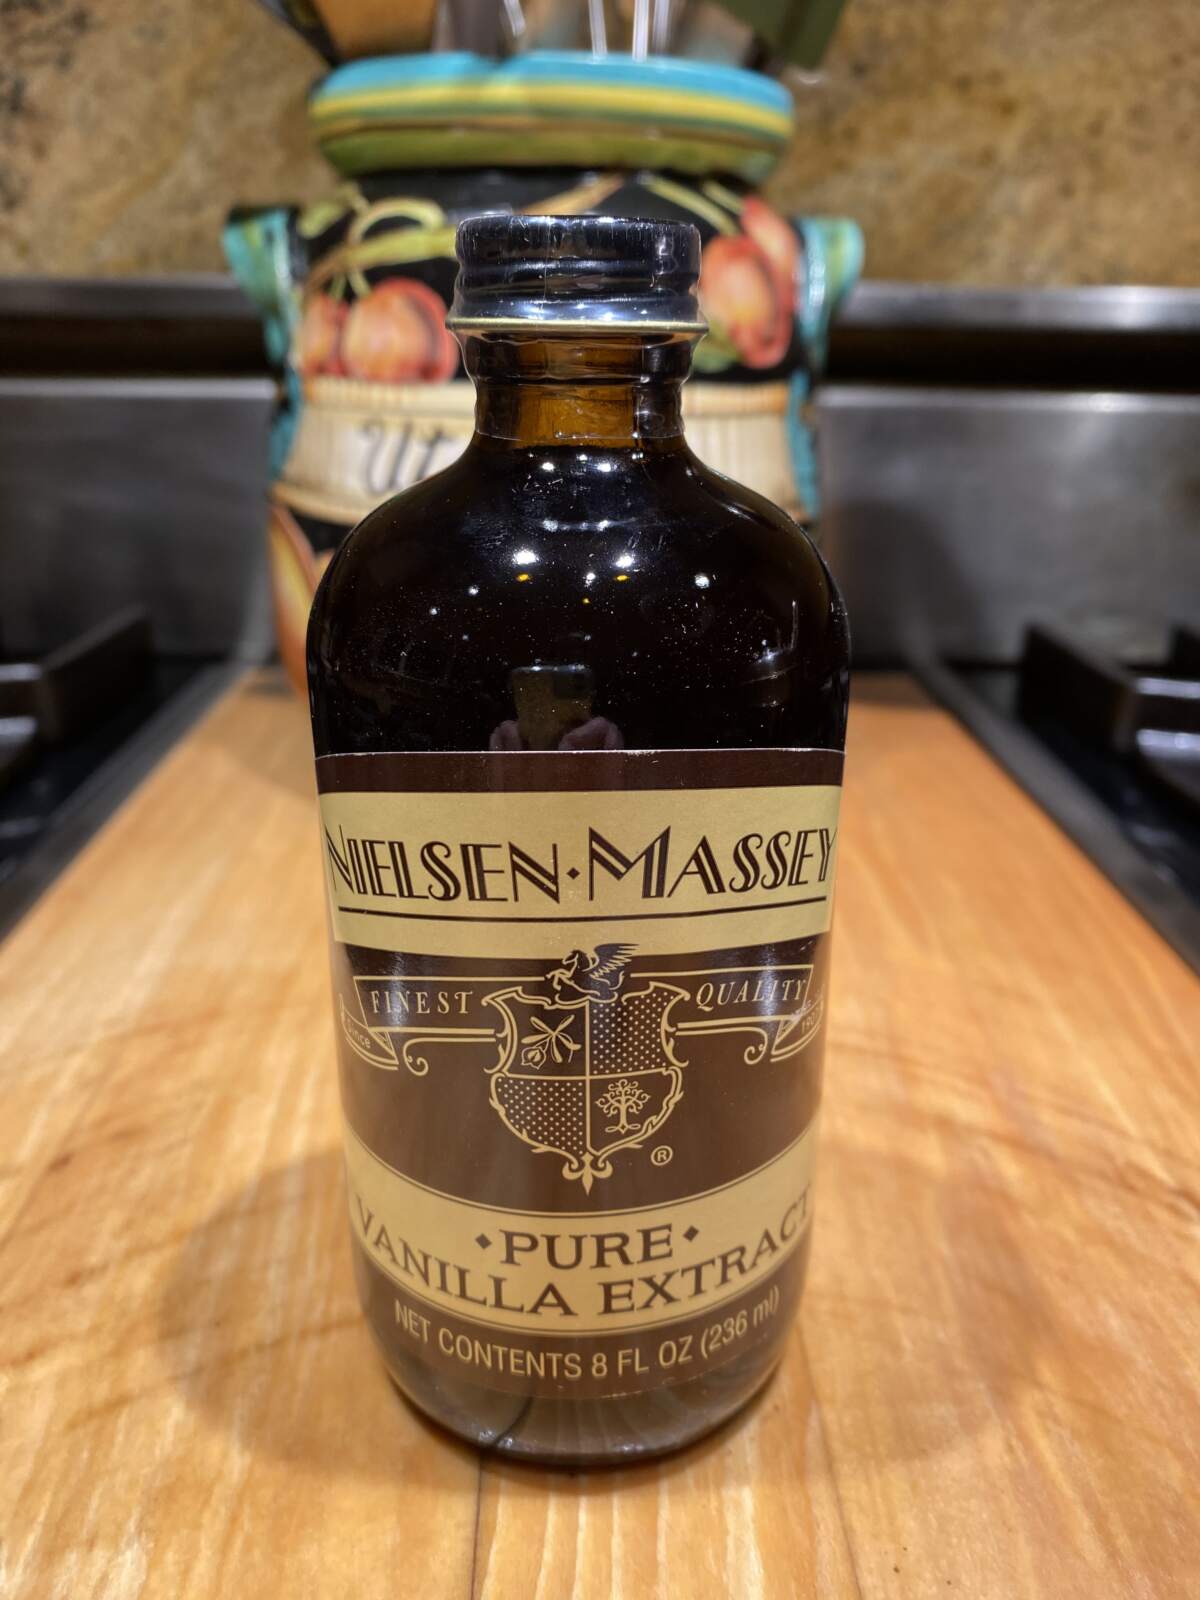
- 2 tsp vanilla extract
Instructions
- Preheat oven to 350°
- In a medium bowl, combine cocoa with boiling water, mix until smooth and cool to room temperature.
- Grease and flour sides of 3 9" cake pans, line bottoms with parchment paper.
- Sift together flour, soda, baking powder, and salt. Set aside.
- Beat butter, sugar, eggs, and vanilla at high speed until light, about 5 minutes.
- Reduce mixer to low speed and alternate flour mixture (in 4ths) with cocoa mixture (in 3rds) beginning and ending with the flour. DO NOT OVERBEAT.
- Scrape sides and bottom of mixing bowl, beat additional 15 seconds to make sure batter is completely mixed.
- Divide batter evenly between cake pans. Bake at 350° for 25-30 minutes or until pick comes out with just a few moist crumbs attached.
- Cool in pans for 10 minutes then invert onto wire rack and cool completely. Remove parchment paper before frosting.
Chocolate Swiss Buttercream
Equipment
- Double Boiler
- Stand Mixer
Ingredients
- 3/4 cup egg whites
- 1 3/4 cup plus 2 tablespoons granulated sugar
- 4 1/2 sticks unsalted butter at room temperature
- 1 tbsp vanilla
- 8-10 oz semi-sweet chocolate melted and cooled
Instructions
- Chop chocolate and melt over double boiler until smooth, set aside to cool.
- Combine egg whites and sugar in heat proof mixing bowl. Set over double boiler and whisk constantly until mixture is 140°F on instant read thermometer.
- Whip warmed egg whites in electric mixer until just cool to the touch, about 5-10 minutes. Gradually add butter 1 tablespoon at a time beating well after each addition. Buttercream will come together into spreadable consistency towards the end of the addition of butter, see notes for trouble shooting if it remains runny after completely adding the butter.
- Add vanilla and melted chocolate, whip until smooth. Replace whip with paddle attachment and beat at low speed for 3-5 minutes to smooth icing and reduce air bubbles.
- Frost cake!
4 thoughts on “Triple Layer Chocolate Cake”